How to Select and Insert an Earring Starter for New Piercings
Learn how to choose, size, and insert the perfect earring starter for new piercings. Expert guide on titanium grades, gauges, and healing.

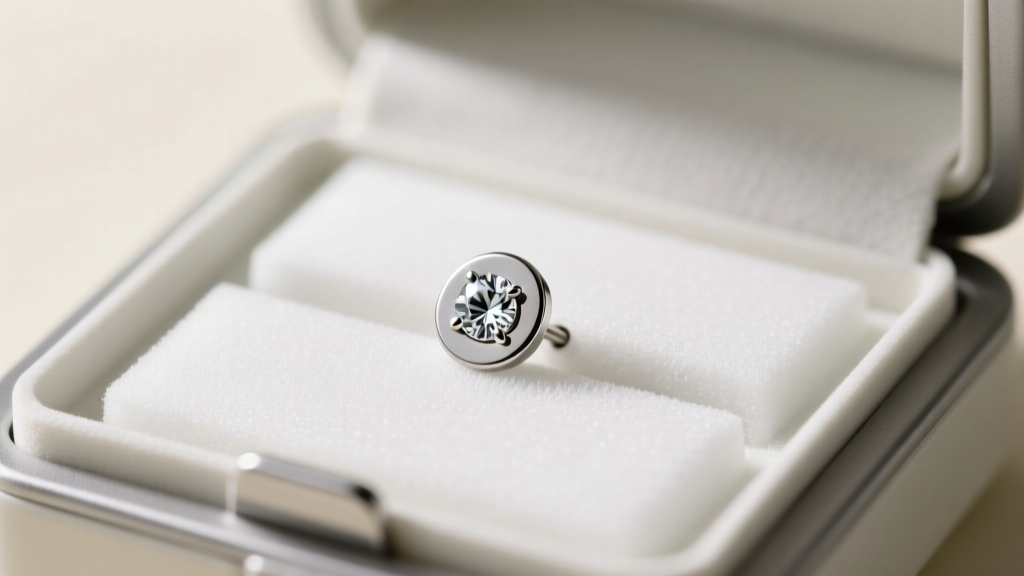
The Anatomy of a Safe Earring Starter
When you receive a fresh ear piercing, the initial jewelry—commonly referred to as the earring starter—plays a critical role in the healing trajectory of the tissue. The fistula (the tube of healing skin that forms around the jewelry) is highly reactive during the first six to twelve weeks. Choosing the wrong metal, an improper gauge, or a post that fails to accommodate swelling can lead to severe complications, including embedding, migration, and chronic contact dermatitis. This comprehensive guide details the exact specifications, material grades, and step-by-step insertion protocols required for a successful healing phase.
Material Grades: Why Implant-Grade Titanium is Non-Negotiable
The most pervasive myth in body modification is that 'surgical steel' is the gold standard for fresh piercings. In reality, surgical stainless steel (often 316L) contains up to 10-14% nickel, a known allergen that can trigger severe immune responses in open wounds. According to the American Academy of Dermatology, nickel allergy is the most common cause of allergic contact dermatitis, affecting up to 36% of women.
For an earring starter, you must demand Implant-Grade Titanium (ASTM F136). This specific alloy (Ti-6Al-4V ELI) is entirely nickel-free, biocompatible, and features a mirror-polished surface that prevents bacteria and dead skin cells from harboring in microscopic scratches. Alternative safe options include Niobium and 14k or 18k solid, nickel-free gold (yellow or rose gold, as white gold often contains nickel alloys). Avoid sterling silver at all costs; silver oxidizes and tarnishes rapidly when exposed to the saline and proteins of a healing wound, leading to permanent argyria (dark staining of the tissue).
Sizing Your Earring Starter: Gauge and Post Length
An earring starter must account for two dimensions: thickness (gauge) and length (post size). The gauge dictates the diameter of the piercing channel, while the post length accommodates the body's natural inflammatory response.
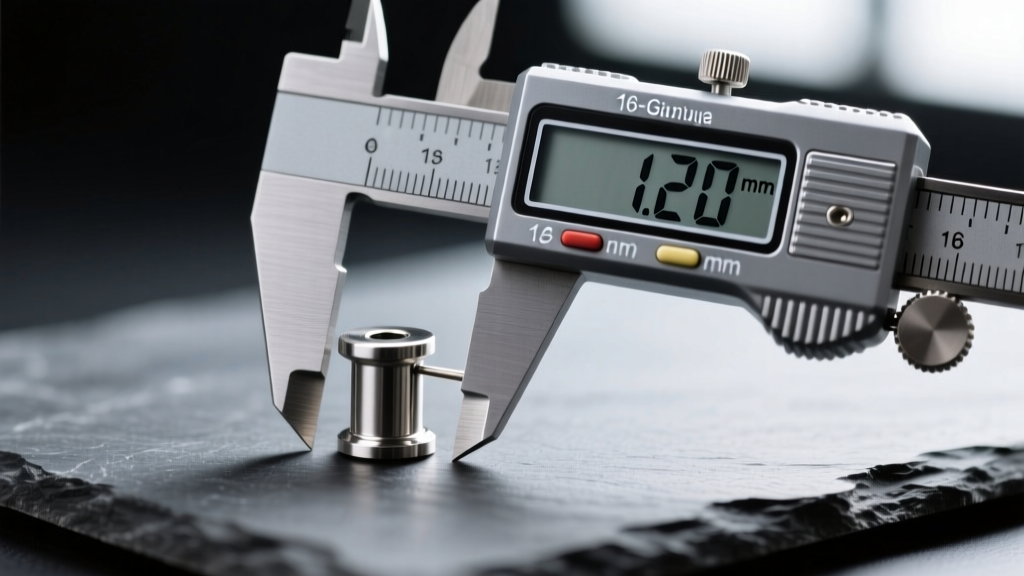
Standard earlobe piercings are typically performed at 18-gauge (1.02mm) or 16-gauge (1.29mm), though some traditional mall kiosks use a dangerously thin 20-gauge (0.81mm). The 'cheese-cutter effect' occurs when a thin wire bears the weight of jewelry, slowly slicing through the earlobe over time. For cartilage piercings (helix, conch, tragus), 16-gauge is the absolute minimum standard to ensure structural stability and prevent migration.
Post length is equally critical. When tissue is punctured, it swells. If the post is too short, the decorative end will compress the swelling tissue, leading to embedding—a medical emergency where the skin completely grows over the jewelry. The Association of Professional Piercers (APP) strongly recommends longer initial posts to accommodate this edema.
| Piercing Location | Recommended Gauge | Initial Post Length | Downsized Post Length |
|---|---|---|---|
| Standard Lobe | 18g (1.0mm) or 16g (1.2mm) | 8mm - 10mm | 5mm - 6mm |
| Upper Lobe / Flat | 16g (1.2mm) | 8mm - 10mm | 6mm |
| Helix / Conch | 16g (1.2mm) or 14g (1.6mm) | 8mm - 12mm | 6mm - 8mm |
| Tragus | 16g (1.2mm) | 6mm - 8mm | 5mm - 6mm |
Step-by-Step Insertion Protocol
Whether you are a professional piercer or an individual carefully swapping a healed starter for a new piece, the insertion process must maintain strict aseptic technique. Modern high-quality earring starters utilize either internally threaded or threadless (push-pin) mechanisms. Externally threaded jewelry (where the screw is on the post itself) should never be used, as the sharp threads tear the delicate fistula upon insertion.
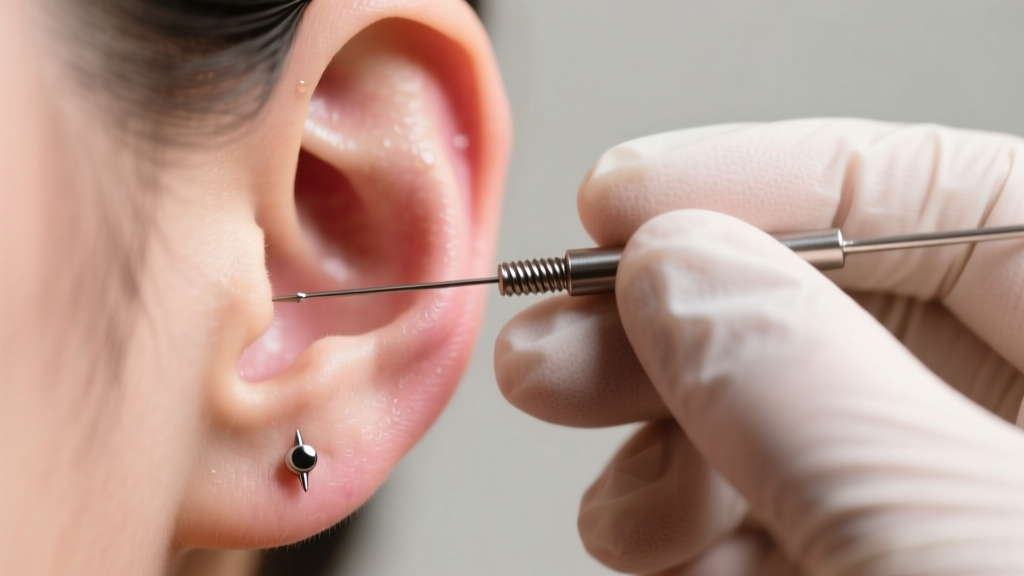
- Preparation: Wash your hands thoroughly with antimicrobial soap for 20 seconds. Don a pair of fresh, powder-free nitrile gloves.
- Site Cleansing: Spray the front and back of the piercing with sterile 0.9% sodium chloride wound wash. Do not use rubbing alcohol, hydrogen peroxide, or tea tree oil, as these destroy new cellular growth.
- Alignment: Gently support the earlobe or cartilage flap between your thumb and index finger. Align the flat back of the earring starter perfectly perpendicular to the fistula channel.
- Insertion: Slowly guide the post through the channel. If you meet resistance, do not force it. Rotate the post slightly (no more than a quarter turn) to find the natural path of the fistula.
- Securing the End: For internally threaded jewelry, hold the flat back stationary with one hand while screwing the decorative top clockwise with the other ('righty-tighty'). For threadless jewelry, insert the bent pin into the hollow post and push firmly until it clicks into place, relying on the tension of the bent metal to hold it secure.
The Downsizing Phase: Preventing Embedding and Migration
The most commonly overlooked step in the earring starter lifecycle is downsizing. The initial 8mm to 12mm posts are strictly temporary. They are designed solely to accommodate the acute swelling that occurs in the first 7 to 21 days post-piercing.
Expert Rule of Thumb: If your earring starter post still protrudes significantly past the back of your ear after three weeks, it is actively causing mechanical irritation. Long posts catch on hair, clothing, and pillows, introducing micro-trauma to the healing fistula.
You must return to your piercer for a 'downsize' appointment between weeks 3 and 6 for lobes, and weeks 6 and 12 for cartilage. The piercer will swap the long starter post for a shorter, fitted post (typically 5mm or 6mm for lobes). This reduces the lever-action of the jewelry, allowing the piercing channel to settle, straighten, and heal without the formation of hypertrophic scars (commonly known as moisture bumps or irritation bumps).
Common Earring Starter Failure Modes and Troubleshooting
Even with perfect technique, complications can arise. Understanding the mechanical and biological failure modes of an earring starter allows for rapid intervention.
- Embedding: If the initial post is too short, or if the client experiences extreme, unanticipated swelling, the decorative end will sink into the skin. Solution: This requires immediate professional intervention. The jewelry must be removed, and a longer, appropriately sized post must be inserted to relieve tissue pressure.
- Hypertrophic Scarring (Irritation Bumps): These are small, raised, fluid-filled bumps adjacent to the piercing hole. They are rarely true keloids; rather, they are caused by chronic friction from a post that is too long, or by sleeping directly on the piercing. Solution: Downsize the jewelry immediately, implement strict 'no-sleeping-on-it' protocols using a travel neck pillow, and apply warm sterile saline compresses using non-woven gauze (never cotton balls, which leave fibers in the wound).
- Contact Dermatitis: Characterized by intense itching, flaking, and a weeping, yellowish discharge (often mistaken for infection). This is almost always an allergic reaction to nickel or low-karat gold alloys. Solution: Verify the mill certificates of your jewelry to ensure it is ASTM F136 titanium. Swap the jewelry immediately and consult a dermatologist if the tissue is severely compromised.
- Moisture Trapping: If the flat back of the earring starter is too wide (e.g., 4mm or 5mm discs on a thin earlobe), it traps moisture and dead skin against the back of the ear, leading to tissue maceration and foul odors. Solution: Ensure the flat back diameter is proportionate to the tissue thickness, typically 2.5mm to 3mm for standard lobes.
By treating your earring starter not as a permanent accessory, but as a precise, temporary medical device, you establish the foundation for a healthy, lifelong piercing. Always prioritize verifiable material grades, exact anatomical sizing, and professional aftercare protocols over aesthetic trends during the crucial initial healing window.


