Earring Stuck in Earlobe? Safe Removal & Care Guide
Panic over an earring stuck in earlobe? Learn safe, step-by-step removal techniques, infection prevention, and expert aftercare tips from piercers.

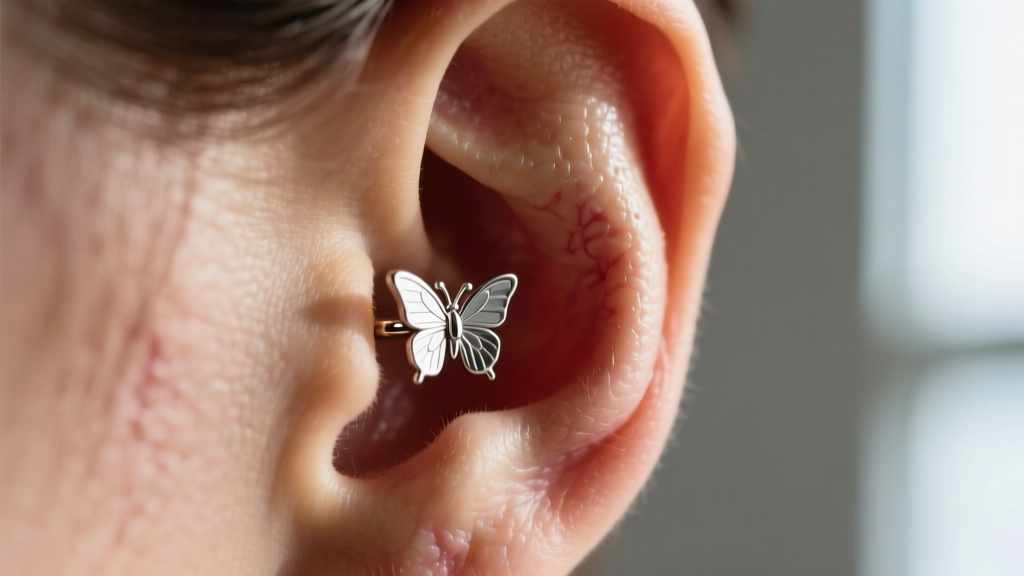
The Anatomy of an Embedded Earring
Realizing you have an earring stuck in earlobe tissue is a stressful experience, often accompanied by localized swelling, heat, and panic. In the professional body modification industry, this is known as 'embedded jewelry' or 'tissue encapsulation.' It occurs when the body's natural inflammatory response causes the earlobe to swell over the jewelry's backing or decorative end, effectively trapping the metal inside the skin. As of 2026, the Association of Professional Piercers (APP) continues to warn against the use of traditional friction backs, which are the leading culprits behind embedding incidents in standard lobe piercings.
Understanding why this happens is the first step toward safe removal. The earlobe is highly vascular, meaning it swells rapidly in response to trauma, allergic reactions, or excessive pressure. When jewelry lacks adequate clearance to accommodate this swelling, the tissue engulfs the hardware. Attempting to forcefully rip the jewelry out can result in severe tissue tearing, blowouts, and permanent scarring.
The 3 Primary Causes of Jewelry Embedding
- The 'Cheese Wire' Effect: Thin jewelry (20-gauge or 0.81mm) acts like a wire cheese slicer against swelling tissue. If you sleep on a thin hoop or a lightweight stud, the pressure cuts into the lobe, causing the skin to heal over the post.
- Friction Back Asphyxiation: Standard 'butterfly' backs push against the rear of the earlobe. If pushed on too tightly, they restrict blood flow (ischemia). The tissue necrotizes or swells around the metal prongs, locking the back in place.
- Allergic Contact Dermatitis: Jewelry containing nickel or low-grade stainless steel (like 316L surgical steel) can trigger delayed hypersensitivity reactions. The resulting inflammation shrinks the available space on the post, trapping the backing.
Step-by-Step: How to Remove an Earring Stuck in Earlobe
If the jewelry is newly stuck and the skin has not completely healed over the backing, you can attempt safe removal at home. However, if the skin has fully encapsulated the metal, stop immediately and visit a professional piercer or a dermatologist. Never dig into your own tissue with unsterilized tweezers or sewing needles.
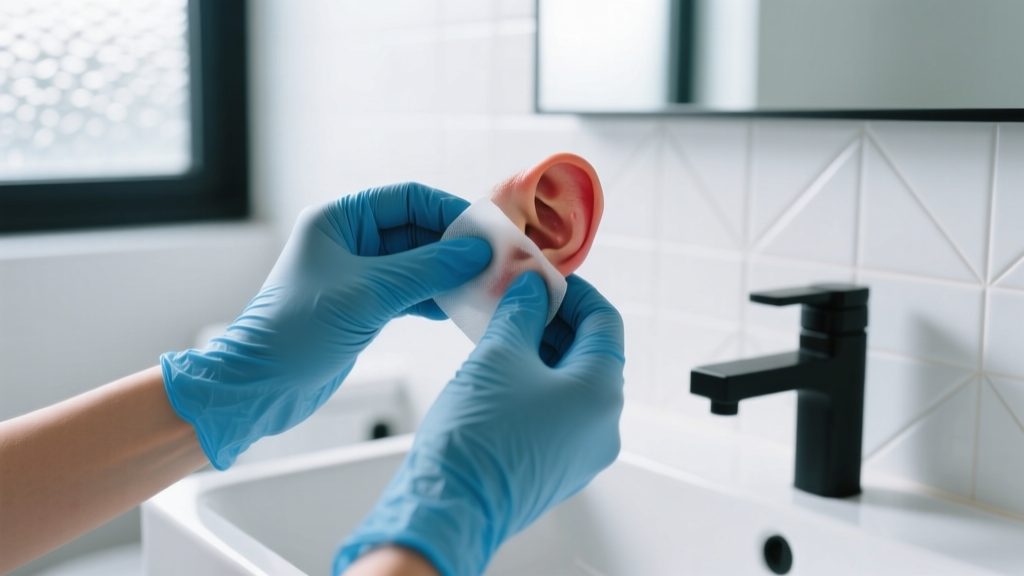
Phase 1: Vasodilation and Softening
Fill a clean mug with warm (not hot) distilled water and dissolve a pinch of non-iodized sea salt to create a mild hypertonic solution. Soak a sterile gauze pad in the liquid and hold it against the earlobe for 10 to 15 minutes. The heat promotes vasodilation, increasing blood flow and softening the hardened lymph and swollen tissue encapsulating the metal.
Phase 2: Lubrication and Decompression
Apply a water-based, sterile lubricant to the post. Never use petroleum jelly, Neosporin, or heavy oils, as these trap anaerobic bacteria inside the piercing fistula. Gently massage the earlobe around the post to create micro-movements. This helps break up dried lymphatic fluid (crusties) that may be acting like biological glue.
Phase 3: The Counter-Pressure Technique
With freshly washed hands, use your thumb and index finger to gently pinch the earlobe tissue directly behind the embedded backing. Push the tissue forward (away from your head) while simultaneously unscrewing or pulling the front decorative end. By compressing the swollen tissue, you expose more of the post's threading or groove, allowing the backing to slide off. If you feel sharp pain or resistance, abort the process and seek professional help.
Material & Clasp Failure: A Data Breakdown
Not all earring mechanisms carry the same risk of embedding. Upgrading your jewelry hardware is the most effective preventative maintenance step you can take. Below is a comparative analysis of common earring clasps and their embedding risk profiles based on structural design and tissue interaction.
| Clasp / Backing Type | Embedding Risk | Failure Mode & Tissue Interaction |
|---|---|---|
| Friction Back (Butterfly) | High | Prongs dig into tissue; restricts lymphatic drainage; easily swallowed by swelling. |
| Screw-In Flatback | Medium | Safe if sized correctly, but internal threads can harbor bacteria if over-tightened against swollen skin. |
| Threadless Push-Pin | Low | Smooth, flat disc rests flush against the skin; tension-fit allows for easy removal without twisting. |
| Hinged Segment Ring | Low | Continuous circular path prevents pressure points; hinge mechanism keeps hardware away from the fistula. |
When to See a Medical Professional
While a skilled piercer can often remove embedded jewelry using sterile tapers or minor dermal punches, certain symptoms require immediate medical intervention from a doctor. According to the Cleveland Clinic, signs of a severe, systemic infection include:
- Thick, foul-smelling discharge (green, yellow, or brown pus).
- Red streaks radiating outward from the earlobe (lymphangitis).
- Fever, chills, or nausea.
- Tissue that appears black or necrotic.
In these scenarios, a physician may need to prescribe oral antibiotics (such as Cephalexin or Clindamycin) and perform a minor scalpel excision under local anesthetic to remove the trapped hardware safely.
Aftercare & Cleaning Post-Removal
Once the stuck earring is removed, the earlobe will have a deep, compressed wound. Proper aftercare is critical to prevent abscess formation and ensure the fistula heals correctly.
The 0.9% Sterile Saline Protocol
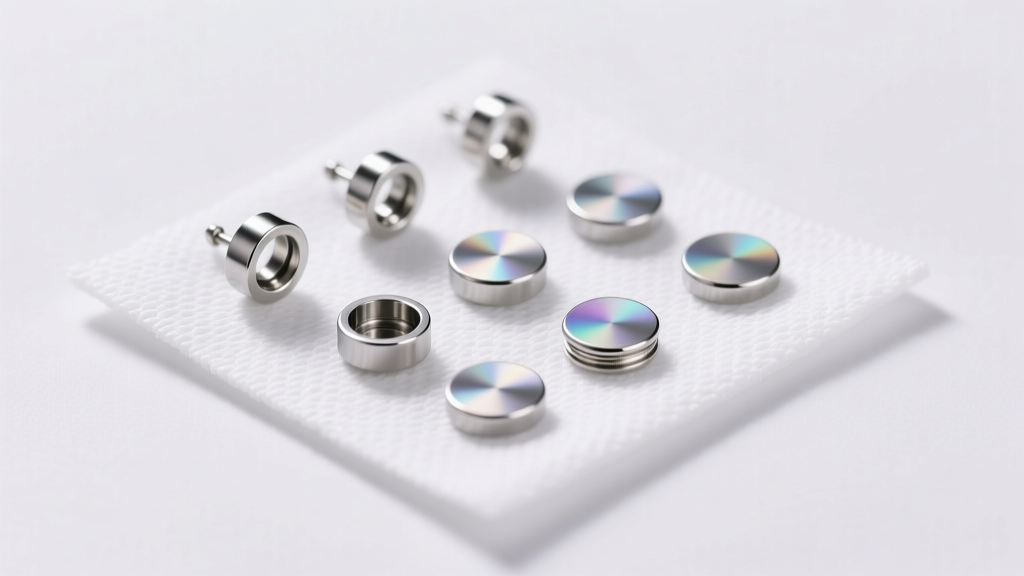
Discard all homemade salt mixtures, tea tree oils, rubbing alcohol, and hydrogen peroxide. These harsh chemicals destroy fibroblasts—the cells responsible for rebuilding your tissue. Instead, purchase a canned, pressurized 0.9% sterile sodium chloride wound wash (with no additives). Spray the front and back of the earlobe twice daily for 7 to 14 days. Allow the area to air dry or gently pat with non-woven gauze.
Sleeping and Pressure Management
Avoid sleeping on the affected side for at least three weeks. If you must sleep on that side, use a travel neck pillow and place your ear in the center hole to eliminate direct compression. Compression during the healing phase can lead to cartilage bumps or uneven tissue remodeling.
Preventative Maintenance: Sizing and Metallurgy
To ensure you never deal with an earring stuck in earlobe tissue again, you must audit your jewelry box for proper gauge sizing and material grades.
- Upgrade to ASTM F-136 Titanium: Implant-grade titanium is completely nickel-free and highly biocompatible. It eliminates allergic swelling, which is a primary precursor to embedding.
- Size Your Posts Correctly: A standard, healed earlobe requires a flatback post length between 6mm (1/4") and 8mm (5/16"). If your earlobe is thicker, or if you experience seasonal swelling, opt for an 8mm post to provide a safety buffer.
- Consider 16-Gauge or 14-Gauge Jewelry: Moving up from a flimsy 20-gauge wire to a thicker 16-gauge (1.29mm) or 14-gauge (1.6mm) post distributes pressure more evenly across the fistula, drastically reducing the risk of the jewelry cutting through the tissue.
By treating your earlobes with the same anatomical respect as any other piercing, and by utilizing high-quality, properly sized threadless hardware, you can enjoy your jewelry without the fear of painful embedding incidents.


