How to Style an Earrings Chain: A Beginner's Guide
Learn how to wear, style, and buy an earrings chain. This beginner guide covers threaders, ear cuffs, gauge sizes, and the best metals for sensitive ears.

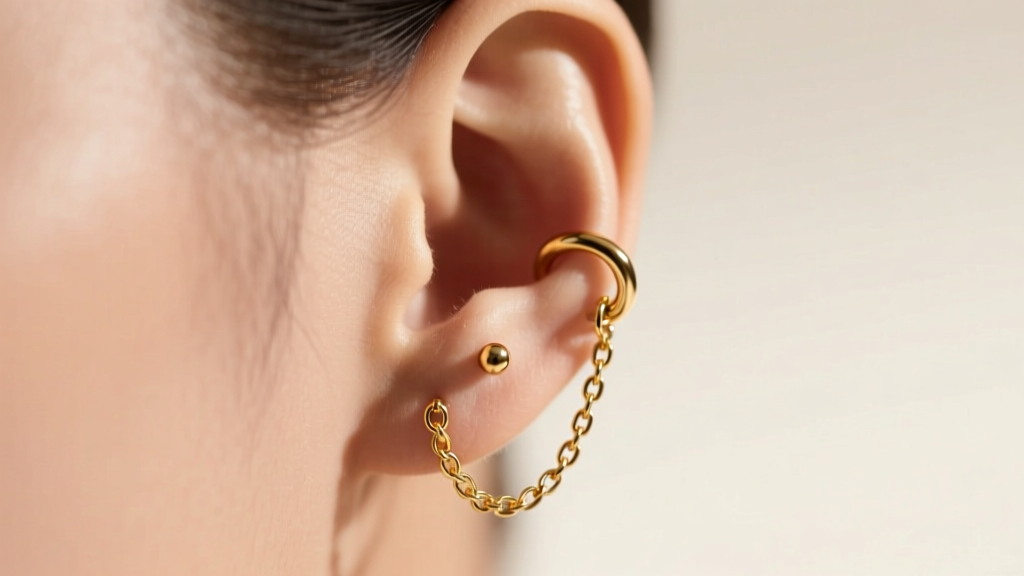
What Exactly Is an Earrings Chain?
If you are looking to elevate your ear styling without committing to a complex new piercing, an earrings chain is the perfect entry point. Unlike traditional studs or hoops, chain earrings introduce movement, drape, and a layered aesthetic that catches the light beautifully. But before you add one to your jewelry box, it is crucial to understand that "chain earrings" actually refer to three distinct styles, each with different piercing requirements.
- Threader Earrings: These feature a thin, rigid wire lead attached to a delicate chain. You thread the wire entirely through your piercing, allowing the chain to dangle on both sides of the earlobe.
- Piercing Connectors: These chains feature a clasp or jump ring on both ends, designed to connect two existing piercings (such as a standard lobe piercing to a helix or tragus piercing).
- Ear Cuff Chains: Ideal for non-pierced ears or those wanting a temporary look, these feature a tension cuff that slides onto the cartilage, with a chain draping down to a standard lobe stud or another cuff.
Understanding which type you are buying will dictate the gauge size you need and how the jewelry interacts with your anatomy.
Piercing Requirements and Gauge Sizes
The most common mistake beginners make is ignoring gauge thickness. The Association of Professional Piercers (APP) notes that wearing jewelry that is too thin for your piercing can cause the "cheese-cutter effect," where the thin wire slowly migrates through the tissue, leading to tearing and rejection.
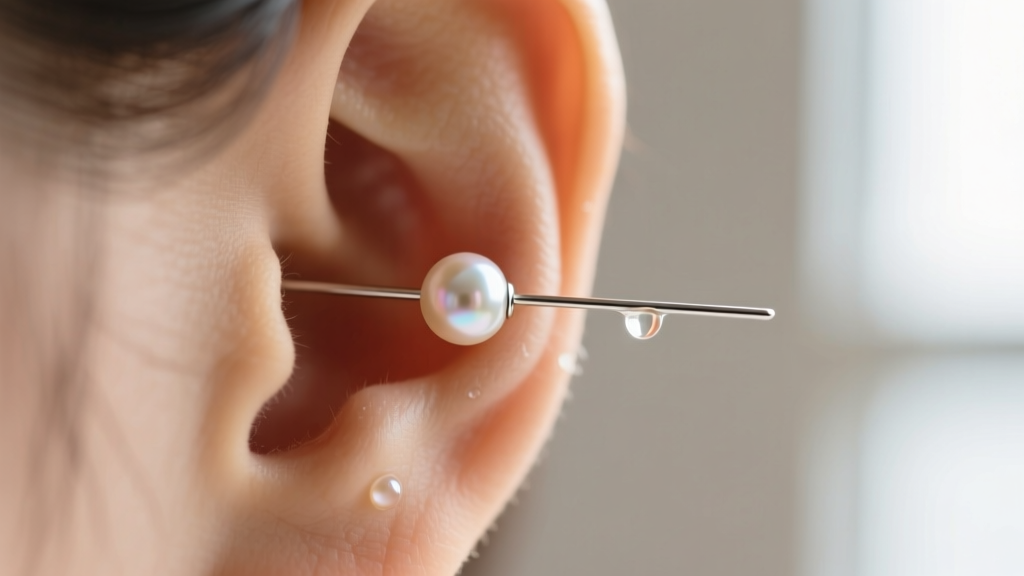
Standard Gauge Dimensions
Most standard earlobe piercings are done at 20-gauge (0.81mm) or 18-gauge (1.02mm). Cartilage piercings (like the helix or tragus) are typically 16-gauge (1.29mm).
Here is the catch with threader earrings: the rigid wire lead is often 22-gauge (0.64mm) to make pulling it through the ear painless. If your lobes were pierced at 18g or 16g, a 22g threader wire will feel loose and can irritate the fistula (the piercing tunnel) due to excessive movement. Always check the wire gauge before purchasing. If you have 18g piercings, look specifically for brands that offer 18g threader wires, or opt for a connector chain with standard 18g jump rings instead.
Healing Status
Never put a chain earring in an unhealed piercing. The chains snag easily, and the friction of a threader wire pulling through the earlobe will severely damage healing tissue. Wait at least 8 weeks for lobes and 6 to 12 months for cartilage before introducing chains.
Material Grades: What to Buy (and Avoid)
Because chains sit against the skin and move constantly, material quality is non-negotiable. Cheap alloys will tarnish, turn your skin green, and cause contact dermatitis. According to the Gemological Institute of America (GIA), understanding metal purity is essential for longevity and skin health.
| Material | Grade / Standard | Price Range | Best For |
|---|---|---|---|
| Implant-Grade Titanium | ASTM F136 | $40 - $90 | Sensitive ears, nickel allergies, daily wear |
| Solid Gold | 14k (58.5%) or 18k (75%) | $150 - $400+ | Heirloom quality, showering/sleeping, tarnish-free |
| Sterling Silver | 925 Stamp | $25 - $80 | Occasional wear (must be rhodium-plated to prevent tarnish) |
| Gold Plated Brass | N/A (Fashion Jewelry) | $10 - $30 | Avoid: Plating wears off quickly, exposing reactive brass |
Pro Tip: If you love the look of silver but have sensitive skin, look for "vermeil" (heavy gold plating over sterling silver) or rhodium-plated 925 silver, which adds a protective, hypoallergenic barrier against tarnish.
Step-by-Step: How to Put On a Threader Chain
Threader earrings can be intimidating for beginners because they lack a traditional backing. Here is the foolproof method to insert them without bending the delicate wire or dropping the chain.
- Prep the Area: Wash your hands and ensure your hair is tied back. Clean the earring wire with rubbing alcohol.
- Align the Wire: Hold the rigid wire lead between your thumb and index finger. Gently guide the tip into the front of your earlobe piercing.
- Pull, Don't Push: Reach behind your ear, grasp the tip of the wire as it exits the back of the piercing, and gently pull it through. Do not push from the front, as this can bend the wire.
- Adjust the Drape: Once the chain is halfway through, stop pulling. Adjust the front and back lengths to your preference. A popular styling choice is a short 1-inch drop in the front and a longer 2-inch drop in the back.
- Secure (Optional): If the chain slips out too easily, you can purchase tiny silicone threader stoppers (similar to earring backs) to slide onto the back of the chain and hold it in place.
Troubleshooting Common Chain Earring Issues

Chain earrings require a bit more maintenance than standard studs. Here are the most common failure modes and how to solve them:
1. The Chain Keeps Tangling in Hair
This is the number one complaint with connector and threader chains. The Fix: Avoid wearing loose, wavy hair down when wearing long chain drops. If you must wear your hair down, opt for "huggie" style chains that sit close to the ear, or use a clear silicone stopper on the back of a threader to keep the back-chain flush against your neck.
2. The Threader Wire Bent
The rigid lead wire on a threader earring is thin and will bend if forced through a tight or unhealed piercing. The Fix: Never force the wire. If your piercing is tight, use a sterile 20-gauge taper to gently stretch the fistula before inserting the threader. If the wire is already bent, you can carefully roll it on a flat glass surface with a hard plastic card to straighten it, but repeated bending will cause metal fatigue and snapping.
3. Ear Cuff Slipping Off
Non-pierced ear cuff chains rely on tension to stay on the cartilage. The Fix: The cartilage must be completely dry when applying the cuff. Oils from skincare or hair products will cause the metal to slide. Squeeze the cuff gently with pliers (pad the jaws with a microfiber cloth to avoid scratching the metal) to increase the tension grip on your specific ear anatomy.
Final Styling Tips for Beginners
When styling an earrings chain, balance is everything. Because the chain itself is a statement piece that draws the eye across the ear, keep your other jewelry minimalist. Pair a delicate gold threader chain with a simple diamond or pearl stud in the second lobe piercing. If you are wearing a connector chain from the lobe to the helix, leave the tragus and conch bare to let the chain's architecture stand out. By understanding gauge sizes, choosing implant-grade or solid gold materials, and mastering the insertion technique, you can wear chain earrings with confidence and comfort.


