Earrings, Hands, And Arthritis: Troubleshooting Guide
Struggling with fine motor skills? Discover expert troubleshooting for earrings, hands, and arthritis, featuring adaptive backs and insertion hacks.

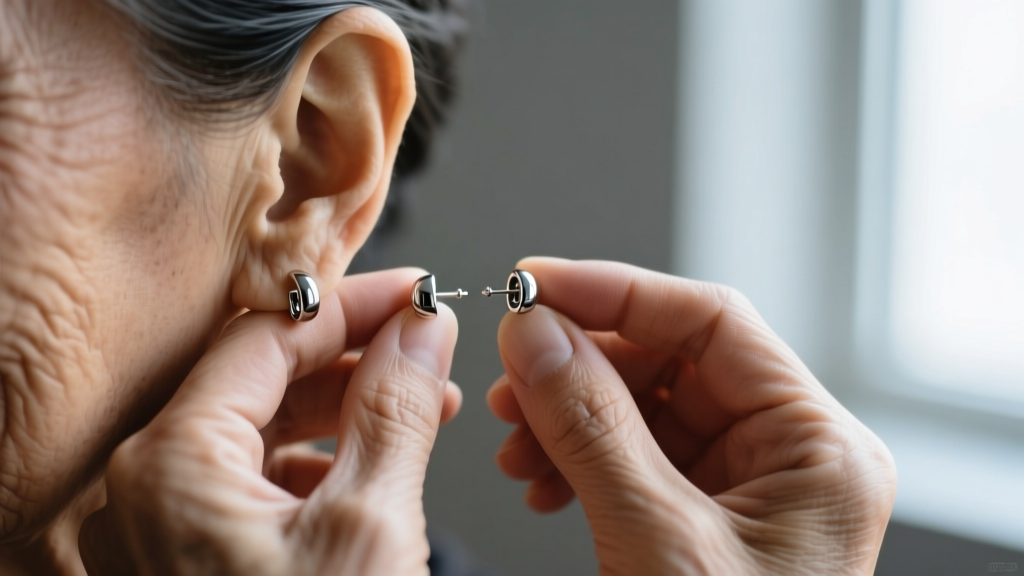
When it comes to managing a daily jewelry routine, the intersection of earrings, hands, and declining fine motor skills is a rarely discussed challenge. Whether you are navigating rheumatoid arthritis, essential tremors, peripheral neuropathy, or simply recovering from a hand injury, the standard mechanics of traditional jewelry can quickly turn a simple morning ritual into a frustrating ordeal. As of 2026, adaptive jewelry design has moved far beyond clunky medical aids, offering high-fashion solutions that prioritize biomechanical ease without sacrificing aesthetic appeal.
This comprehensive troubleshooting guide dives deep into the specific material grades, gauge sizes, and mechanical designs that can help you regain independence and comfort in your jewelry routine.
The Biomechanics of Jewelry: Why Fine Motor Skills Matter
The traditional 'butterfly' friction back requires a precise, sustained pinch grip to compress the metal loops while simultaneously applying forward pressure to the earring post. According to the Arthritis Foundation, tasks requiring this level of fine pincer grasp are often the first to become painful or impossible for individuals with osteoarthritis in the distal interphalangeal (DIP) joints.
Furthermore, aligning a 0.8mm post with a 1mm piercing fistula (the hole in your earlobe) requires steady hand-eye coordination and micro-muscle control. When your hands tremor or lack grip strength, forcing a post can lead to micro-tears in the fistula, irritation bumps, and eventual rejection of the piercing.
Best Earring Backs for Limited Hand Mobility
Ditching the standard friction back is the single most effective troubleshooting step you can take. Below is a comparison of adaptive earring backs, ranked by their dexterity requirements and security.
| Earring Back Type | Dexterity Required | Security Level | Best For |
|---|---|---|---|
| Leverback (Hinged) | Very Low | High | Dangles and lightweight hoops |
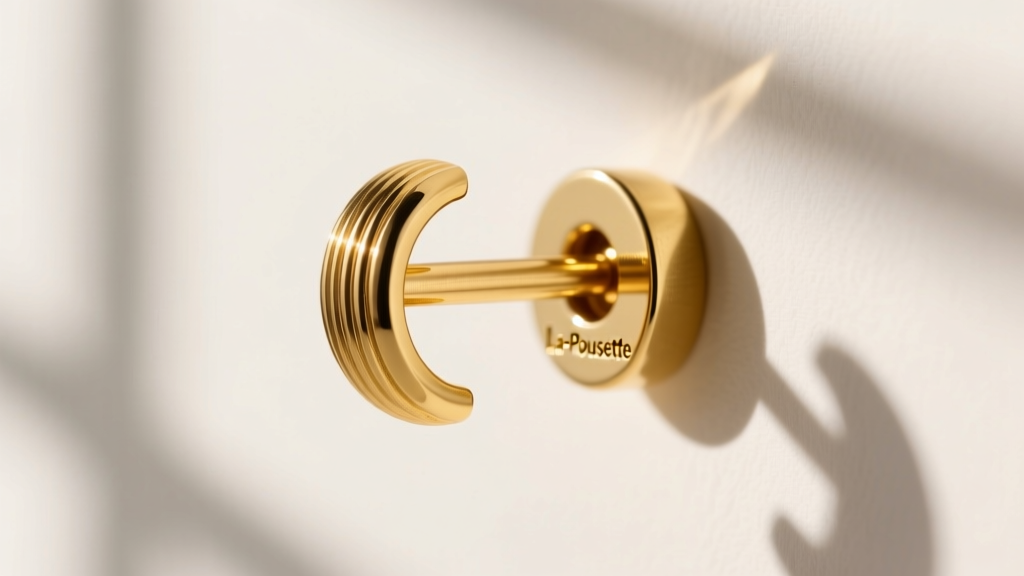
| La-Pousette (Locking) | Low | Very High | Valuable studs and heavy drops |
| Silicone O-Rings | Low-Medium | Medium | Casual wear and sensitive lobes |
| Magnetic Backs | Medium | Low-Medium | Temporary wear (risk of loss) |
| Threadless (Push-Pin) | Very Low | Very High | Cartilage, labrets, and secure studs |
Expert Pick: The La-Pousette back features a dual-spring locking mechanism with wide, easy-grip ridges. You simply push it on and pull the outer ridges to release it, entirely eliminating the need to squeeze tiny metal tabs.
Troubleshooting Common Insertion Failures: The Gauge Factor
A common misconception is that thinner wire is easier to insert. In reality, ultra-thin wires (like 22-gauge / 0.64mm) are highly flexible and prone to bending when they meet the slight resistance of a healing or tight fistula. For shaky hands, rigidity is your friend.
- 18-Gauge (1.02mm): The optimal sweet spot for limited dexterity. The thicker wire provides a rigid shaft that will not bend under uneven pressure, making it significantly easier to guide through the lobe.
- 20-Gauge (0.81mm): The industry standard for commercial earrings. Acceptable, but ensure the post has a rounded, polished tip rather than a blunt cut.
- 16-Gauge (1.29mm): Ideal for cartilage and structural pieces, but requires a well-established, fully healed piercing channel.
Troubleshooting Tip: If your earring post feels 'stuck' halfway through, do not force it. Remove it, apply a microscopic drop of sterile jojoba oil or vitamin E oil to the post, and try again at a slightly different angle. The fistula may have shifted slightly due to sleeping positions.
Adaptive Tools and 'Hands-Free' Hacks
If you cannot comfortably grip the earring post itself, the market now offers specialized adaptive tools designed specifically for jewelry insertion.
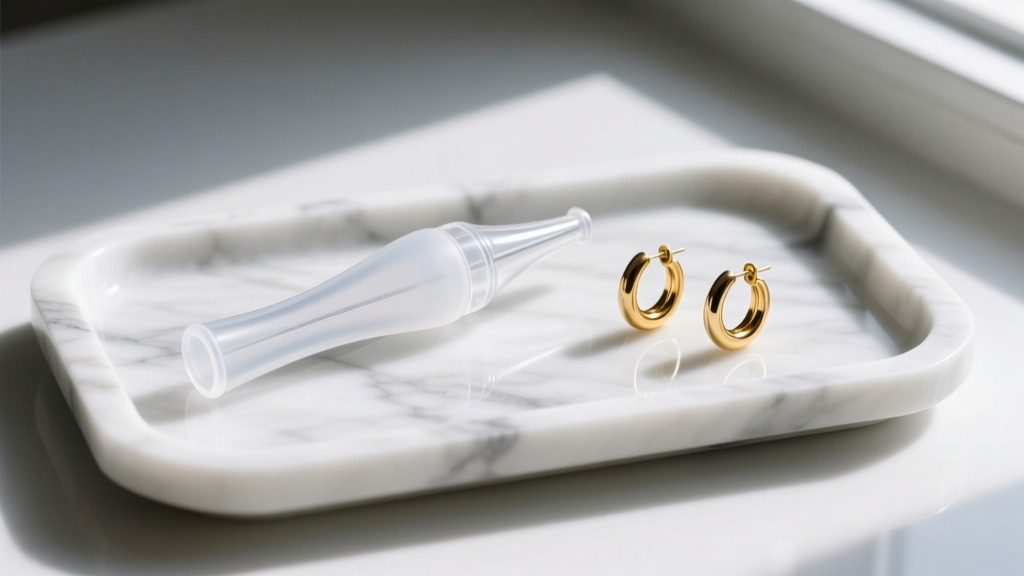
- Earring Insertion Tubes: These are small, flexible, medical-grade silicone cones. You place the narrow end against your piercing hole and drop the earring post into the wide end. The silicone funnel guides the post perfectly into the fistula without requiring you to hold the post near your ear.
- Threader Aids: Similar to sewing needle threaders, these feature a rigid handle with a fine wire loop that pulls the earring back through the post.
- Stabilizing Mirrors: A magnifying, well-lit tabletop mirror with a stabilizing base removes the need to hold a hand mirror, freeing up your non-dominant hand to support your dominant wrist.
Cartilage vs. Lobe: Adjusting Your Strategy
Cartilage piercings (helix, tragus, conch) present a unique set of biomechanical challenges. The angle of insertion is often blind, and the tissue is much denser than a lobe.
The Association of Professional Piercers (APP) heavily advocates for threadless (push-pin) jewelry for individuals with mobility issues. Brands like Neometal and Anatometal manufacture implant-grade titanium threadless ends. Instead of screwing a tiny ball onto a post (a nightmare for neuropathy), you slightly bend the pin, push it into the hollow post, and the tension holds it securely. Removal requires a simple, firm pull—no twisting or pinching required.
For cartilage, opt for flat-back labrets rather than standard butterfly backs. The flat disc rests flush against the back of the ear, preventing the sharp post ends from catching on hair or clothing, which is crucial if you lack the dexterity to quickly untangle a snagged earring.
Expert Maintenance Tips to Prevent Seizing
Nothing is more defeating than managing to insert an earring, only to find the back has seized or cross-threaded when it is time to take it out. To prevent this:
- Never Over-Tighten Screw-Backs: If you must wear threaded jewelry, tighten it only until you feel resistance, then give it a quarter-turn. Over-tightening strips the micro-threads.
- Weekly Ultrasonic Cleaning: Sebum, dead skin cells, and hair products build up in the threading of earring backs, acting like cement. A cheap, tabletop ultrasonic jewelry cleaner filled with warm water and a drop of mild dish soap will keep threads pristine and easy to turn.
- The Rubber Glove Trick: If a friction back or screw-back is stuck and your fingers are slipping, put on a pair of textured nitrile or rubber dishwashing gloves. The immense increase in friction will allow you to grip and twist the back off without requiring painful pinch-force.
By rethinking the mechanical interfaces between your jewelry and your body, you can bypass the limitations of dexterity and continue to express your personal style with confidence and ease.


