How to Wear Earrings Without Backs: Troubleshooting & Fixes
Lost your earring back or dealing with painful posts? Discover expert troubleshooting tips and the best earrings without backs for secure, pain-free wear.

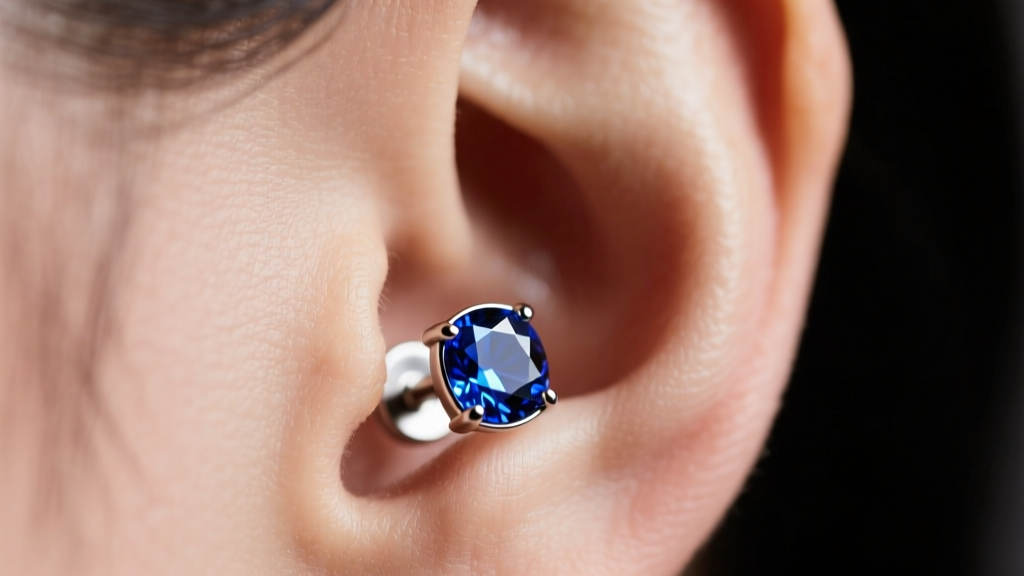
Whether you are dealing with the sudden panic of a lost friction back, chronic earlobe pain from sleeping in standard studs, or persistent allergic reactions to cheap metal clasps, the search for reliable earrings without backs is a common troubleshooting journey. Standard butterfly backs and friction push-backs are notoriously flawed: they trap sebum, exert uneven pressure on the piercing fistula, and frequently fall off into carpets or bathroom sinks.
As a jewelry specialist, I frequently help clients transition away from traditional backing systems toward secure, backless alternatives. This guide breaks down the exact failure modes of standard earring backs, provides emergency troubleshooting hacks for when you lose a back, and details the permanent, high-quality backless earring mechanisms that will change how you wear jewelry.
The Core Problems: Why Standard Earring Backs Fail
Before upgrading your jewelry box, it is essential to understand why traditional earring backs cause so many problems. The standard 'butterfly' or 'scroll' back relies on a tiny metal clutch that grips the post via friction. This design presents three major failure modes:
- Pressure Necrosis and Pain: Butterfly backs often clamp too tightly against the earlobe. This restricts blood flow and causes pressure necrosis, leading to tender, swollen lobes, especially when sleeping.
- Bacterial Traps: The intricate crevices of a friction back trap dead skin cells, sebum, and hair products. This creates an ideal environment for localized infections and 'ear cheese' (the odor caused by bacterial breakdown of sebum).
- Snag Hazards: The protruding wings of a butterfly back easily catch on hairbrushes, sweaters, and towels, pulling the earring out entirely and potentially tearing the piercing channel.
Emergency Troubleshooting: What to Do When You Lose a Back
If your earring back has just fallen off and you need to secure the post immediately, do not resort to damaging the jewelry or your piercing. Here are the safest temporary troubleshooting fixes to keep your earring in place until you can acquire a proper replacement or upgrade to earrings without backs.
1. Silicone O-Rings (The Best Temporary Fix)
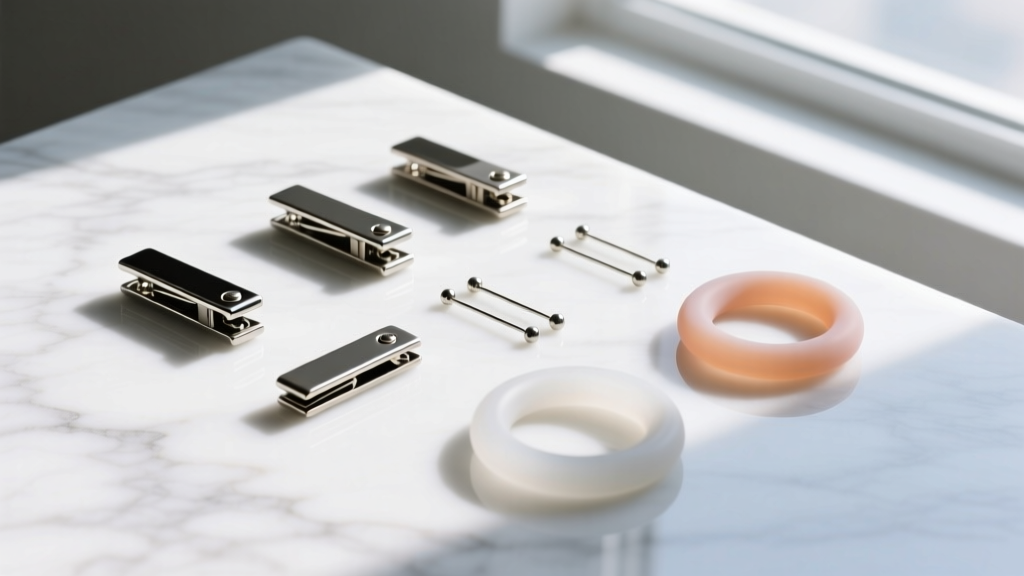
Keep a pack of 1mm or 1.5mm silicone O-rings (often used for body jewelry or plumbing) in your bathroom. Slide one over the post and push it flush against the earlobe. Silicone provides immense friction, is hypoallergenic, and will not damage the metal post.
2. The Pencil Eraser Hack
In a true emergency, take a clean, soft pencil eraser and push the earring post directly into it. Twist slightly to create a custom-molded friction grip. This is strictly a 24-hour emergency fix, as rubber degrades and can harbor bacteria.
3. Medical Tape or Hydrocolloid Patches
Cut a tiny square of breathable medical tape or a hydrocolloid acne patch. Pierce the earring post through the adhesive side, insert it into your ear, and press the adhesive flat against the back of your lobe. This provides excellent security and protects the skin from metal contact.
Permanent Solutions: Upgrading to Backless Earring Styles
To permanently eliminate the frustration of lost backs and lobe pain, you need to transition to jewelry engineered without external clutches. Here are the three most secure backless earring mechanisms used by professional piercers and fine jewelers.
Threadless (Press-Fit) Labrets
Threadless jewelry is the gold standard for secure, backless wear. Instead of a backing, the jewelry consists of a hollow post that sits inside the piercing, and a decorative end with a slightly bent pin. The pin inserts into the hollow post, and the spring tension of the bent metal holds it firmly in place. Because there is no backing, the jewelry sits completely flush against the back of the ear or lobe, making it entirely painless to sleep in.
Continuous Segment Rings
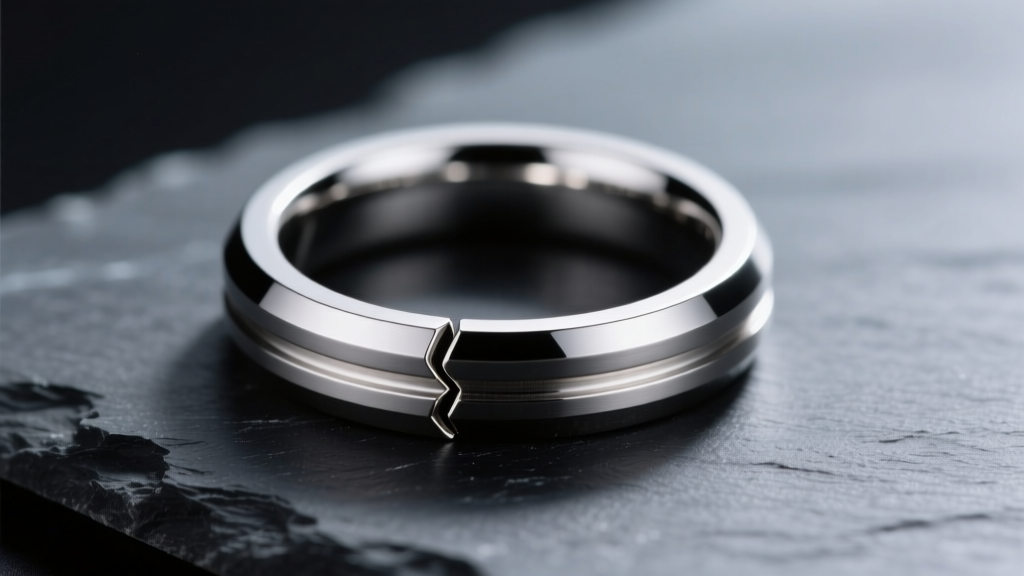
For hoop lovers, continuous segment rings eliminate the need for clasps or hinges. The ring features a tiny, curved segment wire that snaps into the hollow end of the hoop. Once inserted, the tension of the metal keeps the segment locked in place, creating a seamless, backless hoop that rotates freely through the piercing without catching on hair.
Hinged Clicker Rings
While technically featuring a closure mechanism, hinged clickers do not require a separate 'back' piece. The segment is permanently attached via a microscopic hinge and snaps into a recessed groove with an audible 'click.' They are incredibly secure for cartilage and daith piercings, though slightly bulkier than continuous rings.
Expert Insight: When purchasing threadless or clicker jewelry, always verify the post gauge. Standard commercial earrings are usually 20-gauge (0.8mm) or 18-gauge (1.0mm). However, high-end body jewelry brands like BVLA or Anatometal typically use 16-gauge (1.2mm) or 14-gauge (1.6mm) posts for superior stability and to prevent the 'cheese-cutter' effect in delicate piercings.
Material Troubleshooting: Solving Allergic Reactions
A frequent reason people seek out alternative earring setups is contact dermatitis caused by the nickel content in standard friction backs. Even jewelry labeled as 'surgical steel' can contain up to 10% nickel, which leaches into the skin when exposed to sweat and moisture. According to research published in the Journal of Clinical and Aesthetic Dermatology, nickel is the most common contact allergen worldwide, frequently manifesting as itchy, flaky skin directly behind the earlobe.
To troubleshoot this, you must upgrade to implant-grade materials. The Association of Professional Piercers (APP) strictly recommends ASTM F136 implant-grade titanium for all initial and sensitive piercings. This specific alloy contains zero nickel and is biocompatible, meaning your body will not react to it. When shopping for backless threadless ends or continuous hoops, always look for the 'ASTM F136' certification to ensure you are not buying commercial-grade titanium alloys that may still contain trace allergens.
Comparison Chart: Backless Earring Mechanisms
Use the table below to determine which backless earring style best fits your troubleshooting needs, lifestyle, and budget.
| Mechanism Type | Security Level | Best Use Case | Avg. Price Range | Learning Curve |
|---|---|---|---|---|
| Threadless (Press-Fit) | Extremely High | Lobes, flat, helix, tragus | $40 - $150+ | Moderate (requires pin bending) |
| Continuous Segment Ring | High | Cartilage hoops, septum, lobes | $25 - $60 | High (segment wire is fragile) |
| Hinged Clicker | Very High | Daith, rook, thick cartilage | $35 - $90 | Very Low (snap and go) |
| Magnetic Studs | Low | Non-pierced ear cuffs / faux lobes | $10 - $30 | Low (but high loss rate) |
| Silicone O-Rings (Hack) | Moderate | Emergency temporary fixes | $2 - $5 (bulk) | Low |
Step-by-Step: How to Insert Threadless Jewelry
Threadless jewelry is the ultimate solution for those seeking earrings without backs, but it requires a specific insertion technique to ensure the tension-fit holds securely. If your threadless end keeps falling out, the pin is likely not bent enough. Follow these steps to troubleshoot and fix the fit:
- Insert the Pin: Push the decorative end's pin about one-third of the way into the hollow post.
- Create the Bend: Gently bend the pin upward at a 15-to-20-degree angle. You only need a very slight curve; over-bending will make it impossible to insert.
- Test the Tension: Push the pin all the way into the post. You should feel noticeable resistance. If it slides in too easily, remove it and bend it slightly more.
- Secure the Jewelry: Insert the hollow post through your piercing from the back. Push the decorative end into the front of the post until it sits flush against the skin.
- Removal Trick: To remove, do not just pull. Grip the decorative end and the flat back of the post, and use a gentle twisting and pulling motion to break the spring tension.
Final Troubleshooting Tips for Backless Wear
Transitioning to earrings without backs requires a slight shift in how you handle your jewelry. Always store threadless ends and continuous rings in a dedicated silicone organizer or a small pill case. Because these pieces lack bulky backs, they are incredibly small and easily lost in sink drains or carpet fibers. Furthermore, never use pliers to adjust continuous segment wires or threadless pins; the oils and grip strength of your fingers are sufficient and will prevent micro-fractures in the metal. By upgrading to implant-grade titanium threadless studs or seamless clickers, you will permanently eliminate the pain, allergies, and frustrations associated with traditional earring backs.


