Crafting Epoxy Earrings: Resin Grades, Curing, and Clarity
Master the material science of epoxy earrings. Explore resin grades, viscosity metrics, bubble mitigation, and post-curing for perfect casts.

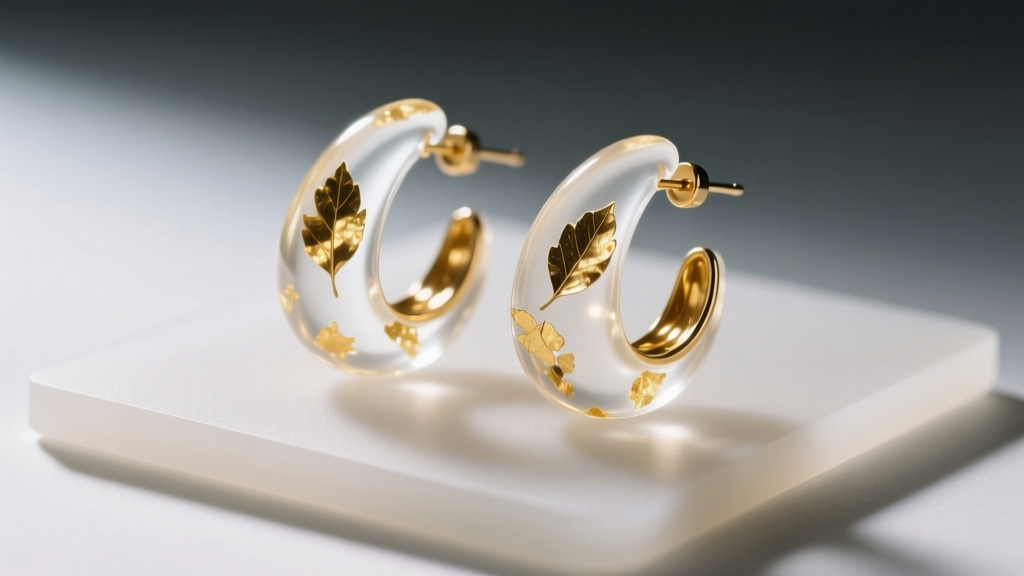
The Material Science of Jewelry-Grade Epoxy
Creating flawless epoxy earrings requires moving beyond basic craft resins and understanding the underlying polymer chemistry. Professional jewelry makers rely on Bisphenol-A (BPA) or Bisphenol-F (BPF) based epoxies, which offer superior mechanical strength and optical clarity compared to cheaper alternatives. However, the primary enemy of epoxy jewelry is photo-oxidation, which leads to the dreaded yellowing effect over time.
To combat this, high-end jewelry-grade resins are formulated with HALS (Hindered Amine Light Stabilizers) and UV absorbers like Tinuvin 1130. According to polymer degradation studies published by the National Center for Biotechnology Information (NCBI), the synergistic use of UV absorbers and HALS significantly delays the photo-yellowing of epoxy networks by scavenging free radicals before they can break down the polymer chains. When sourcing resin for earrings, always check the technical data sheet (TDS) for the explicit inclusion of these stabilizers.
Viscosity and Bubble Mitigation Strategies
Viscosity, measured in centipoise (cP), dictates how well your resin flows into intricate earring molds and how effectively it releases trapped air. For highly detailed geometric or floral earring molds, a low-viscosity resin (200–500 cP) is essential. However, low-viscosity resins struggle to suspend heavy inclusions like mica powders or metal flakes, which will sink to the bottom before the gel phase begins.
For suspended inclusions, a medium-viscosity resin (800–1200 cP) provides the ideal rheological profile. Regardless of the viscosity, mixing two-part epoxy inevitably introduces micro-bubbles. While heat guns and torches can pop surface tension bubbles, they do nothing for deep-seated air pockets. Professional studios utilize vacuum degassing chambers, pulling the mixed resin down to 29 inHg (inches of mercury). This drops the atmospheric pressure, causing trapped air bubbles to expand and rise to the surface where they burst, ensuring crystal-clear casts for your epoxy earrings.
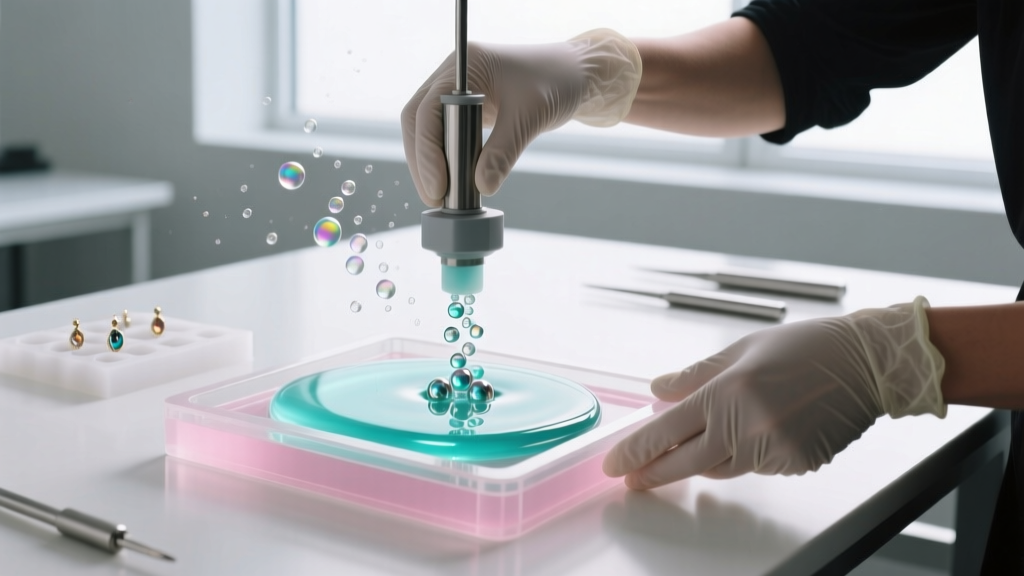
Technical Comparison: UV-Cure vs. Two-Part Epoxy
Many beginners confuse UV-curing resins with traditional two-part epoxy. While UV resins offer rapid curing times, they possess distinct limitations in jewelry manufacturing. Below is a technical breakdown of how they compare for earring production.
| Property | Two-Part Jewelry Epoxy | UV-Cure Resin |
|---|---|---|
| Curing Mechanism | Chemical cross-linking (exothermic) | Photopolymerization (UV light) |
| Maximum Pour Depth | Up to 2 inches (depending on formulation) | 5mm - 10mm per layer |
| Shrinkage Rate | 1% - 2% | 5% - 10% |
| Yellowing Resistance | High (with HALS/UV additives) | Moderate to Low |
| Best Use Case | Thick, sculptural, or embedded earrings | Thin coatings, quick doming, small studs |
For structural epoxy earrings that require embedded hardware or exceed 10mm in thickness, two-part epoxy remains the undisputed industry standard due to its lower shrinkage rate and superior depth-curing capabilities.
Mold Selection and Demolding Techniques
The quality of your epoxy earrings is directly limited by the quality of your mold. Platinum-cure silicone is the mandatory choice for jewelry casting, as tin-cure silicones suffer from high shrinkage and degrade quickly when exposed to epoxy resins. When selecting a platinum-cure silicone, pay close attention to the Shore A hardness rating.
Shore Hardness and Tear Strength
According to Smooth-On's technical guidelines, Shore hardness measures the material's resistance to indentation. For earring molds, a Shore 10A to 15A silicone provides the perfect balance. It is flexible enough to allow you to peel the mold away from delicate, undercut epoxy shapes without snapping the resin, yet rigid enough to maintain dimensional accuracy during the exothermic curing process. Always apply a specialized release agent, such as a PVA (polyvinyl alcohol) spray or a dedicated silicone release wax, to extend the lifespan of your mold and guarantee a high-gloss finish directly out of the cast.
Post-Curing, Finishing, and Hardware Integration
Demolding your epoxy earrings is not the final step. To achieve maximum mechanical strength and thermal resistance, the resin must undergo a post-curing process. While the resin may feel hard to the touch after 24 hours, the polymer chains have not fully cross-linked. By placing the cast earrings in a temperature-controlled oven or food dehydrator at 120°F (49°C) for 4 to 6 hours, you raise the Glass Transition Temperature (Tg) of the epoxy. This ensures the earrings will not warp or become tacky when exposed to body heat or summer sunlight.
Once post-cured, the edges may require refinement. Wet-sanding with micro-mesh pads, progressing sequentially from 1,500 up to 12,000 grit, followed by a final buff with a specialized plastic polish (like Novus #2), will restore optical clarity to any scuffed edges. Integrating hardware, such as titanium or surgical steel posts, requires precise timing. You can either embed the posts directly into the resin during the gel phase or drill a 1mm pilot hole post-cure and secure the post using a secondary structural adhesive like E6000 or a fast-setting 5-minute jeweler's epoxy.
Troubleshooting Common Epoxy Failures
Even experienced jewelers encounter casting anomalies. Understanding the root causes of these failures is critical for maintaining a professional production line.
- Amine Blush (Carbamation): A greasy, waxy film that forms on the surface of the cured resin. According to West System, this occurs when the amine hardener reacts with moisture and carbon dioxide in the air. To prevent this, maintain your studio environment below 50% relative humidity. If blush occurs, it must be removed by washing with warm soapy water and a Scotch-Brite pad before sanding or applying a topcoat.
- Exothermic Flash Cure: If you mix a large batch of fast-curing epoxy, the trapped heat can cause the resin to boil, crack, or yellow instantly. Always mix in shallow, wide containers to dissipate heat and adhere strictly to the manufacturer's maximum batch volume limits.
- Tacky Surfaces: Usually caused by inaccurate 1:1 mixing ratios by volume rather than weight. Always use a digital gram scale accurate to 0.1g to measure your Part A and Part B components, as the density of the resin and hardener often differ slightly.
Final Thoughts on Epoxy Earring Mastery
Mastering the creation of epoxy earrings is a pursuit of chemical precision and environmental control. By selecting UV-stabilized formulations, managing viscosity, utilizing vacuum degassing, and implementing thermal post-curing, you elevate your jewelry from amateur crafts to professional-grade wearable art. As we move through 2026, newer bio-based epoxy alternatives are entering the jewelry market, promising lower carbon footprints without sacrificing clarity. Staying informed on these polymer advancements and curing methodologies will keep your earring designs at the absolute forefront of the jewelry industry.


