How to Put in Hoop Earrings: Expert Guide by Closure Type
Learn exactly how to put in hoop earrings with our expert technical guide. Master hinge, clicker, and continuous closures with pro troubleshooting tips.

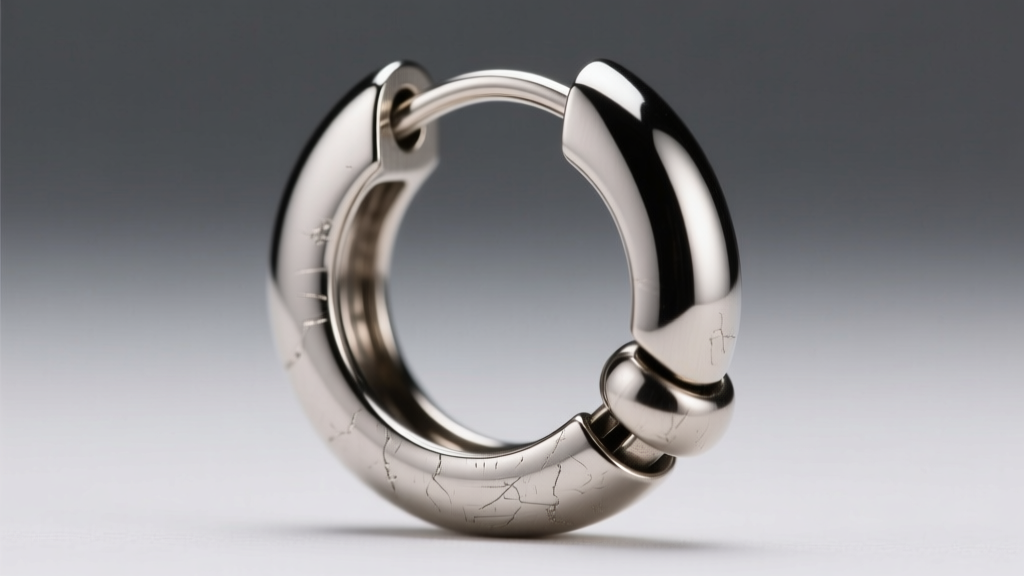
The Anatomy of a Hoop: Why Closure Type Dictates Technique
Understanding how to put in hoop earrings requires more than just dexterity; it demands a fundamental understanding of jewelry mechanics. Unlike standard butterfly-back studs, hoop earrings rely on complex closure systems—ranging from microscopic hinge pins to precise metallurgical tension. Forcing a hoop into a piercing without respecting its specific mechanical design is the leading cause of bent wires, stripped hinges, and traumatized fistulas (the piercing channel).
Before attempting insertion, you must identify your closure mechanism. The four primary architectures in modern body jewelry are hinged segment rings (clickers), continuous (endless) hoops, latch-back/lever-back clasps, and captive bead rings (CBRs). Each requires a distinct vector of force and handling technique to preserve the structural integrity of the metal and the health of your piercing.
Step-by-Step: How to Put in Hoop Earrings by Mechanism
1. Hinged Segment Rings (Clickers)
Hinged segment rings feature a microscopic pin-and-detent mechanism. They are the gold standard for healed cartilage piercings like the daith, rook, and septum due to their seamless appearance when closed.
- The Technique: Hold the ring by the hinged section. Gently swing the movable segment open. Align the post with your piercing channel and push it through. Once the post exits the fistula, guide the tip of the post into the receiving groove on the opposite side of the hinge.
- The Tactile Cue: Apply gentle upward pressure until you hear and feel a definitive 'click'. This indicates the detent pin has seated correctly into the groove.
- Failure Mode: Never force the click. If the pin is misaligned and you squeeze the ring shut, you will bend the internal pin, rendering the closure permanently defective.
2. Continuous (Endless) Hoops
Continuous hoops consist of a single piece of wire with a hollow receiving tube on one end and a slightly tapered, rounded pin on the other. They are notoriously difficult for beginners but offer the most seamless aesthetic for lobe and helix piercings.
- The Technique: The golden rule of continuous hoops is twist, never pull. Grip the ring on either side of the break point. Twist your hands in opposite directions (like revving a motorcycle) to open a gap. Thread the pin through the piercing, then twist the ends back into alignment.
- The Tactile Cue: The pin should slide into the hollow tube with a smooth, friction-fit glide. The tension of the wire's circular memory will hold it in place.
- Failure Mode: Pulling the ends laterally apart will warp the wire, turning a perfect circle into an oval. Once warped, the pin will never align with the tube again without professional re-shaping with nylon-jaw pliers.
3. Latch-Back and Lever-Back Hoops
Common in traditional fine jewelry, these feature a hinged wire that snaps into a grooved latch. They are best suited for standard earlobe piercings and rarely used in cartilage due to their bulky closure mechanism.
- The Technique: Pull the hinged wire outward from the base. Thread the wire through the lobe from front to back. Bring the wire down into the 'U' shaped latch at the bottom of the hoop.
- The Tactile Cue: A soft snap indicates the wire has seated into the latch groove.
4. Captive Bead Rings (CBRs)
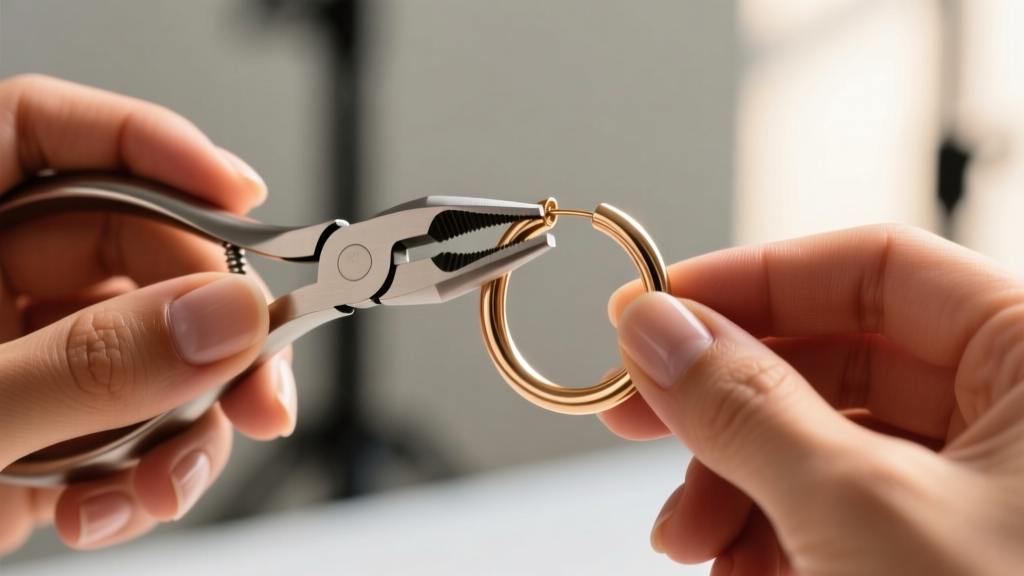
CBRs rely entirely on the tensile strength of the metal ring to hold a small bead in place between two dimpled ends. They are a staple for septum and nipple piercings but require specialized tools for safe handling.
- The Technique: You must use ring-opening pliers. Insert the pliers into the center of the ring and gently expand the handles to spread the gap just wide enough for the bead to drop out. Insert the ring through the piercing, align one dimple with a hole in the bead, and use ring-closing pliers to compress the ring until the second dimple snaps over the opposite side of the bead.
- Failure Mode: Attempting to pry a 14-gauge or 12-gauge CBR open with your bare hands will permanently deform the ring and result in lost beads and scratched jewelry.
Technical Specifications: Gauge, Diameter, and Placement
Selecting the correct dimensions is just as critical as mastering the insertion technique. A hoop that is too small in diameter will cause migration and irritation bumps, while a gauge that is too thin can cause the 'cheese-cutter effect' in healing tissue.
| Gauge (AWG) | Millimeter | Standard Placement | Recommended Closure for Healing |
|---|---|---|---|
| 20G | 0.81mm | Standard Lobe, Nostril | Continuous Hoop, Latch-Back |
| 18G | 1.02mm | Helix, Forward Helix, Nostril | Clicker, Continuous Hoop |
| 16G | 1.29mm | Septum, Cartilage, Conch | Clicker, CBR |
| 14G | 1.63mm | Septum, Nipple, Industrial | CBR, Clicker |
Troubleshooting Common Insertion Failures
Even seasoned jewelry enthusiasts encounter mechanical hiccups. Here is how to troubleshoot the most frequent issues without damaging your jewelry or your piercing.
'If a piece of jewelry requires excessive force to close, it is either misaligned, the wrong size for your anatomy, or mechanically defective. Body jewelry should never be a battle of brute strength.' — Association of Professional Piercers (APP)
The Hinge Won't Snap Shut
Diagnosis: Micro-debris (dead skin cells, sebum, or soap residue) is blocking the detent groove, or the pin is slightly bent.
Solution: Remove the jewelry. Soak it in warm water with a drop of mild, fragrance-free soap. Use a soft-bristled toothbrush to gently clean the receiving groove. Dry completely and try again. If it still fails, the pin is bent; retire the piece.
The Continuous Wire Keeps Slipping Out
Diagnosis: The wire has been warped from lateral pulling, destroying the friction-fit tension, or the gauge is too thin for the piercing's fistula.
Solution: Inspect the ring under a magnifying glass. If it is no longer perfectly circular, it must be replaced. To prevent this, always use the 'twist' method described above.
The CBR Bead Keeps Popping Out
Diagnosis: The ring's inner diameter is too small, creating excessive outward pressure that pushes the bead out, or the dimples are worn smooth.
Solution: Upsize the inner diameter by 1-2mm. For example, if an 8mm CBR keeps dropping the bead, switch to a 10mm CBR to reduce the tensile strain on the closure point.
Material Considerations and Piercing Health
The mechanics of insertion are deeply tied to the material of the hoop. When dealing with fresh or easily irritated piercings, the metallurgical grade of your jewelry dictates how smoothly it will glide through the fistula.
According to guidelines endorsed by the Mayo Clinic and professional piercing organizations, ASTM F136 implant-grade titanium is the superior choice for hoops. Titanium boasts a mirror-polish finish that creates significantly less friction during insertion compared to 316L surgical steel, which can harbor microscopic surface pitting. Furthermore, titanium is entirely nickel-free, eliminating the risk of contact dermatitis that can cause the fistula to swell, making subsequent hoop insertions painful and difficult.
Always ensure your hoops feature an internally threaded or threadless (push-pin) design if they involve screw components, though most high-end clickers and CBRs avoid threading at the insertion point entirely to protect the tissue from micro-tears.
Final Pro Tips for Longevity
- Lubrication: For stubborn insertions in healed piercings, apply a microscopic drop of sterile saline or water-based lubricant to the post. Never use petroleum-based products, which can degrade certain O-rings or trap bacteria.
- Storage: Store clickers and CBRs in a soft-lined jewelry box. Tossing them into a drawer allows the delicate hinge pins and tension beads to scratch and degrade.
- Tool Investment: If you wear CBRs regularly, invest in professional-grade stainless steel ring opening and closing pliers. They pay for themselves by preventing the ruination of expensive gold or titanium rings.
Mastering how to put in hoop earrings is a blend of anatomical awareness and mechanical respect. By matching your insertion technique to the specific architecture of your jewelry, you ensure a seamless, painless experience and extend the lifespan of your collection.


