How to Style and Secure a Spider Earring: The Ultimate Guide
Learn how to fit, style, and secure a spider earring on your cartilage or lobe. Expert tips on gauge sizes, materials, and multi-leg cuff placement.

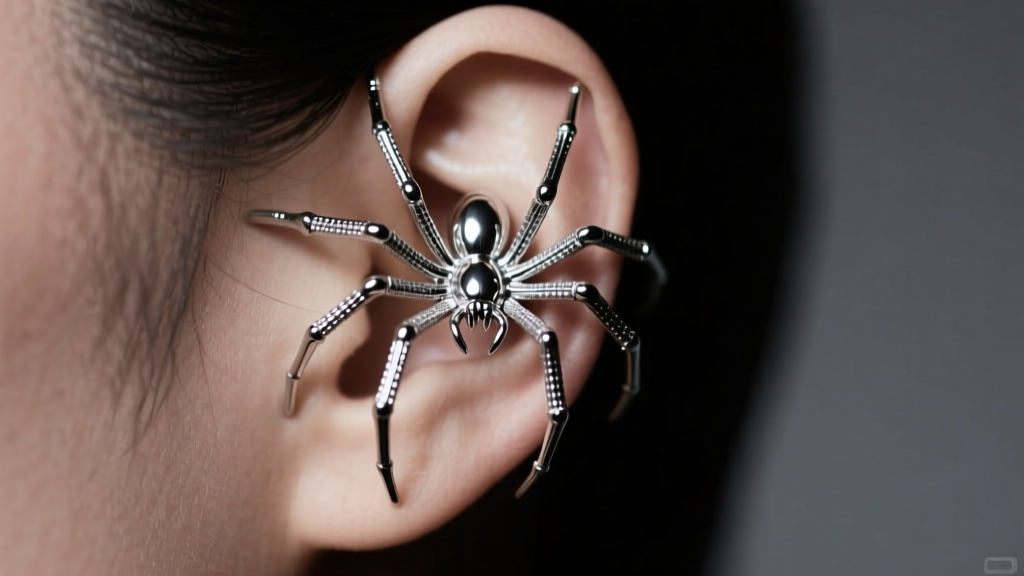
As we navigate the jewelry trends of 2026, the once-niche spider earring has crawled out of the Halloween prop box and firmly into the realm of high-fashion, year-round curated ears. Whether you are opting for a literal arachnid motif stud or a multi-pronged cartilage wrap that mimics the creeping legs of a spider, this style offers an edgy, architectural element to your ear stack. However, the intricate design of these pieces introduces unique fitting challenges. A poorly fitted cartilage cuff will slip, while a low-quality motif stud can cause severe contact dermatitis. This comprehensive, step-by-step guide will teach you exactly how to select, fit, and style a spider earring for long-lasting wear and maximum aesthetic impact.
Decoding the Spider Earring: Cuffs vs. Motif Studs
Before adjusting any metal, it is crucial to understand the two primary categories of spider earrings available on the market today. The first is the multi-leg cartilage cuff. This non-piercing or semi-piercing piece features a central band with three to five wire 'legs' that wrap over the helix or conch ridge, securing the piece through tension and anatomical contouring. The second is the arachnid motif stud, which requires a standard piercing and features a literal spider design, often encrusted with micro-pave diamonds or black onyx. Understanding which type you are working with dictates your approach to sizing, gauge selection, and daily maintenance.
Step 1: Selecting the Right Metal and Gauge
The foundation of any successful ear styling session is material integrity. Because spider ear cuffs wrap tightly against the skin and trap heat and moisture, and because motif studs sit flush against the lobe, metal allergies are a primary failure point. According to the Association of Professional Piercers (APP), only specific grades of metal should be worn in or tightly against the skin for extended periods.
| Metal Type | Grade / Standard | Best Use Case | Average Price Range |
|---|---|---|---|
| Implant-Grade Titanium | ASTM F-136 | Fresh piercings, highly sensitive skin, motif studs | $45 - $120 |
| Niobium | Reactive / Pure | Hypoallergenic cuffs, anodized color variations | $30 - $85 |
| Sterling Silver | 925 (Nickel-Free) | Fully healed lobes, occasional cuff wear | $25 - $60 |
| Surgical Steel | 316L (Avoid if possible) | Healed cartilage (contains trace nickel) | $15 - $40 |
For a pierced spider motif stud, ensure the post is 18-gauge (1.0mm) or 20-gauge (0.8mm), which are the standard sizes for lobe and upper cartilage piercings. If you are purchasing a multi-leg cuff, look for an inner diameter of 8mm to 10mm, which accommodates the average human helix ridge.
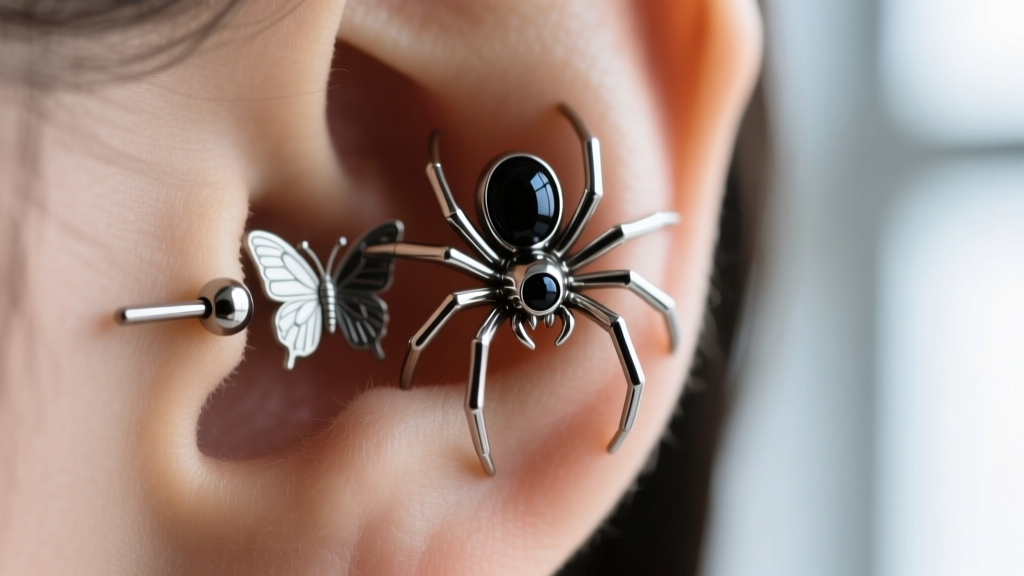
Step 2: How to Fit a Multi-Leg Spider Cartilage Cuff
Fitting a multi-leg spider cuff requires patience and an understanding of your unique ear anatomy. Unlike a simple C-shaped hoop, a spider cuff relies on multiple tension points. Follow these steps to secure it without causing metal fatigue or discomfort:
- Map Your Helix Ridge: Run your finger along the outer rim of your ear. You need a pronounced, raised ridge of cartilage for the 'legs' of the cuff to hook onto. If your helix is flat or folds inward sharply, a tension cuff will constantly slip.
- The Pinch and Slide Technique: Gently squeeze the top and bottom of the cuff's main band to widen the gap. Slide the piece onto the thinnest part of your upper ear rim.
- Seat the Legs: Once the main band is in place, use your thumb and forefinger to gently press each wire 'leg' over the cartilage ridge. Do not bend the legs back and forth; this causes work-hardening and will eventually snap the metal.
- The Tension Test: Gently tug the cuff downward. It should resist movement. If it slides, use needle-nose pliers with nylon jaws to micro-adjust the curvature of the main band, not the legs.
Step 3: Styling the Arachnid Aesthetic
A spider earring is a statement piece that demands a thoughtful supporting cast. In 2026, the 'curated ear' trend has moved away from maximalist clutter and toward intentional, thematic spacing.
The Curated Ear Approach
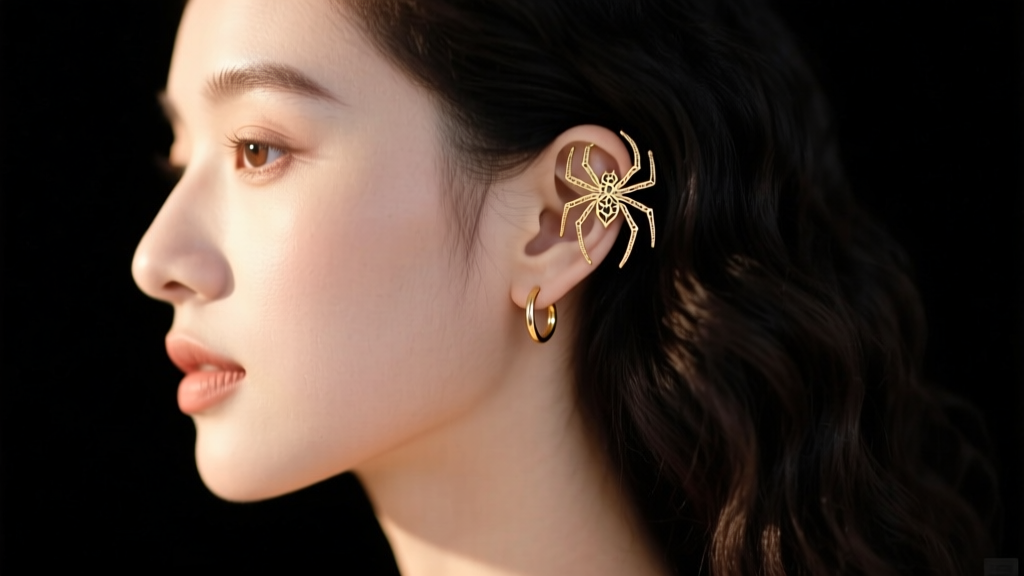
If you are wearing a multi-leg spider cuff on your upper helix, balance the visual weight by placing a simple, high-quality huggie or a flush-set diamond stud in your primary lobe piercing. Avoid placing other complex shapes (like snakes or chains) in the same ear, as this dilutes the architectural impact of the spider design. For a conch piercing, pair the spider cuff with a 14k gold clicker ring to introduce a warm contrast to the typically cool-toned arachnid metal.
Hair and Makeup Pairings
To ensure your spider earring remains the focal point, opt for sleek, pulled-back hairstyles. A tight French twist or a slicked-back low bun exposes the entire ear canvas. In terms of makeup, the dark-academia and gothic-glam trends pair beautifully with this jewelry; consider a sharp, graphic winged eyeliner and a muted, matte lip to let the metallic intricacies of the earring catch the light.
Troubleshooting: Slipping Cuffs and Irritation
Even with perfect technique, you may encounter issues. Here is how to troubleshoot the most common spider earring failure modes:
- The Cuff Keeps Slipping: This is almost always an anatomy mismatch. If your ear lacks a deep enough 'valley' behind the helix ridge, the legs have nothing to grip. Fix: Switch to a 'thread-through' spider earring, which uses an existing cartilage piercing to anchor the cuff via a delicate chain, rather than relying on tension.
- Redness and Itching Behind the Ear: This indicates contact dermatitis, often caused by nickel leaching from cheap surgical steel or copper alloys in brass. A study published in the Journal of Clinical and Aesthetic Dermatology highlights how prolonged occlusion (trapping sweat under metal) exacerbates nickel allergies. Fix: Immediately remove the piece, cleanse the area with sterile saline, and upgrade to ASTM F-136 titanium.
- Metal Fatigue and Snapping: If you constantly bend the legs of your cuff to take it on and off, the metal will become brittle and snap. Fix: Adjust the main band for a semi-permanent fit and leave the legs alone, sliding the piece on and off by widening the central gap.
Daily Maintenance and Cleaning Protocol
The intricate crevices of a spider earring—especially motif studs with micro-pave stones or cuffs with textured legs—are magnets for sebum, dead skin cells, and hair products. Neglecting cleaning will dull the metal and increase the risk of localized infections.
Once a week, prepare a cleaning bath using warm water and a few drops of mild, fragrance-free dish soap. Submerge the earrings for five minutes to loosen debris. Use an extra-soft baby toothbrush to gently sweep between the 'legs' of the cuff or around the gemstone prongs of the motif stud. Rinse thoroughly with distilled water to prevent hard water spots, and dry completely with a lint-free microfiber cloth before storing. Avoid ultrasonic cleaners if your spider earring features glued-in stones or oxidized (blackened) silver detailing, as the high-frequency vibrations and heat can strip the finish and dislodge the gems.
By respecting the anatomy of your ear, investing in biocompatible metals, and following precise fitting protocols, your spider earring will remain a secure, striking centerpiece in your jewelry rotation for years to come.


