Troubleshooting a Broken or Bent Post on Earrings: Expert Fixes
Learn how to troubleshoot and fix a bent, broken, or stripped post on earrings. Expert guide on metal grades, gauge sizes, and repair techniques.

There are few jewelry emergencies as frustrating as discovering a damaged post on earrings you wear daily. Whether it is a subtle bend that makes insertion painful, a completely snapped shaft, or stripped threading that refuses to hold a backing, a compromised earring post renders an otherwise perfect piece of jewelry unwearable. As jewelry manufacturing techniques have evolved through 2026, understanding the metallurgy and structural engineering behind earring posts is essential for both troubleshooting and long-term care.
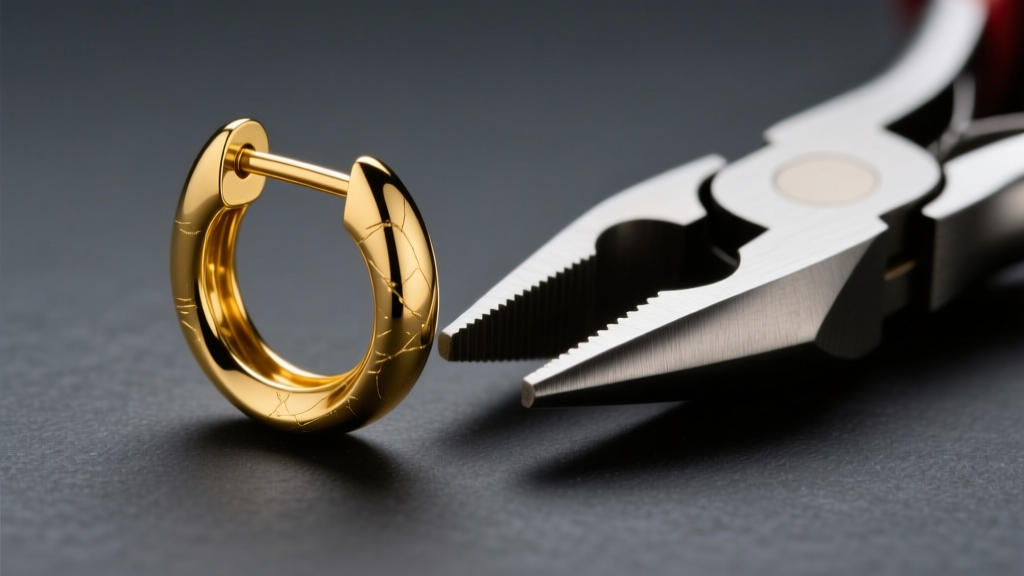
The Anatomy of an Earring Post: Why They Fail
Before attempting any repairs, it is crucial to understand the physical properties of the metal you are working with. The standard earring post is typically manufactured in either 20-gauge (0.81mm) or 18-gauge (1.02mm) thickness. However, the structural integrity of the post relies heavily on the metal's Vickers Hardness (HV) and tensile strength, not just its diameter.
High-karat gold, such as 18k or 22k, is inherently soft due to its high pure gold content. An 18k gold post (roughly 90-110 HV) will bend under minimal lateral pressure, such as sleeping on a pillow or accidentally snagging a sweater. Conversely, platinum and titanium possess high tensile strength but are susceptible to metal fatigue. If a platinum post is bent back and forth repeatedly, the crystalline structure work-hardens and eventually snaps without warning.
Troubleshooting Guide: Common Post on Earrings Problems
1. The Bent Post: Material Softness vs. Gauge
A bent post is the most frequent issue, particularly with 18k gold or fine silver jewelry. If the bend is slight (less than 15 degrees), it can often be corrected at home. However, never use standard steel jewelry pliers directly on the metal, as this will mar the finish and create micro-abrasions that weaken the post.
The Fix: Use nylon-jaw pliers or wrap the tips of your flat-nose pliers in painter's tape. Grip the base of the post firmly where it meets the earring head to prevent the solder joint from breaking. Apply slow, steady pressure to bend the post back to a 90-degree axis. If the post is 22-gauge or thinner, do not attempt to straighten it; the metal is likely too fatigued and will snap.
2. Snapped or Broken Posts: Fatigue and Laser Welding
If the post has broken cleanly off the earring head, the issue is usually metal fatigue at the solder joint or a manufacturing defect where the post was cast with porosity (tiny air bubbles inside the metal). Traditional torch soldering often fails on thin posts because the heat can melt the entire shaft or damage heat-sensitive gemstones set in the earring head.
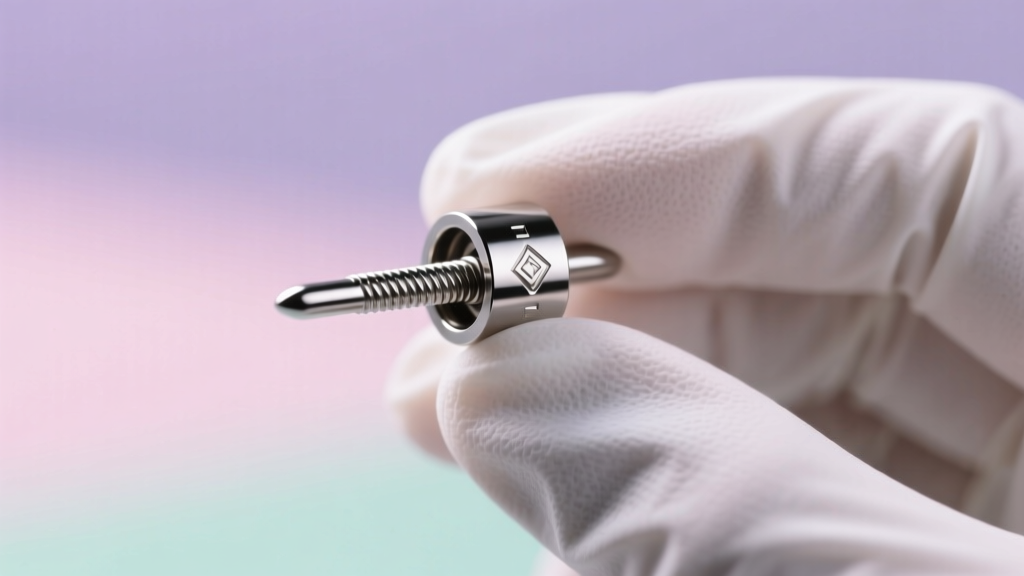
The Fix: As of 2026, professional jewelers rely heavily on laser welding for this exact scenario. A laser welder uses a highly focused beam of light to melt a microscopic piece of filler wire directly onto the broken joint without transferring heat to the rest of the earring. This creates a bond that is often stronger than the original cast joint. Do not attempt to glue a snapped post back on; cyanoacrylate (super glue) has zero shear strength and will fail the moment you insert the earring.
3. Stripped Threading: Screw-Back Failures
For screw-back earrings, stripped threads mean the backing will not tighten, leading to lost earrings. The Association of Professional Piercers (APP) strongly advocates for internally threaded jewelry, where the screw is on the decorative end or backing, and the post itself features a smooth, tapped hole. Externally threaded posts (where the screw pattern is carved into the post itself) are notorious for stripping and damaging the piercing fistula during insertion.
The Fix: If your externally threaded post is stripped, the earring must be converted. A jeweler can cut off the damaged threaded end and laser-weld a new, smooth post in its place, allowing you to use a friction backing or converting it to a modern push-pin (threadless) system. If the internal threads inside the earring backing are stripped, simply replace the backing; do not force a mismatched screw, as this will destroy the post's threading.
Material Grade & Gauge Comparison Chart
Choosing the right metal and gauge combination is the best way to prevent future damage. Use this reference chart to understand the structural limits of your jewelry.
| Metal Type | Standard Gauge | Hardness (HV) | Failure Mode | Best For |
|---|---|---|---|---|
| 14k Yellow Gold | 20g (0.81mm) | 120-150 | Bends under moderate pressure | Everyday studs, standard lobes |
| 18k Yellow Gold | 18g (1.02mm) | 90-110 | Bends easily, high malleability | Heirloom pieces, occasional wear |
| Platinum 950 | 20g (0.81mm) | 110-130 | Work-hardens and snaps | High-value diamond studs |
| Grade 23 Titanium | 16g (1.29mm) | 310+ | Extremely rigid, rarely fails | Fresh piercings, cartilage, sensitive skin |
| Surgical Steel | 18g (1.02mm) | 200-220 | Bends, potential nickel allergy | Budget-friendly fashion jewelry |
Ergonomic Fixes: Post Length and Lobe Thickness
Sometimes the problem is not a broken post, but a poorly fitted one. Standard butterfly-back earrings typically feature a 10mm or 11mm post. However, many individuals have thicker earlobes, or experience localized swelling, causing the standard post to dig into the back of the ear or fail to leave enough room for the backing to click into the safety groove.

If your post is too short, friction and pressure can cause the post to bend at the base over time. The modern solution is switching to flat-back labret posts. These are available in precise millimeter lengths (6mm, 8mm, 10mm, 12mm) and feature a flat disc that rests comfortably against the back of the ear. A professional piercer can measure your exact lobe thickness with a digital caliper and order a custom-length post, eliminating the lateral stress that causes standard posts to bend.
Preventative Care: Keeping Your Posts Straight
Preventing damage to the post on earrings requires minor adjustments to your daily routine. The vast majority of bent posts occur during two activities: sleeping and putting on clothing.
- The 'Last On, First Off' Rule: Always put your earrings in after your hair, makeup, and clothing are completely finished. Snagging a post on a turtleneck sweater or a towel is the primary cause of 90-degree bends.
- Use Friction Earring Backs with Care: When pushing a butterfly backing onto a post, ensure your fingers are supporting the front of the earring head. Pushing the backing on without supporting the front applies direct lateral torque to the solder joint, slowly weakening it over months of use.
- Storage: Never toss earrings loosely into a jewelry box where heavier pieces can crush them. Store studs in a dedicated compartment or use a silicone earring holder block to keep the posts suspended and protected.
When to See a Professional Jeweler
While nylon pliers and careful handling can fix minor bends, you should always consult a master jeweler if the bend occurs directly at the solder joint (where the post meets the earring basket). Bending this area will compromise the solder, leading to a microscopic fracture that will eventually snap. Additionally, if your earrings hold high-value gemstones like diamonds or emeralds, do not attempt home repairs; the torque applied to straighten a post can easily crack a tension-set or prong-set stone. By understanding the metallurgy and mechanics of your jewelry, you can ensure your favorite pieces remain secure, comfortable, and structurally sound for decades.


