How to Fix Drooping 10mm Pearl Earrings: A Troubleshooting Guide
Struggling with heavy, drooping 10mm pearl earrings? Discover expert troubleshooting tips for post gauges, secure backings, and lobe support.

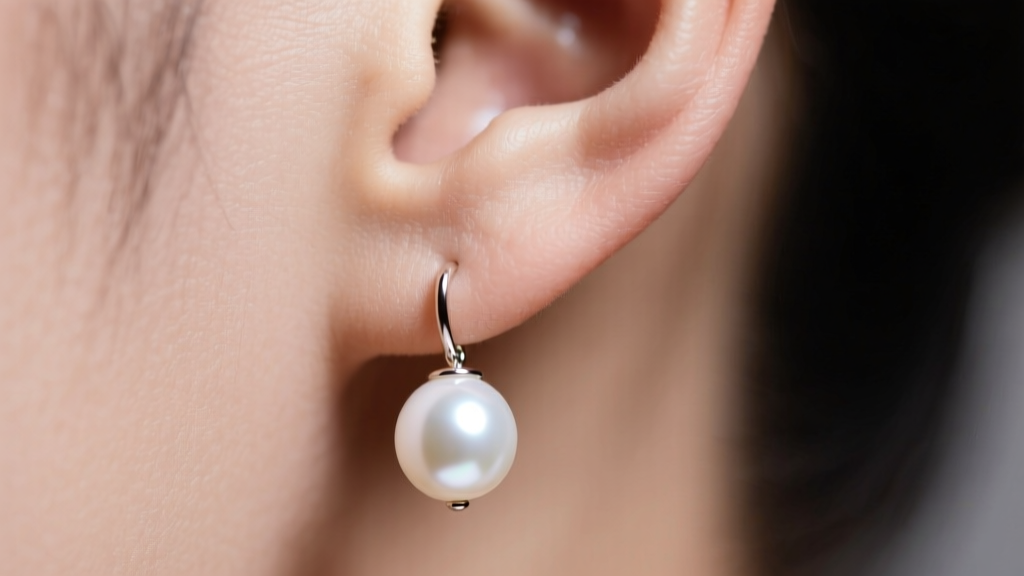
There is an undeniable elegance to a classic 10mm pearl stud. However, as any experienced bench jeweler will tell you, the physics of wearing a sphere of calcium carbonate that measures nearly half an inch across presents a unique structural challenge. At Jewel Style Radar, we frequently receive inquiries from readers frustrated by their beautiful pearls leaning forward, spinning out of alignment, or causing earlobe fatigue.
A 10mm saltwater Akoya or South Sea pearl typically weighs between 1.3 and 1.8 grams. While that sounds remarkably light, when suspended on a standard factory-thin post, it creates a lever effect that pulls the earlobe forward. In 2026, while we have seen advancements in lightweight composite pearl alternatives, natural and cultured 10mm pearls still demand rigorous hardware solutions. This guide provides a masterclass in troubleshooting and fixing the most common structural failures associated with 10mm pearl earrings.
The Physics of the Droop: Why 10mm Pearls Fail
To solve the problem, we must first understand the mechanics of the failure. A standard earring post acts as a fulcrum. The center of gravity for a 10mm spherical pearl sits approximately 5 millimeters away from the earlobe. This offset weight creates continuous downward torque on the piercing fistula (the hole in your ear).
Over time, this torque causes three distinct failure modes: the metal post bends, the earlobe tissue stretches, or the adhesive bond between the pearl and the metal cup setting degrades. According to the Gemological Institute of America (GIA), pearls are also highly sensitive to the oils and acidity of human skin, which can degrade inferior adhesives over time, compounding the structural issues.
Troubleshooting Matrix: Identifying Your Specific Issue
Before attempting a repair, diagnose the exact point of failure using the matrix below. This will save you time and prevent unnecessary damage to the nacre.
| Issue Symptom | Root Cause | Quick Fix (Temporary) | Permanent Fix (Bench Jeweler) |
|---|---|---|---|
| Forward Droop | Post too thin / Lobe stretched | Silicone O-ring backing | Upgrade to 18G titanium post |
| Pearl Spins on Axis | Epoxy bond broken / Cup too small | Clear nail polish on peg | Score peg and re-epoxy |
| Post Bends Easily | 22G or 20G soft gold alloy | Straighten with nylon pliers | Replace with platinum or steel |
| Backing Falls Off | Standard friction back fails | Use two silicone push-backs | Convert to screw-back post |
Upgrading the Hardware: Gauge Sizes and Post Materials
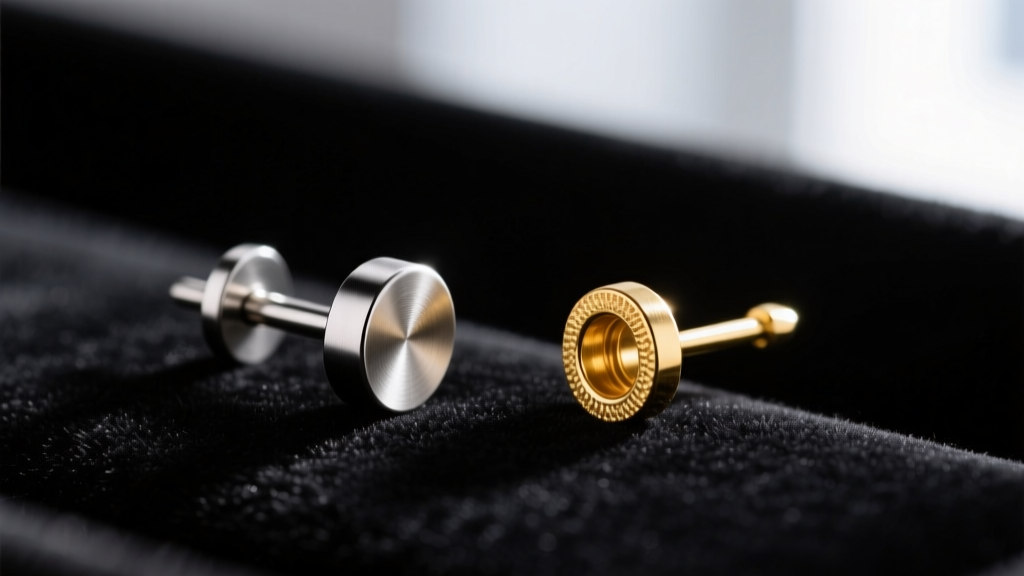
The most common reason 10mm pearl earrings droop is that they are manufactured with standard 20-gauge (0.81mm) or 22-gauge (0.64mm) posts to save on precious metal costs. For a gemstone weighing over 1.2 grams, these gauges are structurally insufficient.
The 18G vs 20G Post Dilemma
To eliminate the forward lean, you must increase the rigidity of the post. An 18-gauge post (1.02mm) offers roughly 60% more cross-sectional area than a 20-gauge post, drastically increasing its resistance to bending torque. If your earlobes are already stretched from years of wearing heavy jewelry, you may even need a 16-gauge (1.29mm) post, though this requires having a jeweler carefully drill out the pearl's mounting hole, which carries a risk of nacre chipping.
Titanium vs. Surgical Steel vs. Gold
Material hardness is just as critical as thickness. 14k and 18k yellow gold are relatively soft alloys. For heavy 10mm pearls, we recommend having a jeweler laser-weld a Grade 5 Titanium (Ti-6Al-4V) or 316L Surgical Steel post to the gold cup setting. The American Gem Society frequently notes that mixing a rigid base metal post with a precious metal setting is a hallmark of high-quality, durable jewelry engineering. Titanium provides the necessary rigidity while remaining entirely hypoallergenic.
Backing Solutions: Securing the 10mm Pearl
Even with a thick post, a standard butterfly friction back will fail to support a 10mm pearl. The narrow surface area of a standard back digs into the earlobe, causing pain and allowing the earring to tilt. Here are the three best backing upgrades:
- La Pousette Locking Clutch: Originally designed for high-carat diamond studs, this backing features a spring-loaded internal mechanism that locks onto the post's notch. It prevents the backing from sliding backward, keeping the pearl flush against the lobe.
- Silicone Disc Backs (10mm - 12mm): These wide, flat discs distribute the 1.8-gram weight across a broader surface area of the earlobe. They act as a shock absorber and provide immense friction against the skin to prevent spinning.
- Screw-Back Conversions: A bench jeweler can cut the friction notch off your post and thread it for a screw-back. This is the ultimate fail-safe for heavy pearls, as the backing physically cannot detach without being manually unscrewed.
Restoring Damaged Pearls: Coating Peels and Epoxy Failures
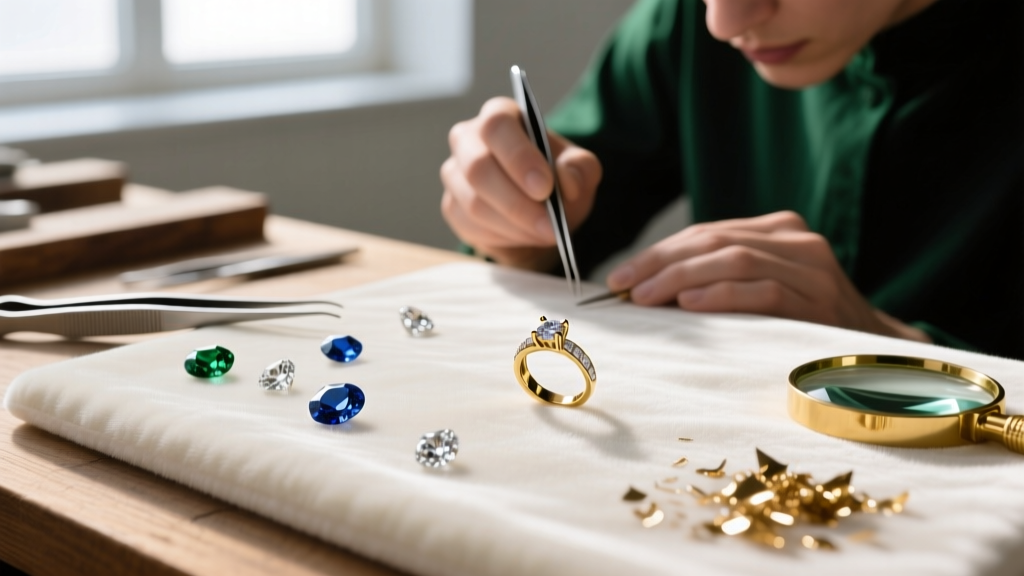
If your 10mm pearl has snapped off the post, do not attempt to reattach it with cyanoacrylate (Super Glue) or standard jewelry craft glues like G-S Hypo Cement. These adhesives lack the shear strength required to support a heavy sphere and will become brittle upon contact with skin oils.
The Proper Epoxy Protocol
Professional jewelers use a two-part jeweler's epoxy, such as Devcon 5-Minute Epoxy or Araldite Standard. Before applying the adhesive, the metal peg inside the pearl must be prepped. Use a fine needle file to score the metal peg, creating microscopic grooves. This provides a mechanical grip for the epoxy, rather than relying solely on chemical adhesion. Ensure the metal cup setting (the bowl that holds the pearl) is at least 3.5mm in diameter; if it is smaller, the pearl will eventually rock and snap the peg.
Dealing with Nacre Degradation
Sometimes, the issue is not the hardware, but the pearl itself. If the bottom of the 10mm pearl (where it rests against the metal cup) shows peeling or flaking, this is often due to prolonged exposure to acidic sweat trapped between the metal and the nacre. Once nacre peels, it cannot be reversed. The troubleshooting fix is to have a jeweler gently sand the damaged area flat and install a larger, deeper cup setting that covers the blemish, effectively resetting the pearl's profile.
Proportion and Styling Fixes for Heavy Lobes
Beyond mechanical repairs, styling plays a role in how 10mm pearls behave on the ear. If you have petite earlobes, a 10mm pearl will naturally overwhelm the tissue, causing a droop regardless of the hardware used.
In these cases, utilize invisible plastic earring support patches (often sold under brands like Lobe Wonder). These adhesive pads stick to the back of the earlobe and feature a reinforced center hole that bears the weight of the earring post, bypassing the stretched fistula entirely. Furthermore, if you are transitioning from lobe piercings to cartilage, never attempt to wear a 10mm pearl in a standard helix or tragus piercing; the 1.02mm post will cause severe cartilage migration and rejection due to the constant gravitational pull.
Expert Bench Tip: When cleaning your 10mm pearl earrings, never hold them by the pearl itself. The torque applied during polishing can easily snap a weakened epoxy bond. Always grip the metal post or the cup setting when wiping the nacre with a damp microfiber cloth.
By addressing the gauge thickness, upgrading to high-friction backings, and utilizing proper two-part epoxies, your 10mm pearl earrings will sit perfectly flush and secure, allowing their classic beauty to shine without the distraction of a structural failure.


