How to Wear Bold Statement Earrings Without Earlobe Pain
Discover expert tips to wear heavy bold statement earrings comfortably. Learn about earlobe supports, gauge limits, and weight distribution tricks.

The Biomechanics of Earlobe Stress
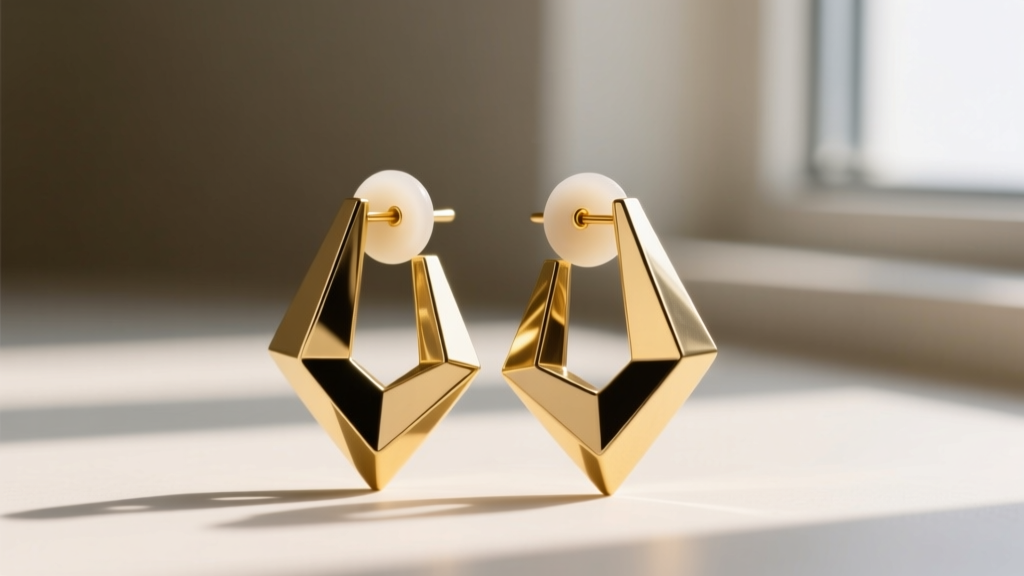
When you invest in bold statement earrings, you are often prioritizing visual impact over structural ergonomics. While oversized hoops, chandelier drops, and heavy resin geometrics can instantly elevate an outfit, they introduce significant biomechanical stress to a part of the body not designed to bear weight. Unlike the upper ear, the earlobe (lobule) contains no cartilage. It is composed entirely of adipose (fat) tissue, collagen, and a network of delicate blood vessels.
When a heavy earring pulls on the piercing fistula (the healed skin tunnel), it compresses the collagen matrix. Over time, or during a single long event, this sustained tension restricts blood flow, causing ischemic pain—a deep, throbbing ache. Worse, the continuous downward drag can cause micro-tears in the tissue, leading to permanent elongation, sagging, or the dreaded 'cheese wire' effect, where the earring post slowly slices through the bottom of the lobe. Understanding how to troubleshoot and redistribute this weight is essential for anyone who loves dramatic jewelry but wants to preserve their tissue health.
The Weight and Gauge Matrix: Knowing Your Limits
The most common mistake consumers make is ignoring the relationship between an earring's total weight and the thickness (gauge) of the post. A standard piercing is done at 20G (0.81mm) or 18G (1.0mm). However, a 25-gram statement earring on a 20G wire creates an extreme pressure point. To prevent tissue damage, the post thickness must increase proportionally with the weight of the jewelry. Below is a structural troubleshooting matrix to help you evaluate your current collection.
| Earring Weight | Minimum Post Gauge | Max Continuous Wear | Support Required? |
|---|---|---|---|
| Under 7g | 20G (0.8mm) | 12+ Hours | No |
| 7g - 14g | 18G (1.0mm) | 8 Hours | Optional (Silicone O-rings) |
| 15g - 24g | 16G (1.2mm) | 4-6 Hours | Yes (Patches or Stoppers) |
| 25g - 35g+ | 14G (1.6mm) or 12G | 2-3 Hours | Mandatory (Chain/Cuff Support) |
If your favorite bold statement earrings exceed 15 grams but feature a flimsy 20G post, you must either have a jeweler swap the post for a thicker 16G wire or utilize external lobe supports to widen the surface area of the pressure.
Troubleshooting Common Statement Earring Problems
Beyond simple weight, dramatic earrings introduce complex physics and material challenges. Here is how to troubleshoot the three most frequent issues reported by jewelry enthusiasts.
Problem 1: The 'Forward Tilt' and Earlobe Creasing
The Symptom: The earring constantly tilts forward, pointing toward the floor, and creates a deep, painful crease across the front of the earlobe.
The Cause: This is a center-of-gravity issue. If the bulk of the earring's mass hangs below and in front of the piercing hole, gravity will pull it forward. The post acts as a fulcrum, and the butterfly clutch digs into the back of the lobe, creating a pinch point.
The Fix: You need to counterbalance the front weight. Use a heavier, wider backing mechanism. Swapping a standard metal butterfly clutch for a flat, wide silicone 'droop stopper' disc (at least 12mm in diameter) pushes the back of the earring away from the neck and forces the front to sit flush against the lobe. Alternatively, look for statement pieces that feature a 'top-heavy' design, where a decorative element sits directly on top of the post to anchor the center of gravity.
Problem 2: Post Slippage and Clutch Failure
The Symptom: The earring slowly slides out of the piercing throughout the day, or the backing falls off entirely.
The Cause: Heavy earrings generate kinetic momentum. Every time you turn your head, the earring swings, creating a micro-pulling force that gradually walks the post out of the fistula. Standard friction clutches cannot withstand this repetitive kinetic dragging.
The Fix: Upgrade your backing system. For heavy studs, switch to screw-back earring posts, which physically thread into the backing and cannot be pulled out by momentum. For heavy fishhook (French wire) styles, use silicone O-ring stoppers or locking plastic clutches that grip the wire with internal ridges, preventing the wire from sliding upward and out of the lobe.
Problem 3: Contact Dermatitis from Plated Alloys
The Symptom: Itching, redness, and weeping skin directly around the piercing hole after wearing heavy pieces.
The Cause: Heavy earrings trap heat and moisture against the skin. Many affordable statement pieces are made from brass or nickel-silver alloys that are merely gold-plated. The combination of sweat, friction, and heavy weight wears away the microscopic plating layer, exposing the skin to raw nickel and copper. According to the American Academy of Dermatology, nickel is one of the most common triggers for allergic contact dermatitis.
The Fix: Never compromise on the material that touches the skin. If a heavy piece is made of base metal, have a professional jeweler replace the ear wire or post with solid 14k gold or implant-grade titanium.
4 Structural Solutions for Heavy Earring Support
When you absolutely must wear a 30-gram chandelier earring for a gala or wedding, relying on the earlobe alone is a recipe for tissue damage. Utilize these structural workarounds to distribute the load.
- Adhesive Lobe Patches: Products like polyurethane earlobe support patches adhere directly to the back of the earlobe. They feature a reinforced hole for the earring post. The patch spreads the downward pulling force across a 2-inch surface area of skin on the back of the ear and neck, completely bypassing the delicate fistula.
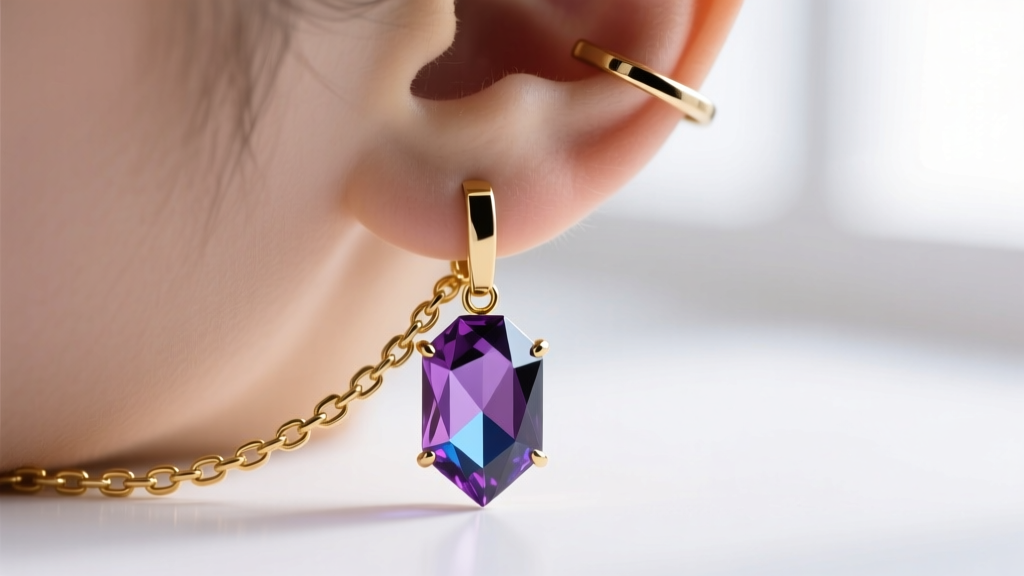
- The Chain-to-Cuff Method: This is a stylist and red-carpet secret. Attach a delicate, lightweight jewelry chain to the bottom or back of the heavy statement earring. Connect the other end of the chain to a secure, tight-fitting ear cuff or flat-back labret stud on the upper cartilage (like the helix or conch). The upper cartilage is incredibly strong and can easily bear the weight, lifting the heavy drop and relieving the lobe entirely.
- Silicone Earlobe Splints: These are curved, medical-grade silicone wedges that slide onto the post between the front of the earring and the lobe. They act as a physical splint, preventing the earring from tilting downward and keeping the post perfectly horizontal.
- Hair-Camouflage Tape: In a pinch, a small strip of double-sided fashion tape applied to the back of the earring's decorative top and pressed against the side of the face/neck can provide enough temporary adhesion to stop the swinging momentum that causes tissue fatigue.
Material Upgrades: Ditching Brass for Implant-Grade Titanium
When troubleshooting pain, the material of the post is just as critical as the weight. The Association of Professional Piercers strictly recommends ASTM F136 implant-grade titanium for any jewelry worn in the body. Unlike 'surgical steel' (which is a broad, unregulated marketing term that often contains 10-14% nickel), ASTM F136 titanium is entirely nickel-free, highly polished, and non-porous.
Heavy earrings create friction. A porous or poorly polished brass post will act like a microscopic file against the inside of your piercing when it moves under a heavy load. This causes internal abrasions, leading to hypertrophic scarring or 'piercing bumps' on the back of the lobe. If you are buying bespoke or high-end bold statement earrings, always request the jeweler to use 14G or 12G titanium posts, even if the decorative element is cast in brass or bronze. This ensures the structural integrity of the post while protecting the biological integrity of your piercing.
Final Checklist Before Your Next Event
Before stepping out in your most dramatic jewelry, run through this rapid troubleshooting checklist to ensure a pain-free experience:
- Weigh it: Use a digital kitchen or jewelry scale. If it is over 15g, prepare a support patch or silicone stopper.
- Check the gauge: Ensure the post is at least 16G for medium-heavy pieces to prevent the cheese-wire effect.
- Test the swing: Shake your head gently. If the earring swings wildly, swap to a locking clutch or screw-back to prevent kinetic slippage.
- Verify the metal: Ensure the post is solid gold, niobium, or implant-grade titanium to prevent sweat-induced dermatitis.
True style should never require physical suffering. By applying basic physics and material science to your jewelry box, you can wear the most breathtaking, gravity-defying statement pieces with absolute comfort and confidence.


