Earring Bump Explained: Causes, Treatments, and Prevention
Discover what causes an earring bump on your lobe or cartilage. Learn expert-backed treatments, ideal jewelry materials, and prevention tips for healing.

Understanding the Dreaded Earring Bump
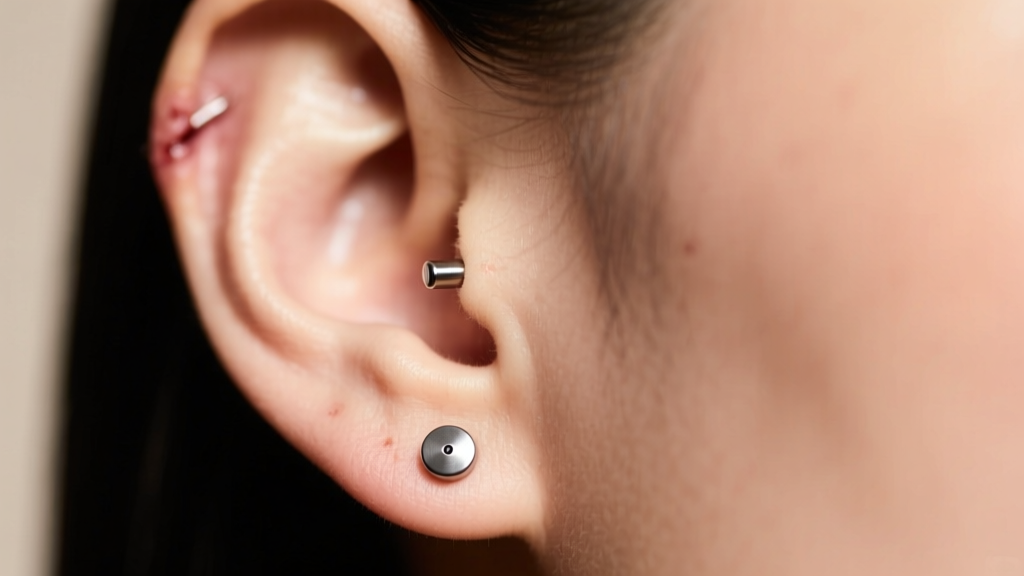
If you have recently gotten your ears pierced or switched up your jewelry, you might have noticed a small, raised, and sometimes tender lump forming near the fistula (the piercing hole). In the body modification and dermatology communities, this is commonly referred to as an earring bump. While they can be alarming and unsightly, these bumps are a highly common biological response to localized trauma, irritation, or allergic contact dermatitis. As of 2026, professional piercers and dermatologists emphasize that understanding the root cause of your specific bump is the only reliable way to eliminate it. This comprehensive guide will break down the exact science behind piercing bumps, the specific jewelry metrics that cause them, and a step-by-step protocol to restore your ear health.
What Exactly Is an Earring Bump?
Before attempting any treatment, it is crucial to identify what type of bump you are dealing with. According to the American Academy of Dermatology (AAD), not all raised scar tissue is the same. Here are the three primary classifications you will encounter:
- Hypertrophic Scarring: This is the most common 'earring bump.' It occurs when the body produces excess collagen during the healing process, but the scar tissue remains strictly within the boundaries of the original piercing wound. It usually appears as a pink or flesh-colored dome right next to the jewelry.
- Granuloma: A granuloma is a localized inflammatory response. It often looks like a small, red, raw, and sometimes weeping bump. It is the body's attempt to wall off a perceived foreign invader or chronic irritant.
- Keloid: Unlike hypertrophic scars, keloids are genetic and grow aggressively beyond the original site of the piercing. They are firm, rubbery, and can continue to expand over time. True keloids require medical intervention, such as corticosteroid injections, and cannot be cured simply by changing your earrings.
The 4 Main Culprits Behind Piercing Bumps
An earring bump is rarely a random occurrence; it is almost always a symptom of an underlying mechanical or chemical issue. Identifying the culprit is the first step toward a flat, healed ear.
1. Improper Jewelry Angle
If a piercing is done at a slight angle, the jewelry will not sit flush against the tissue. This creates uneven pressure points inside the fistula. The body responds to this chronic, localized pressure by building up scar tissue (a hypertrophic bump) to protect the compromised area. Cartilage piercings, like the helix or tragus, are particularly susceptible to angle-related bumps.
2. The 'Cheese-Cutter' Effect (Gauge Size)
Many commercial earrings are manufactured at ultra-thin gauges, typically 20-gauge (0.81mm) or 22-gauge (0.64mm). When a thin wire bears the weight of a heavy earring or gets snagged on clothing, it acts like a cheese cutter slicing through the tissue. This micro-trauma triggers an inflammatory response, resulting in a bump. Professional piercers strongly recommend a minimum of 16-gauge (1.2mm) or 14-gauge (1.6mm) for long-term stability and bump prevention.
3. Moisture and Bacteria Traps
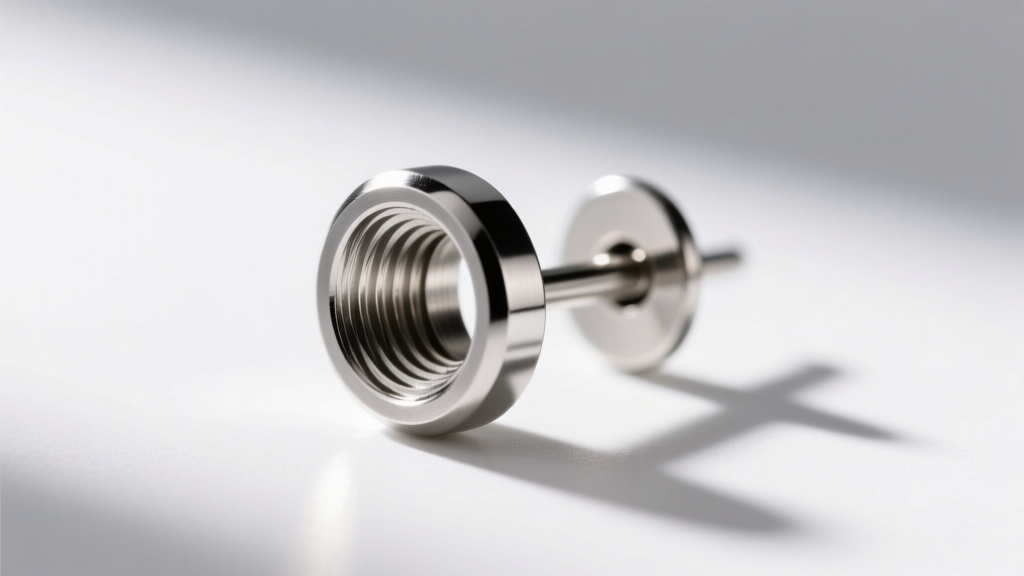
Traditional 'butterfly back' or 'push-pin' earring clasps are notorious for causing lobe bumps. The small metal wings trap dead skin cells, sebum, shampoo residue, and moisture directly against the back of the ear. This creates a breeding ground for bacteria and causes chronic maceration (softening and breaking down of the skin), which manifests as an irritated, bumpy fistula.
4. Material Allergies and Nickel Leaching
Many people mistakenly believe they have 'sensitive ears' when they are actually experiencing an allergic reaction to nickel. 'Surgical steel' and 'stainless steel' contain varying amounts of nickel. When exposed to the saline environment of a healing wound, nickel ions leach into the tissue, causing allergic contact dermatitis that presents as a red, itchy, and bumpy piercing site.
Material Matters: Upgrading Your Jewelry
To eliminate an earring bump caused by irritation or allergy, you must upgrade to biocompatible materials. The gold standard in the modern piercing industry is ASTM F-136 Implant-Grade Titanium. This specific alloy contains zero nickel and is the exact same material used in medical joint replacements and pacemakers.
Below is a comparison chart to help you choose the right metal for bump-prone ears:
| Jewelry Material | Nickel Content | Surface Polish | Bump Risk Level |
|---|---|---|---|
| ASTM F-136 Titanium | 0% (Nickel-Free) | Mirror Smooth | Lowest (Ideal) |
| Niobium | 0% (Nickel-Free) | Smooth (Anodized) | Very Low |
| Solid 14k/18k Gold | Varies (Alloy dependent) | Mirror Smooth | Low (If nickel-free alloy) |
| 'Surgical' Steel | High (8-12%) | Micro-porous | High (Avoid for bumps) |
| Sterling Silver | 0% (Contains Copper) | Oxidizes/Tarnishes | High (Causes argyria/irritation) |
In addition to the material, the style of the earring is critical. Swap out butterfly backs for threadless or internally threaded flat-back labrets. The flat disc sits flush against the back of the ear, allowing for proper airflow and eliminating the moisture trap that breeds bacteria.
Step-by-Step Earring Bump Treatment Protocol
Once you have identified the cause and upgraded your jewelry, follow this daily protocol to encourage the bump to flatten. The Association of Professional Piercers (APP) advocates for a 'less is more' approach to aftercare.
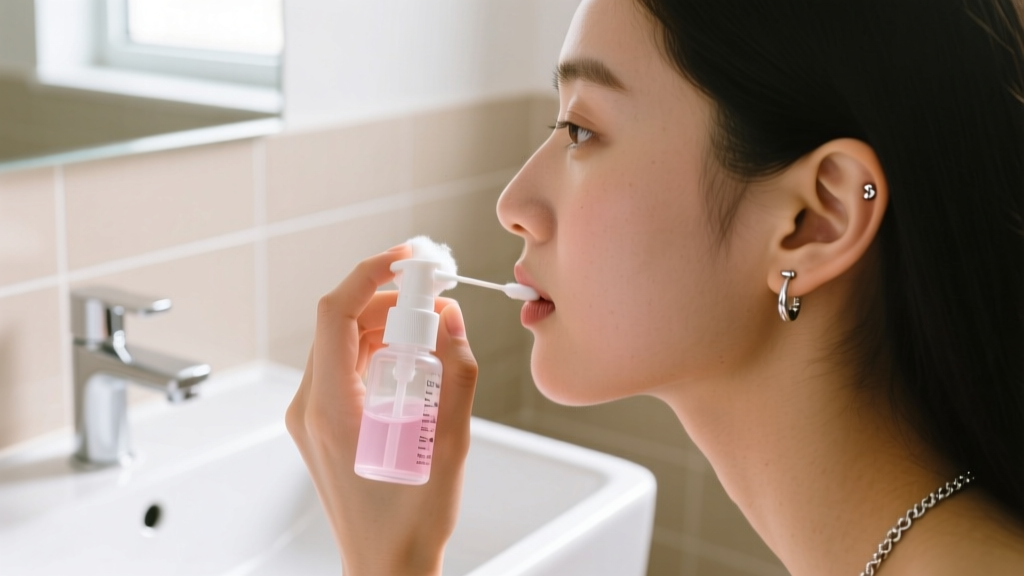
- Sterile Saline Cleansing: Spray the front and back of the piercing twice a day with a sterile, isotonic saline solution (0.9% sodium chloride with no additives). Let it air dry or gently pat with non-woven gauze.
- Warm Saline Compresses: For stubborn hypertrophic bumps, soak a clean piece of non-woven gauze in warm sterile saline and hold it against the bump for 3 to 5 minutes. The gentle heat increases localized blood flow, which helps the body reabsorb the excess scar tissue.
- Downsizing the Post: If you are wearing a flat-back labret, the initial post is usually extra long to accommodate swelling. Once the swelling subsides (usually 4-8 weeks), the long post will move around too much, causing friction bumps. Visit a professional piercer to 'downsize' to a shorter post that fits your ear snugly.
- The LITHA Method: LITHA stands for 'Leave It The Hell Alone.' Stop touching, twisting, or sleeping on the affected ear. Use a travel neck pillow to keep pressure off your cartilage while you sleep.
Dangerous DIY Myths to Avoid in 2026
Social media is rife with dangerous home remedies that will actively worsen your earring bump and cause chemical burns. Avoid the following at all costs:
- Tea Tree Oil: Highly concentrated and caustic. Applying tea tree oil to a piercing bump frequently results in severe contact dermatitis, making the bump larger, redder, and more painful.
- Aspirin Paste: Crushing aspirin and mixing it with water creates a highly acidic paste that will chemically burn the delicate fistula tissue, leading to permanent scarring.
- Rubbing Alcohol and Hydrogen Peroxide: These harsh chemicals destroy the fragile, newly formed epithelial cells trying to heal your piercing, effectively resetting your healing progress to day one.
'Piercing bumps are a cry for help from your tissue. They are telling you that the environment—whether it is the angle, the metal, or the friction—is hostile. Fix the environment, and the body will fix the bump.'
— Senior Piercer, APP Member
When to See a Professional
If you have upgraded to implant-grade titanium, corrected the angle, and followed the saline protocol for 6 to 8 weeks with zero improvement, it is time to consult a professional. A reputable piercer can assess the fistula angle and potentially repierce the area once it is fully retired. If the bump is growing rapidly, feels hard and rubbery, or extends far beyond the piercing site, consult a board-certified dermatologist to evaluate it for a true keloid, which may require intralesional corticosteroid injections or cryotherapy. By respecting the biology of your tissue and investing in high-quality, properly fitted jewelry, you can maintain healthy, bump-free ears for a lifetime.


