How to Fix a Ripped Earring Hole: Surgical & Non-Surgical Guides
Learn how to fix a ripped earring hole with our step-by-step guide. Explore surgical repair, non-surgical methods, and aftercare for healthy lobes.

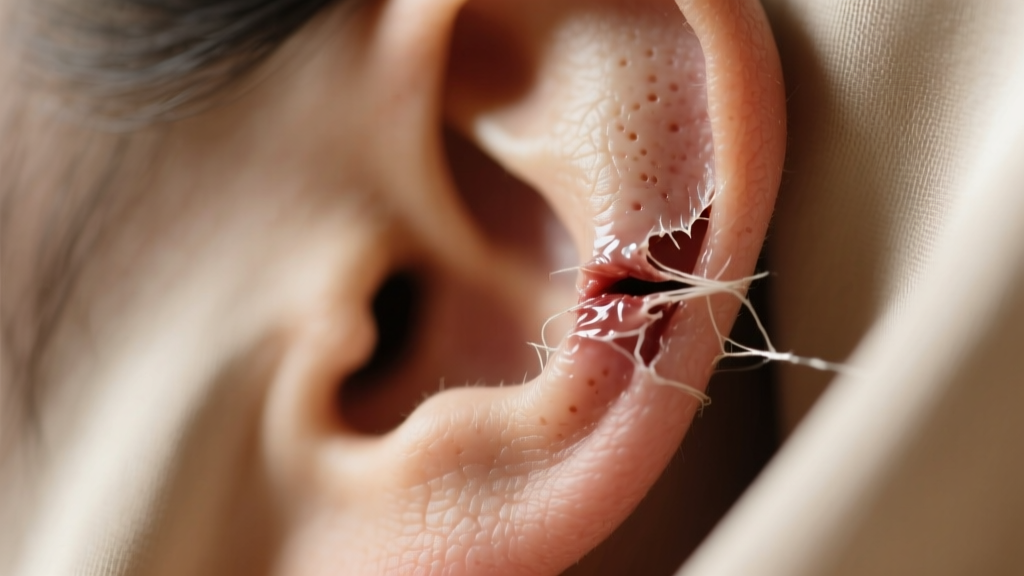
A torn earlobe is one of the most common jewelry-related injuries, often resulting from the kinetic stress of heavy dangles, accidental snags on clothing, or gradual stretching over time. If you are dealing with a ripped earring hole, the path to repair depends entirely on the severity of the tear. While minor stretching can sometimes be managed with non-surgical interventions, a complete cleft requires professional medical intervention to restore the structural integrity of the lobule.
In this comprehensive guide, we break down the exact anatomical reasons earlobes tear, the step-by-step processes for both non-surgical and surgical repairs, and the precise aftercare protocols required before you can safely repierce the tissue.
Understanding the Anatomy of a Torn Lobule
To understand why a ripped earring hole occurs, we must look at the anatomical composition of the earlobe. Unlike the upper ear, the lobule contains absolutely no cartilage. It is composed primarily of adipose (fat) tissue, areolar connective tissue, and a dense network of blood vessels. Because it lacks a rigid cartilaginous scaffold, the lobule is highly pliable but structurally vulnerable to downward traction.
When an earring is subjected to sudden force—such as a child pulling on a hoop or a sweater catching a dangle—the sheer stress exceeds the tensile strength of the fibrous tissue. This results in an acute tear. Conversely, chronic tension from wearing heavy earrings (typically those exceeding 15 grams) causes micro-traumas that gradually elongate the piercing tract, eventually leading to a slow-motion tear or 'blowout'.
Non-Surgical Repair: When and How It Works
Non-surgical methods are strictly limited to incomplete tears (where the bottom margin of the earlobe remains intact) or stretched holes that have not yet breached the inferior edge. If your earring hole is completely split into two separate pieces of tissue, non-surgical methods will not work, and you must skip to the surgical section.
Step-by-Step: The Support Patch Method
For stretched but intact holes, the goal is to redistribute the weight of the earring away from the fragile inferior rim of the piercing tract.
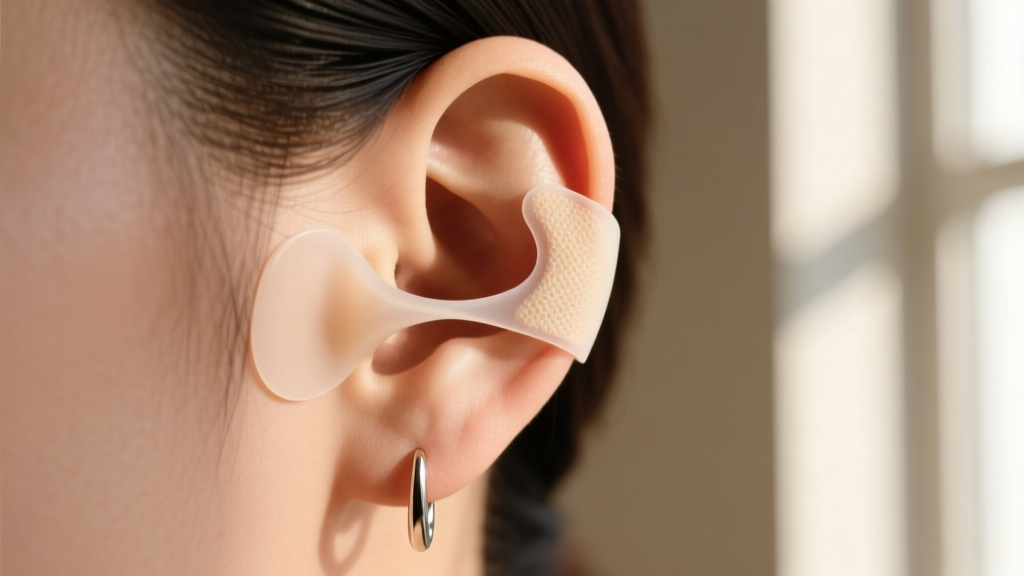
- Step 1: Cleanse the Area. Wipe the front and back of the earlobe with a sterile 70% isopropyl alcohol pad to remove sebum and debris.
- Step 2: Apply the Adhesive Patch. Use a medical-grade, self-adhesive silicone earlobe support patch. Peel the backing and align the pre-cut slit precisely with your existing piercing hole.
- Step 3: Insert the Earring. Push your earring post through both the silicone patch and the earlobe. The patch should sit flush against the back of the lobe.
- Step 4: Secure the Backing. Fasten a flat-back friction nut or a silicone O-ring over the post. The wide surface area of the patch prevents the earring from pulling through the stretched tract.
'While silicone patches and medical adhesives like Dermabond can temporarily stabilize a stretched hole, they do not stimulate collagen synthesis to shrink the tract. They are preventative tools, not curative treatments for a fully ripped earring hole.' — Board-Certified Dermatological Guidelines
Surgical Repair: The Gold Standard for Complete Tears
When the lobule is completely bisected, the condition is clinically referred to as an 'acquired earlobe cleft.' The only permanent solution is a minor in-office surgical procedure known as a lobuloplasty. Attempting to glue a complete tear at home will fail because the epithelial cells lining the inside of the old piercing tract act as a barrier; skin will not fuse to skin if the epithelial lining is not removed.
What to Expect During a Lobuloplasty
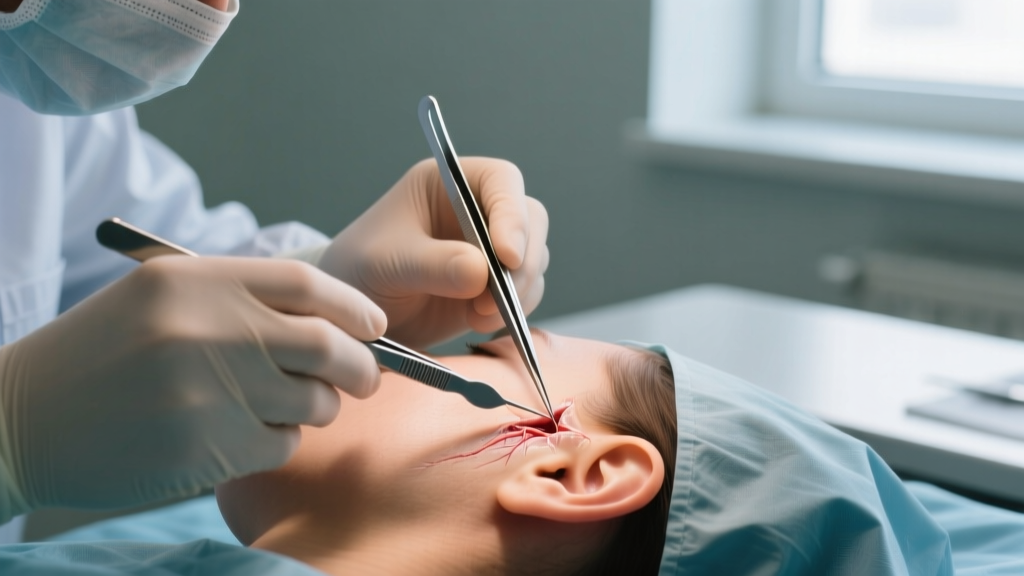
A lobuloplasty is typically performed by a dermatologist, plastic surgeon, or ENT specialist under local anesthesia. According to procedural data published in the National Center for Biotechnology Information (NCBI), the procedure takes roughly 20 to 30 minutes per ear and costs between $200 and $600, depending on the complexity and geographic location.
- Anesthesia: The surgeon injects 1% to 2% lidocaine with epinephrine. The epinephrine constricts blood vessels, minimizing bleeding and bruising.
- Tract Excision: Using a #15 scalpel, the surgeon completely excises the epithelialized tract (the 'skin tube' inside the old hole). This creates raw, bleeding edges that are biologically primed to fuse together.
- Closure Technique: For simple tears, a linear closure is used. However, to prevent a 'notch' deformity at the bottom edge of the lobe as the scar contracts, surgeons often employ a Z-plasty or L-plasty technique. This interdigitates the tissue flaps, breaking up the straight scar line and preserving the natural rounded contour of the lobule.
- Suturing: The wound is closed using extremely fine 5-0 or 6-0 non-absorbable monofilament sutures (like nylon or Prolene) to minimize track scarring.
Post-Repair Aftercare and Repiercing Timeline
The success of a lobuloplasty relies heavily on post-operative care. The newly fused tissue is initially held together only by sutures and early fibrin clots. It takes months for the collagen matrix to achieve sufficient tensile strength to support the weight of an earring again.
Repiercing Data Table: Healing Milestones
| Timeframe | Tissue Status | Allowed Activities | Jewelry Restrictions |
|---|---|---|---|
| Days 1-3 | Acute inflammation, fibrin clot formation. | Keep dry, apply prescribed antibiotic ointment. | No jewelry. Avoid getting hair caught on sutures. |
| Weeks 1-2 | Early epithelialization. Sutures are typically removed at day 7-10. | Gentle cleansing with sterile saline. Sleep on back. | No jewelry. Avoid over-ear headphones. |
| Weeks 3-6 | Collagen remodeling begins. Scar tissue is red and firm. | Massage scar with silicone gel to flatten tissue. | No jewelry. Do not attempt to stretch or pull the lobe. |
| Months 3-6 | Maturation of scar. Tensile strength reaches 70% of normal skin. | Normal activities resumed. Sun protection required. | Lightweight studs (under 3g) may be worn if cleared by MD. |
| Month 6+ | Optimal structural integrity for repiercing. | Professional repiercing can be scheduled. | Standard 18g or 20g jewelry. Avoid heavy dangles permanently. |
When you are ready to repierce, it is critical that the piercer uses a hollow needle rather than a piercing gun. Piercing guns cause blunt force trauma that can shatter the delicate scar tissue from the lobuloplasty, leading to a secondary tear. Furthermore, the new piercing should be placed slightly adjacent to the old scar line, as scar tissue itself is less elastic and more prone to rejection or migration.
Preventing Future Tears: Weight Limits and Gauge Sizing
Once you have invested the time and money into fixing a ripped earring hole, prevention becomes paramount. The American Academy of Dermatology and various surgical journals emphasize that mechanical stress is the primary culprit for recurrent tears. To protect your repaired lobes, adopt the following decision framework when selecting earrings:
The Weight-to-Gauge Matrix
- Under 5 Grams (Safe for Daily Wear): Standard studs, small huggies, and lightweight sleepers. These exert negligible downward force and are safe for 20g or 18g piercings.
- 5 to 15 Grams (Occasional Wear): Medium hoops, small drops, and cluster earrings. Limit wear to 4-6 hours. If you must wear them longer, use a silicone support patch or an 'earlace' (a discreet chain that loops over the top of the ear to bear the weight).
- Over 15 Grams (High Risk): Large chandeliers, heavy brass or solid stone dangles, and oversized geometric pieces. These should be avoided entirely on repaired lobes, or worn only for brief photographic/stylistic moments.
Additionally, be mindful of your jewelry's gauge. While a standard piercing is usually 20g (0.8mm) or 18g (1.0mm), wearing slightly thicker 16g (1.2mm) posts can help distribute pressure over a wider surface area of the piercing tract, reducing the 'cheese-cutter effect' that leads to gradual stretching. However, never force a thicker gauge into a tight hole, as this can cause acute micro-tearing.
Final Thoughts
Dealing with a ripped earring hole can be frustrating, but modern dermatological and surgical techniques offer highly reliable, cosmetically elegant solutions. By understanding the limitations of non-surgical patches and respecting the biological timeline of surgical scar maturation, you can successfully restore your earlobes. Always consult with a board-certified professional for surgical repairs, and remember that mindful jewelry selection is the ultimate key to lifelong earlobe health.


