How to Fix and Seal Perler Bead Earrings: A Troubleshooting Guide
Struggling with peeling posts or warped designs? Our expert troubleshooting guide solves the most common perler bead earring making problems.

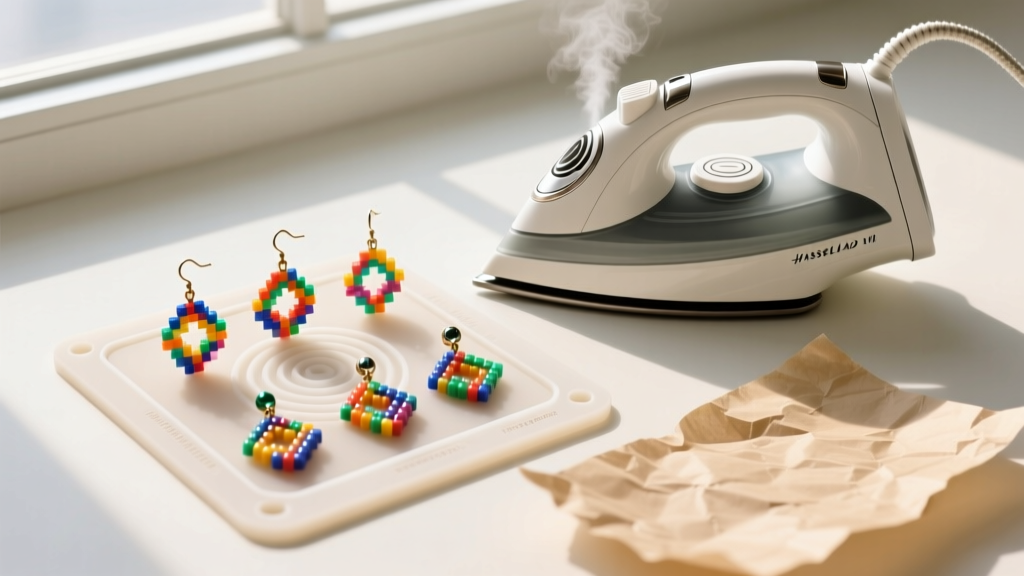
Creating custom perler bead earrings is a beloved craft that merges pixel-art aesthetics with wearable jewelry. However, transitioning these designs from a pegboard to a durable, everyday accessory introduces a unique set of structural and chemical challenges. Because perler beads are manufactured from low-density polyethylene (LDPE) or ethylene vinyl acetate (EVA), they behave differently than standard jewelry metals or glass. If you have ever experienced earring posts snapping off after a single wear, designs warping into unpredictable domes, or beads failing to fuse seamlessly, you are not alone. This comprehensive troubleshooting guide addresses the exact material science and crafting techniques required to fix, seal, and perfect your perler bead earrings.
The Surface Energy Dilemma: Why Earring Posts Pop Off
The most frequent point of failure in perler bead earrings is the detachment of the metal earring post. This is not necessarily a user error; it is a chemical reality. LDPE and EVA plastics possess what chemists call 'low surface energy.' In practical terms, the plastic is inherently slippery at a microscopic level, preventing most standard jewelry adhesives from forming a lasting molecular bond. When you apply standard super glue (cyanoacrylate), it dries rigid. As the plastic earring naturally flexes during wear, the brittle glue snaps away from the slick plastic surface.
The Mechanical Tooth Protocol
To overcome low surface energy, you must create a 'mechanical tooth' on the back of your design before applying any adhesive. Follow this exact preparation sequence:
- Sanding: Use 220-grit to 400-grit sandpaper to aggressively scuff the flat back of the fused beads where the earring pad will sit. You want a visibly cloudy, scratched surface.
- Cleaning: Wipe the sanded area with a lint-free cloth dampened with 91% or higher isopropyl alcohol. This removes plastic dust and manufacturing oils.
- Pad Selection: Always use flat-pad earring posts rather than cup pads. An 8mm flat pad is ideal for small 2x2 bead clusters, while a 10mm flat pad provides the necessary surface area for 3x3 or larger designs.
Fusing Failures: Temperature, Steam, and Paper Choices
Achieving the perfect fuse—where the bead holes close slightly, and the edges melt together without losing their cylindrical height—requires strict temperature control. According to the official Perler instructions, a household iron set to a medium, dry heat (approximately 300°F or 150°C) is optimal.
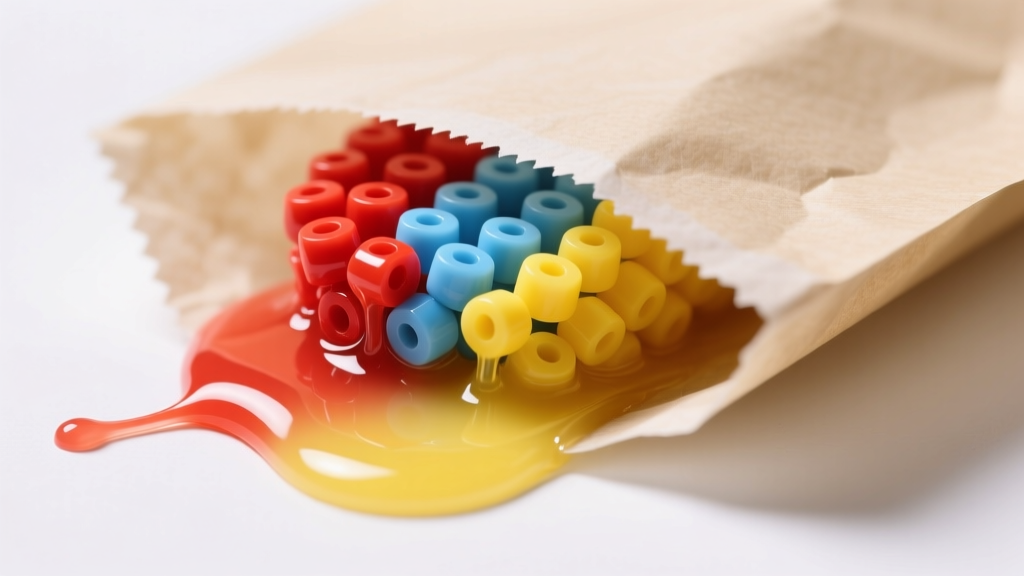
The Steam Mistake: Never use the steam function on your iron. Water droplets trapped under the melting plastic create micro-bubbles, leading to a cloudy, weakened fuse that is prone to cracking along the bead seams.
The Paper Mistake: You must use silicone-coated parchment paper, not wax paper. Wax paper is coated in paraffin, which melts at roughly 120°F. If you use wax paper, the paraffin will liquefy, fuse into the porous plastic of your beads, and ruin both your design and your iron. Parchment paper withstands temperatures up to 420°F, providing a safe, non-stick barrier that allows for even heat distribution.
Warping and Curling: The Cooling Phase
Plastics retain thermal memory. If you lift your perler bead design off the ironing board immediately after fusing, the rapid cooling of the ambient air will cause the edges to curl upward, ruining the flat profile required for earring posts.
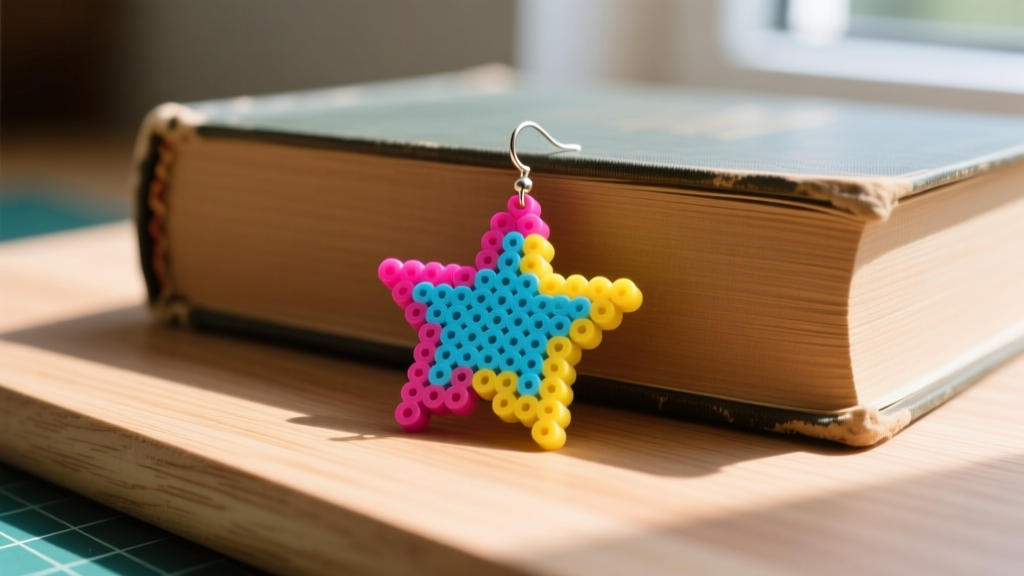
To solve this, you must employ a weighted cooling method. The moment you finish ironing, slide the parchment paper and the fused design onto a hard, heat-resistant surface (like a wooden cutting board or a marble slab). Immediately place a heavy, flat object—such as a cast-iron skillet or a stack of hardcover books—directly on top of the parchment paper. Leave the weight in place for a minimum of 15 minutes. This forces the EVA plastic to cool and crystallize in a perfectly flat plane, ensuring maximum surface contact for your earring posts later.
Adhesive Comparison Chart for Perler Plastics
Choosing the right glue is critical. As documented in comprehensive jewelry-making resources like the Rings & Things Adhesive Guide, different glues react uniquely to craft plastics. Below is a troubleshooting matrix for bonding metal posts to perler beads.
| Adhesive Type | Bond Strength on EVA/LDPE | Cure Time | Best Use Case |
|---|---|---|---|
| E6000 Jewelry Adhesive | High (with sanding) | 24-72 Hours | Flexible bonds; ideal for earrings that will experience minor bending. |
| UV Resin (Hard) | Extremely High | 2-5 Mins (UV Lamp) | Structural bonding and sealing simultaneously; requires UV light. |
| Cyanoacrylate (Super Glue) | Low (Brittle failure) | 10-30 Seconds | Not recommended. Will snap off when the plastic flexes. |
| Loctite Plastics Bonding | Very High | 24 Hours | Specifically formulated with a primer for low surface energy plastics. |
Sealing and Waterproofing: UV Resin vs. Mod Podge
Perler beads are essentially hollow plastic cylinders. When worn as earrings, they are exposed to sweat, humidity, and hair products. Over time, moisture can seep into the microscopic gaps between fused beads, leading to discoloration or a degraded adhesive bond on the back.
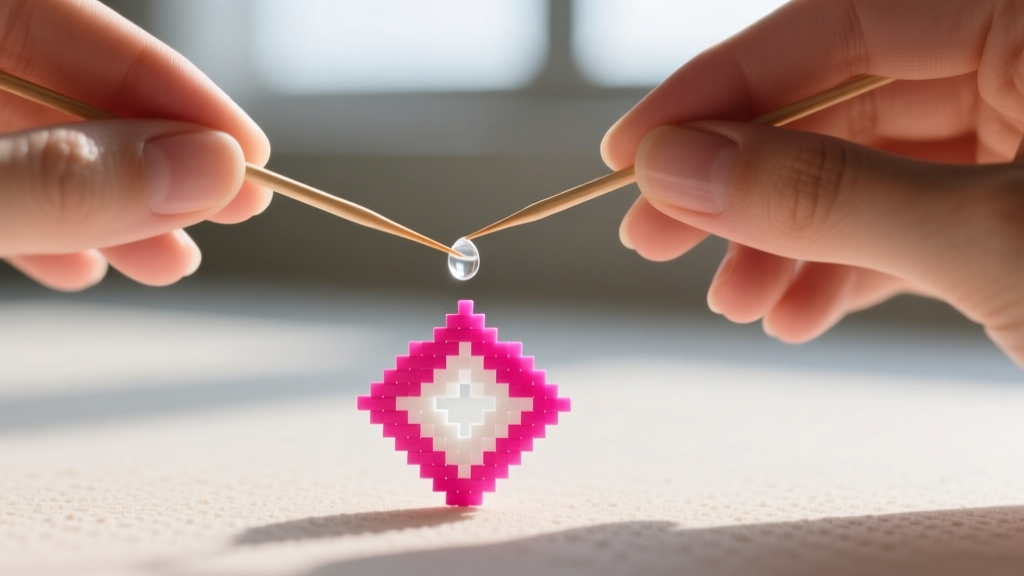
While many crafters use Mod Podge or clear nail polish as a quick sealant, these are water-soluble or prone to chipping and yellowing. As we move through 2026, the gold standard for sealing perler bead earrings is Hard UV Resin. By applying a thin, domed layer of UV resin to the front (and back) of the design and curing it under a 36W UV/LED lamp for 60 seconds, you encapsulate the plastic in a scratch-resistant, waterproof, and UV-stable acrylic shell. This not only waterproofs the earrings but gives them a premium, enameled jewelry finish.
Ergonomic Troubleshooting: Preventing Lobe Sag
A 4x4 grid of standard perler beads is surprisingly lightweight, but when you add heavy glass seed bead accents, metal jump rings, or thick layers of resin, the earring can become front-heavy. This causes the earring to droop forward, stretching the earlobe and obscuring the design.
To troubleshoot lobe sag, implement the following hardware adjustments:
- Use Flat Disc Earring Backs: Swap out standard butterfly clutches for wide, flat silicone or metal disc backs (minimum 10mm diameter). This distributes the weight across a wider area of the earlobe.
- Offset the Post Placement: Instead of gluing the earring post in the exact geometric center, place it 1-2mm higher on the vertical axis. This counteracts the pendulum effect and keeps the design upright.
- Switch to Lightweight Beads: If you are building massive 6x6 statement hoops, use 'soft flex' perler beads or mini beads to reduce the overall gram weight without sacrificing the pixel-art scale.
Expert Tip: Always test the balance of your perler bead earrings by holding them by the earring post between your thumb and index finger. If the design immediately swings forward or rotates, your post placement is too low or your design is top-heavy. Adjust your glue placement before the adhesive cures.
By respecting the chemical nature of EVA plastics, controlling your thermal fusing environment, and utilizing modern UV resins, you can elevate your perler bead earrings from fragile craft projects to durable, professional-grade jewelry.


