How to Stop Band Earrings From Slipping and Pinching
Discover expert troubleshooting for band earrings. Learn how to fix slippage, stop cartilage pinching, and choose the right gauge and metal.

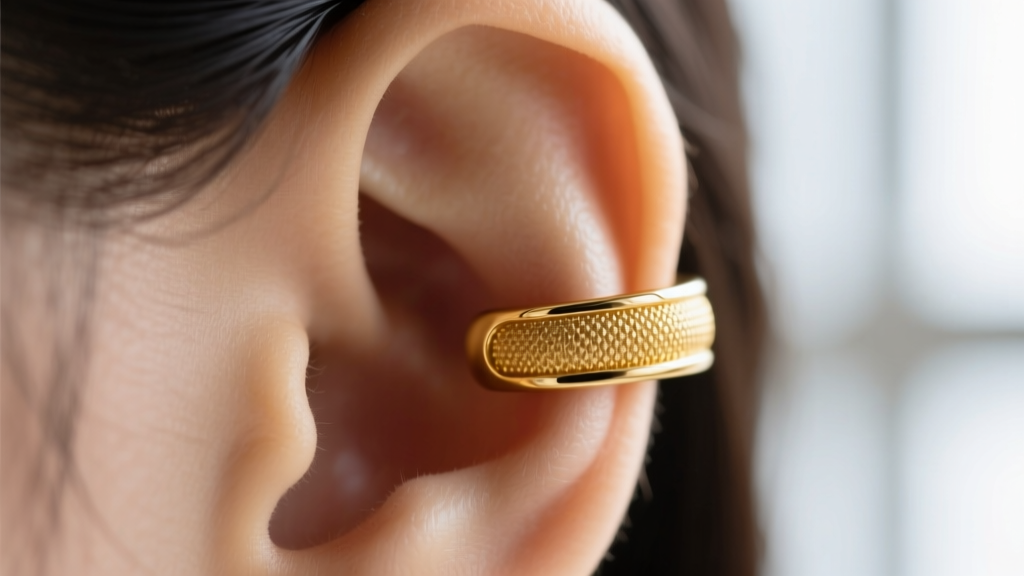
The Anatomy of Band Earrings: Why Fit Fails
Band earrings—encompassing non-pierced ear cuffs, continuous cartilage wraps, and hinged huggie bands—are notorious for two distinct failures: slipping down the ear or painfully pinching the cartilage. Unlike standard post earrings that rely on a friction back or threaded screw, band earrings depend entirely on mechanical tension, precise inner diameter (ID), and structural rigidity. When these variables misalign with your unique ear anatomy, the result is constant readjustment, migration, or severe contact dermatitis.
In this comprehensive troubleshooting guide, we break down the exact metallurgical and anatomical reasons your band earrings fail. Whether you are dealing with a drooping helix cuff or a pinching continuous hoop, we provide professional-grade solutions to achieve a secure, painless fit.
Troubleshooting Non-Pierced Ear Band Slippage
The most common complaint with non-pierced band earrings (ear cuffs and wraps) is slippage. You place the band securely on your scapha or helix, only to find it resting on your earlobe an hour later. This is rarely an issue with your ear shape; it is almost always a failure of wire gauge and metal hardness.
The Gauge and Hardness Mismatch
Most commercial, mass-produced ear cuffs are stamped from thin 22-gauge (0.64mm) or 20-gauge (0.81mm) sheet metal. These thin bands lack the structural memory required to maintain tension against the natural oils and movement of the ear. To solve this, you must upgrade to an 18-gauge (1.0mm) or 16-gauge (1.2mm) wire band. The thicker the wire, the higher the spring-back tension.
Furthermore, consider the Vickers Hardness (HV) of your chosen metal. 14k gold (approximately 130-150 HV) holds tension far better than 18k gold (approximately 110-120 HV) due to its higher copper and silver alloy content. If you prefer the richer color of 18k gold or the purity of platinum, look for band earrings that feature internal silicone micro-grips or textured inner ridges to compensate for the softer metal's lack of grip.
Adjusting Tension Safely
If your 18-gauge band is still slipping, you can manually increase the tension. Never use standard steel jewelry pliers, as they will mar the finish and create micro-scratches that harbor bacteria. Instead, use nylon-jaw pliers to gently squeeze the band's diameter closed by 1-2 millimeters. Apply pressure evenly to avoid warping the circular shape into an oval, which will cause the band to twist on the ear.
Solving Pierced Cartilage Band Pinching and Irritation
For pierced band earrings—such as continuous hoops, seamless rings, and hinged cartilage bands—slippage is replaced by a far more painful issue: pinching, embedding, and localized swelling. This is almost exclusively an issue of miscalculated Inner Diameter (ID) and improper material selection.
The Inner Diameter (ID) Miscalculation
A frequent mistake is purchasing a 'standard' 10mm or 12mm band hoop for a helix or forward helix piercing. The cartilage in these areas is significantly thicker and sits much closer to the head than the earlobe. If you force a 10mm band into an 8mm space, the hoop will rest heavily on the lower edge of the piercing fistula. This creates a leverage point that causes the top of the band to pinch outward, or worse, forces the wire to embed into the healing tissue.
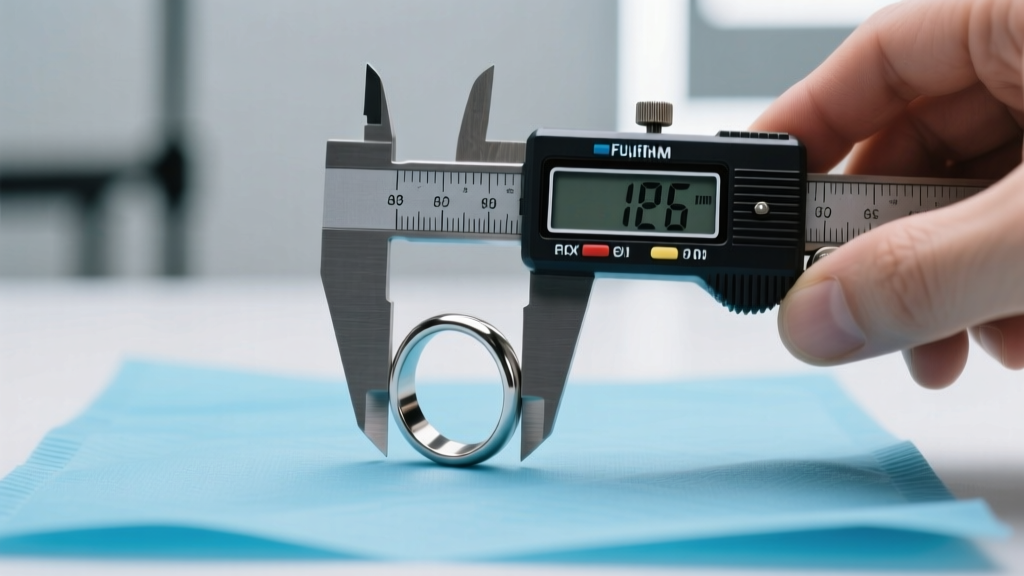
The correct ID for most helix band earrings is 6mm to 8mm. For a snug or conch piercing, you may require 10mm to 12mm. Always measure your existing jewelry or your ear's anatomy using a digital caliper before purchasing a continuous band. According to the Association of Professional Piercers (APP), ensuring proper clearance (at least 1-2mm of space between the metal and the skin) is critical to prevent pressure necrosis and migration.
Material Upgrades: Ditching the Nickel
Band earrings sit flush against the skin, creating an occlusive environment that traps sweat, dead skin cells, and sebum. This moisture dramatically accelerates the release of nickel ions from cheap 'surgical steel' or brass alloys. The American Academy of Dermatology (AAD) notes that prolonged exposure to trapped moisture and nickel is a primary trigger for severe allergic contact dermatitis.
If your cartilage band is causing itching, redness, or weeping, remove it immediately. Replace it with a band crafted from ASTM F136 implant-grade titanium, F562 cobalt-chrome, or verified nickel-free 14k/18k solid gold. Avoid 'surgical stainless steel' entirely for tight-fitting band earrings, as the term is unregulated and often contains 8-12% nickel.
Band Earring Troubleshooting Matrix
| Symptom | Primary Cause | Material / Gauge Fix |
|---|---|---|
| Non-pierced cuff slides down to lobe | Wire too thin; lacks structural memory | Upgrade to 18g or 16g wire; use nylon-jaw pliers to reduce ID by 1mm |
| Pierced helix band pinches and embeds | Inner Diameter (ID) too large for cartilage thickness | Downsize to 6mm or 8mm ID; measure with digital calipers |
| Itching, redness, and weeping skin | Nickel ion release accelerated by trapped sweat | Switch to ASTM F136 Titanium or verified nickel-free 14k gold |
| Hinged band pops open unexpectedly | Sebum buildup in the micro-groove clasp | Soak in 91% isopropyl alcohol; clean groove with soft interdental brush |
Maintenance: Fixing Hinged Band Mechanisms
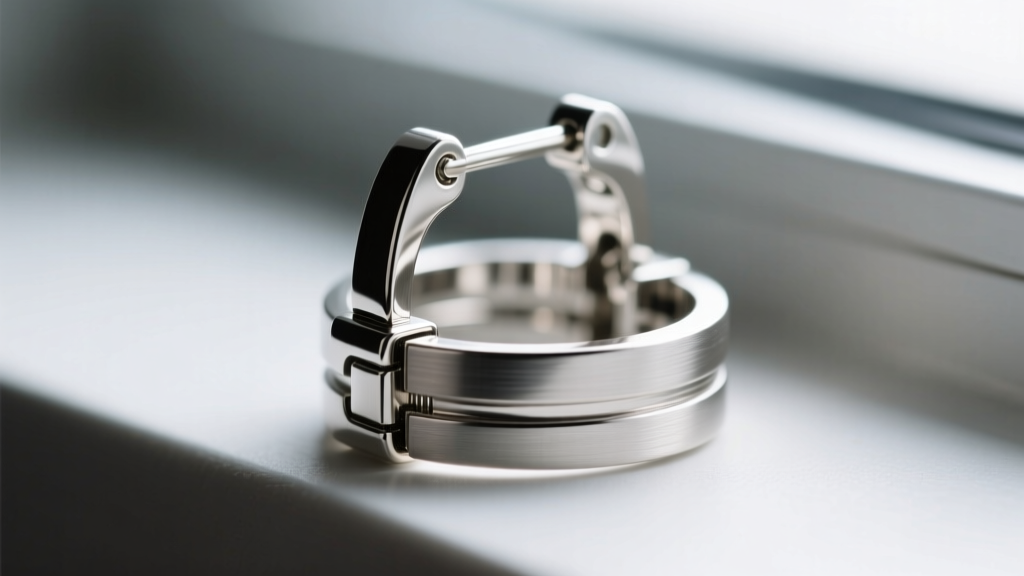
Hinged band earrings offer the easiest insertion for cartilage piercings, but they introduce a mechanical point of failure. If your hinged band refuses to 'click' shut, or worse, pops open during sleep, the issue is rarely a broken pin. It is almost always debris interference.
The clasp of a hinged band relies on a microscopic interlocking pin and groove. Over time, a mixture of sebum, dead skin, and soap residue hardens inside this groove, preventing the pin from seating fully. When the pin is only partially seated, the tension of the ear's movement will eventually force the hinge open.
The Professional Cleaning Protocol
Do not attempt to pick debris out of the hinge with a metal needle or safety pin; you will bend the micro-pin and ruin the clasp permanently. Instead, follow this protocol:
- Ultrasonic Cleaning: Place the band earring in an ultrasonic jewelry cleaner filled with warm water and a drop of mild dish soap for 3 to 5 minutes. The cavitation bubbles will dislodge microscopic debris from the hinge groove.
- Solvent Soak: If an ultrasonic cleaner is unavailable, soak the earring in 91% isopropyl alcohol for 10 minutes to dissolve hardened sebum.
- Mechanical Agitation: Use a soft, rubber-tipped interdental brush or a clean, ultra-soft toothbrush to gently sweep the groove. Rinse with distilled water and dry completely with a microfiber cloth before attempting to close the hinge.
Final Thoughts on Achieving the Perfect Band Fit
Troubleshooting band earrings requires moving beyond generic sizing charts and understanding the physical interaction between metal tension, cartilage anatomy, and skin chemistry. By upgrading to thicker 18-gauge wires for non-pierced cuffs, precisely measuring your inner diameter for continuous hoops, and strictly adhering to implant-grade titanium or solid gold, you can eliminate the frustration of slipping and pinching. Treat your band earrings not just as accessories, but as precision-engineered wearables that demand exact specifications for a flawless, comfortable fit.


