Fixing Wall Earring Holder Issues: Tangles, Tarnish, and Wall Damage
Is your wall earring holder causing tangles, tarnish, or drywall damage? Learn expert troubleshooting fixes for heavy dangles, studs, and wall anchors.

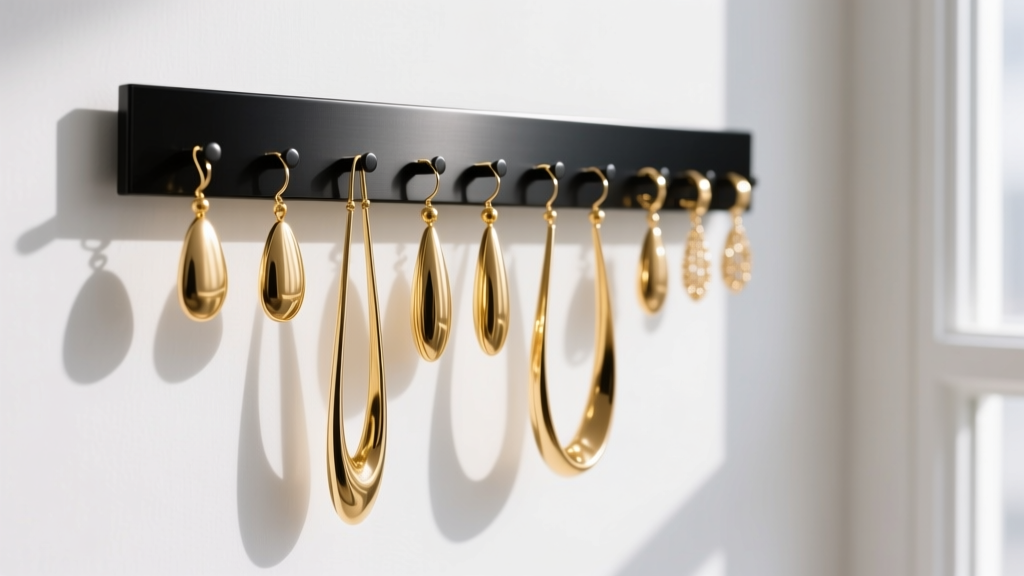
The Hidden Engineering Flaws in Standard Earring Storage
Upgrading to a wall-mounted jewelry organizer seems like the ultimate solution for a growing collection. You clear your dresser, mount the display, and hang your favorite pieces. But within weeks, new problems emerge: 22-gauge fishhook wires slip through the grid and tangle, sterling silver posts develop dark oxidation, and the sheer weight of fifty pairs of hoops begins pulling the drywall anchors loose. A wall earring holder is not just a decorative grid; it is a structural and chemical environment for your jewelry. When treated as a simple aesthetic upgrade rather than a functional storage system, it fails. This guide dives deep into the physics, chemistry, and structural troubleshooting required to fix the most common wall earring holder issues, ensuring your collection remains pristine, untangled, and securely mounted.
Troubleshooting Tangles: The Physics of Wire Gauges and Grid Spacing
The most frequent complaint with wire or mesh wall organizers is tangling. This is rarely a user error; it is a mismatch between earring wire gauges and the holder’s grid spacing. Standard decorative wire grids typically feature 0.5-inch to 1-inch squares. While this accommodates the thick 18-gauge or 16-gauge wires of heavy leverback hoops, it creates a pendulum hazard for delicate 22-gauge or 20-gauge fishhook wires used in drop earrings and threaders.
The Pendulum Effect and Drop-Zone Clearance
When a 22-gauge wire slips through a 1-inch grid square, the earring hangs from the wire’s midpoint rather than its top curve. This lowers the earring’s center of gravity, allowing it to swing like a pendulum when the door closes or the room experiences air currents. This swing inevitably wraps the delicate wire around adjacent pieces. To troubleshoot this, you must modify the grid or alter your hanging technique.
- The Silicone Stopper Fix: For threaders and fishhooks that slip through the mesh, apply a 2mm clear silicone earring stopper to the top curve of the wire before hanging it on the grid. This artificially increases the wire’s diameter, preventing it from slipping through the metal squares.
- The Zip-Tie Grid Modifier: If your wall earring holder features large 2-inch gaps (common in minimalist geometric designs), weave thin, clear nylon zip-ties horizontally across the grid to create a secondary 0.25-inch resting rail specifically for fine-gauge wires.
- Vertical Clearance Rules: Dangle earrings require a minimum of 3.5 to 4 inches of vertical clearance between horizontal rails. If your holder’s rails are spaced closer than 3 inches, long chandelier earrings will rest on the rail below them, causing the posts to bend under their own resting weight over time.
Chemical Reactions: Wood Off-Gassing and Silver Tarnish
If you have noticed your sterling silver or copper earrings developing a dark, sulfurous film after sitting on a wooden wall earring holder, you are witnessing a chemical reaction caused by wood off-gassing. Not all woods are safe for jewelry storage. According to the Silver Institute, silver tarnish is primarily caused by exposure to sulfur compounds and high humidity, but acidic environments drastically accelerate the degradation of the copper alloy mixed within 925 sterling silver.
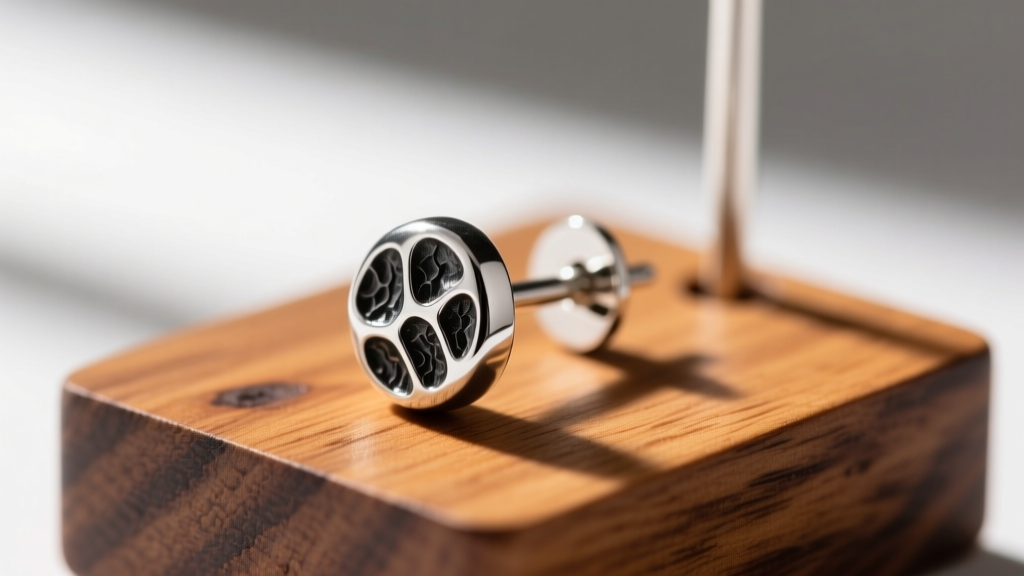
The Acetic Acid Problem in Oak and Cedar
Woods like oak, cedar, and pine naturally emit volatile organic compounds (VOCs), including acetic acid and tannins, especially when exposed to the fluctuating humidity of a bedroom or bathroom. When an unsealed wooden wall earring holder absorbs ambient moisture, it releases these acidic vapors directly against the metal posts resting on its surface. This creates a micro-climate that eats away at the rhodium plating on white gold and rapidly oxidizes raw silver.
| Holder Material | Chemical Reactivity | Best Suited For | Troubleshooting Fix |
|---|---|---|---|
| Untreated Oak/Cedar | High (Acetic acid & tannins) | Gold-filled, Platinum, Anodized Titanium | Seal with 3 coats of water-based polyurethane |
| Powder-Coated Steel | None (Inert barrier) | All metals, including raw copper & silver | Inspect for micro-chips in the coating |
| Cast Acrylic | None (Non-porous) | Delicate pearls, opals, and soft gems | Clean with microfiber; avoid ammonia sprays |
| Raw Brass/Copper | Moderate (Transfers patina) | Vintage or bohemian brass collections | Apply a thin coat of microcrystalline wax |
If you already own an untreated wooden wall earring holder, you do not need to throw it away. You can neutralize the off-gassing by sealing the wood. Lightly sand the display surface with 400-grit sandpaper, wipe away the dust with a tack cloth, and apply three thin coats of a water-based, non-yellowing polyurethane sealant. Allow 48 hours for the sealant to fully cure and off-gas its own solvents before rehanging your silver jewelry.
Structural Failures: Drywall Anchors and Shear Force
A fully loaded wall earring holder is surprisingly heavy. While the metal or acrylic frame might only weigh 8 ounces, a collection of 60 pairs of earrings—especially if it includes solid gold hoops, gemstone chandeliers, and heavy brass statement pieces—can easily add another 1.5 to 2 pounds. The problem is not the static dead load; it is the dynamic shear force applied every time you pull a stubborn friction-back stud off the display.
Calculating Your Collection's Load and Choosing Anchors
Standard plastic ribbed drywall anchors, which often come included in the hardware packet of cheap organizers, are rated for roughly 15 pounds in 1/2-inch drywall. However, that rating assumes a perfectly static, straight-down pull. Yanking a tight earring post out of a felt slit or wire grid creates a lateral shear force that can snap a plastic anchor’s collar or slowly elongate the drywall hole until the fixture pulls away from the wall. According to structural DIY guidelines outlined by The Family Handyman, matching the anchor to the dynamic load is critical for wall preservation.
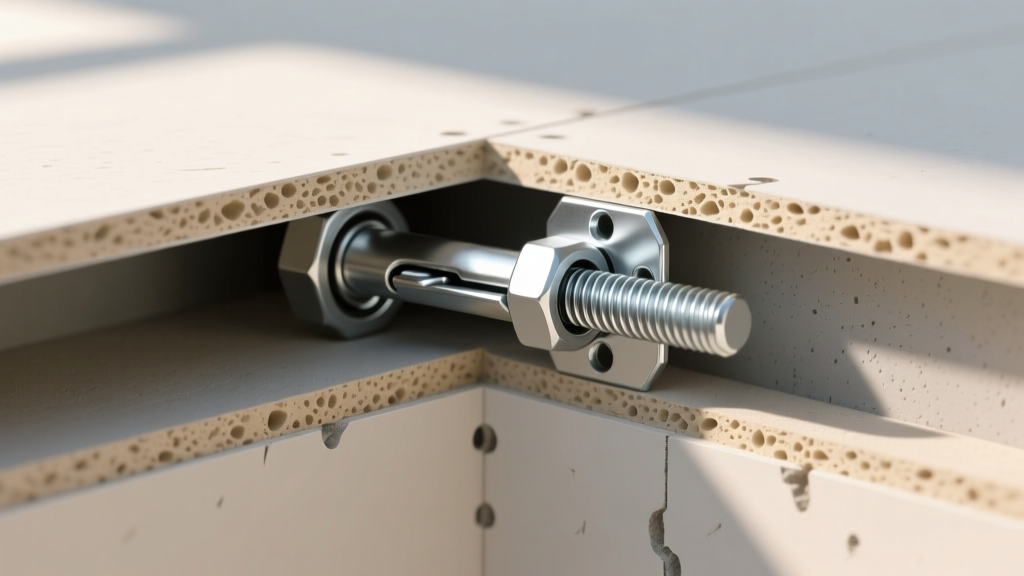
- For Collections Under 1 lb (Mostly Studs and Small Hoops): Use self-drilling threaded zinc anchors. They bite deeply into the gypsum core and resist the lateral pulling motion of removing tight earring backs.
- For Collections Over 1.5 lbs (Heavy Dangles and Statement Pieces): Discard the included plastic anchors. Upgrade to 1/8-inch or 3/16-inch steel toggle bolts (often called butterfly anchors). The spring-loaded wings open behind the drywall, distributing the dynamic shear force across a 2-inch surface area inside the wall cavity, making it virtually impossible to pull out without destroying the drywall itself.
- The Stud-Finder Compromise: If your wall earring holder is wider than 16 inches, it will likely cross at least one wooden wall stud. Always secure at least one side of the holder directly into the stud using a 2-inch wood screw. This single structural anchor point will bear 80% of the dynamic load, allowing you to use lighter drywall anchors on the opposite side simply to keep the frame flush against the wall.
Adapting Holders for Specific Earring Backs
Not all earrings feature fishhook wires. Studs with butterfly friction backs, screw-backs, and ear crawlers present unique mounting challenges on standard grid-based wall holders. Attempting to push a 20-gauge stud post through a thick metal wire grid can bend the post or scratch the gemstone setting against the abrasive metal edge.
The Felt-Slit Modification
To adapt a wire grid wall earring holder for studs, you must create a friction-based mounting surface. Purchase a sheet of 1mm thick adhesive-backed craft felt. Cut the felt into strips slightly wider than the grid’s horizontal wires. Peel the backing and wrap the felt tightly around the horizontal bars where you intend to hang your studs. Using a sharp crafting scalpel, make tiny 2mm vertical slits into the felt. You can now push your stud posts directly into the felt slits. The dense fibers will grip the post securely, mimicking the tension of a traditional jewelry box pad, while protecting the metal from scratches and preventing the earring from spinning or drooping.
Final Troubleshooting Checklist
Before you reorganize your entire collection, run your current setup through this diagnostic checklist to ensure long-term preservation and structural integrity:
- The Shake Test: Gently tap the wall next to your holder. If the frame rattles or shifts, the drywall anchors have elongated the gypsum hole. Remove the holder and upgrade to toggle bolts immediately.
- The Gauge Check: Inspect your 22-gauge and threader earrings. If they are hanging from the middle of their wires rather than the top curve, apply silicone stoppers or modify the grid spacing.
- The Swab Test: Rub a damp cotton swab along the surface of wooden holders. If it picks up a yellowish or brownish tint, the wood is leaching tannins and must be sealed with polyurethane before storing silver or pearls.
- The Clearance Measure: Use a ruler to verify at least 3.5 inches of vertical space between horizontal rails to prevent heavy chandelier earrings from resting on the tiers below them.
By treating your wall earring holder as a specialized storage environment rather than a simple decorative rack, you eliminate the daily frustrations of tangled wires, chemical tarnish, and drywall repairs. Proper material selection, structural reinforcement, and minor physical modifications will transform your wall display into a safe, functional, and beautiful archive for your jewelry collection.


