Flat Back Earrings How to Remove: Stuck Stud Troubleshooting
Learn exactly how to remove stuck flat back earrings. Expert troubleshooting for threaded and threadless cartilage studs, including tool tips and grip hacks.

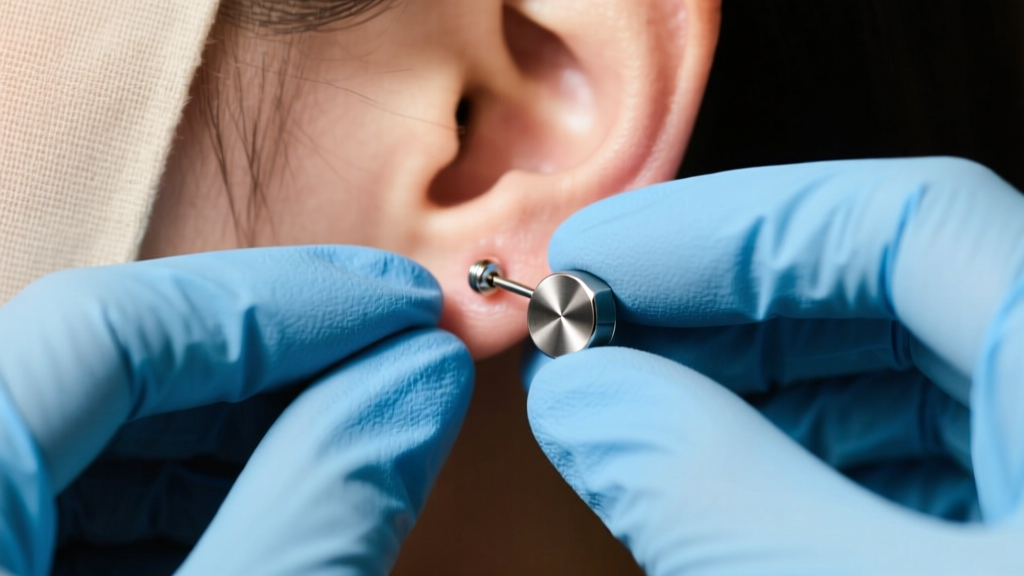
Flat back earrings are the undisputed gold standard for cartilage, helix, tragus, and lobe piercings. Their low-profile discs prevent the dreaded 'sleeping on a sharp post' pain and reduce the risk of irritation bumps. However, their secure, flush fit creates a unique problem when it is time for a jewelry change. If you have typed 'flat back earrings how to remove' into your search bar out of sheer frustration, you are not alone. Many guides offer vague advice, ignoring the critical mechanical differences between threading types and tension systems.
As a domain expert in body jewelry mechanics, I have compiled this comprehensive troubleshooting guide to help you safely extract stuck, seized, or crusted-over flat back studs without damaging your fistula or your high-end titanium and gold jewelry.
The Anatomy of a Stuck Flat Back: Identify Your Mechanism
Before applying force, you must identify the mechanical connection of your earring. Applying the wrong removal technique will result in cross-threaded metal, bent pins, or torn tissue. High-quality body jewelry brands like Neometal and Anatometal utilize precise manufacturing standards, but they require specific removal protocols.
| Mechanism Type | How It Connects | Removal Motion | Common Failure Mode |
|---|---|---|---|
| Threadless (Push-Pin) | Front pin bends to create tension inside the hollow post. | Push in slightly, then pull straight apart. | Crust buildup gluing the seam; pulling without relieving tension. |
| Internally Threaded | Screw is on the flat back post; threads into the front gem. | Hold front still, twist back counter-clockwise. | Cross-threading from twisting the wrong half; seized by dried saline. |
| Externally Threaded | Screw is on the front gem post; threads into the flat back. | Hold back still, twist front counter-clockwise. | Thread stripping; irritation from thick screw passing through the fistula. |
Threadless (Push-Pin) Flat Back Earrings: How to Remove
Threadless jewelry relies on spring tension. The pin on the front piece is slightly bent before insertion, creating outward pressure against the inside wall of the hollow flat back post. When these get stuck, it is rarely a mechanical failure; it is almost always a hygiene or tension issue.
The Tension Release Technique
The most common mistake people make is simply pulling the front and back apart like a stubborn Lego brick. This can cause the jewelry to snap or the piercing to tear. Instead, use the 'Push and Pull' method:
- Push Inward: Gently push the front gem piece slightly into the piercing. This compresses the bent pin and relieves the friction tension holding it inside the post.
- Twist and Pull: While maintaining that slight inward pressure, give the front piece a tiny twist and pull it straight out.
- The 15-Degree Rule: If it still will not budge, the pin may have been bent too far (past 30 degrees) during the initial insertion. Do not yank. Visit a piercer to have it safely extracted, as excessive force will snap the pin inside the hollow post.
Threaded Flat Backs: Troubleshooting Seized Studs
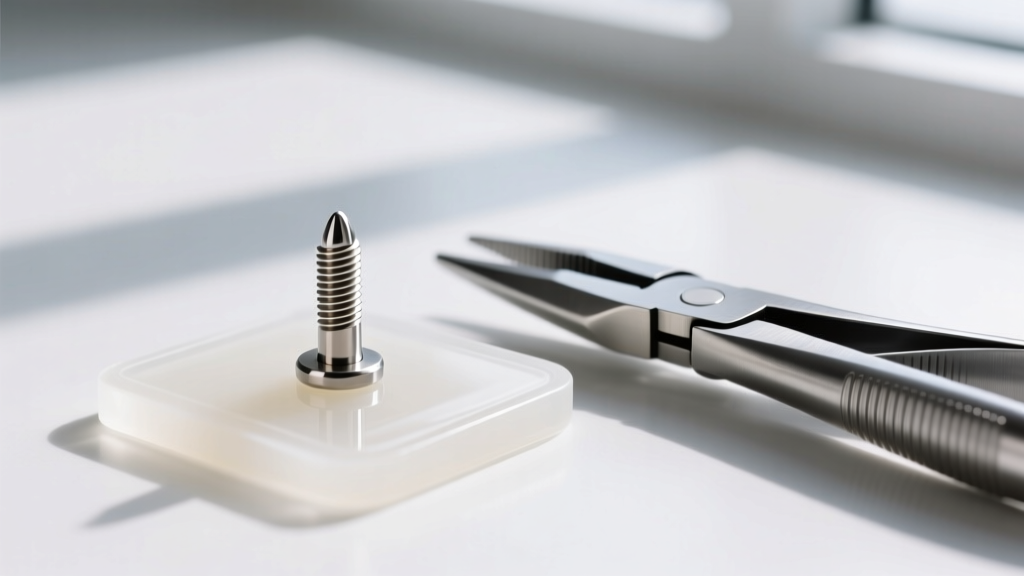
Internally threaded flat backs are the industry standard for high-end body jewelry, utilizing standard metric thread pitches. For 16-gauge (1.2mm) and 18-gauge (1.0mm) jewelry, the standard thread is M1.2x0.4. For 14-gauge (1.6mm), it is M1.6x0.4. Understanding these micro-measurements explains why forcing a stuck earring is so destructive.
Fixing Cross-Threading and Calcified Crust
If your internally threaded earring will not unscrew, you are likely dealing with one of two issues:
- Calcified Sebum and Saline: Body fluids and sterile saline dry into a cement-like crust right at the seam where the front and back meet. The Fix: Soak a cotton swab in warm sterile saline and hold it against the seam for 3-5 minutes. Gently brush the seam with a soft, clean toothbrush to break the microscopic seal before attempting to twist again.
- Cross-Threading: If the jewelry was screwed together at an angle, the M1.2 threads have jammed. The Fix: Stop twisting immediately. Continuing to apply torque will strip the titanium threads, ruining a $50+ piece of jewelry. If warm water and gentle counter-clockwise pressure do not free it, a professional piercer must use specialized gripping tools to back it out without destroying the thread.
Grip Hacks: When Fingers Are Not Enough
The flat disc of a labret or helix stud sits flush against the skin, offering zero leverage. If your fingers are slipping, you need to increase your coefficient of friction. Never use bare, lotion-covered hands.
The Gripper Hierarchy
- Powder-Free Nitrile Gloves: This is your first line of defense. Nitrile provides immense grip on smooth titanium and gold surfaces. Put on a pair of tight-fitting medical gloves, ensure the jewelry is completely dry, and try the twist/pull method again.
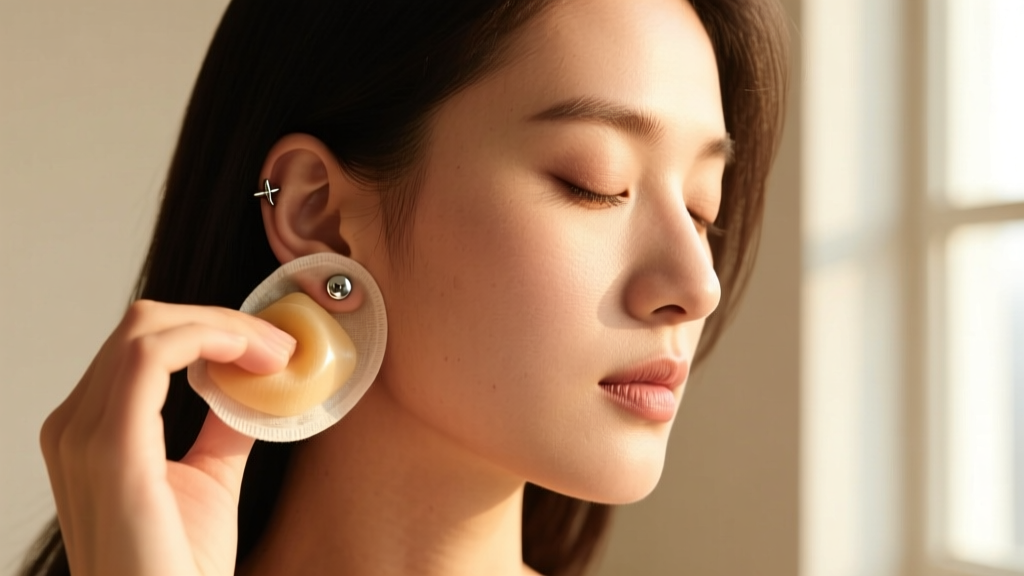
- Silicone Gripper Pads: Small, textured silicone mats (often sold as jar openers or specialized piercing grip pads) wrap around the flat back disc, allowing you to hold the back perfectly still while turning the front.
- Hemostats (With a Warning): Locking hemostats provide surgical-grade grip. However, never clamp bare steel hemostats directly onto PVD-coated, anodized, or solid gold jewelry. You will permanently scratch and mar the finish. Always wrap the tips of the hemostats in a layer of sterile gauze or slide a piece of silicone tubing over the jaws before clamping onto the flat back disc.
Managing Swelling and Embedded Backs
Sometimes, the earring is not mechanically stuck; it is biologically trapped. If your piercing is irritated, the tissue may swell around the post, or the flat back disc may become embedded in the skin. The Association of Professional Piercers (APP) strongly advises against digging into swollen tissue to extract jewelry.
The Edema Reduction Protocol
If the flat back disc is sinking into your skin, the post length is too short for your current swelling (e.g., wearing a 6mm post in a helix that requires an 8mm). Attempting to grip an embedded disc will cause severe trauma.
- Warm Compresses: Apply a warm, sterile saline compress to the area for 10 minutes to increase blood flow and soften the tissue.
- Anti-Inflammatories: Take an over-the-counter NSAID (like Ibuprofen) to reduce systemic edema, provided you have no medical contraindications.
- Ice the Area: After the warm compress, apply a clean, wrapped ice pack for 5 minutes to constrict the blood vessels and reduce the swelling just enough to expose the edge of the flat back disc.
- Seek Professional Help: If the skin has completely grown over the edge of the disc, do not attempt DIY surgery. A professional piercer can use a sterile taper to gently push the tissue back and safely extract the jewelry.
Preventative Maintenance for Future Changes
The secret to effortless jewelry changes lies in your daily aftercare routine. To prevent your flat back earrings from seizing up in the future, incorporate these micro-habits:
- Rinse the Seam: When showering, let warm water run directly over the jewelry to prevent sebum and dead skin cells from calcifying in the threading or push-pin seam.
- Lubricate Threads: When reassembling internally threaded jewelry, a microscopic dab of pure, body-safe jojoba oil on the threads can prevent future seizing without clogging the fistula.
- Check Tension Regularly: For threadless jewelry, ensure the front piece is seated completely flush. A visible gap between the gem setting and the post allows moisture and bacteria to enter, leading to corrosion and stuck pins.
Removing high-quality flat back earrings should never require brute force. By understanding the specific mechanics of your jewelry, utilizing proper friction-enhancing tools like nitrile gloves, and respecting the biological limits of your healing tissue, you can troubleshoot any stuck stud safely and effectively.


