The Earring Gift Guide: How to Take the Back Off an Earring
Discover the ultimate earring gift guide by backing type. Learn exactly how to take the back off an earring, from stuck butterflies to stripped screws.

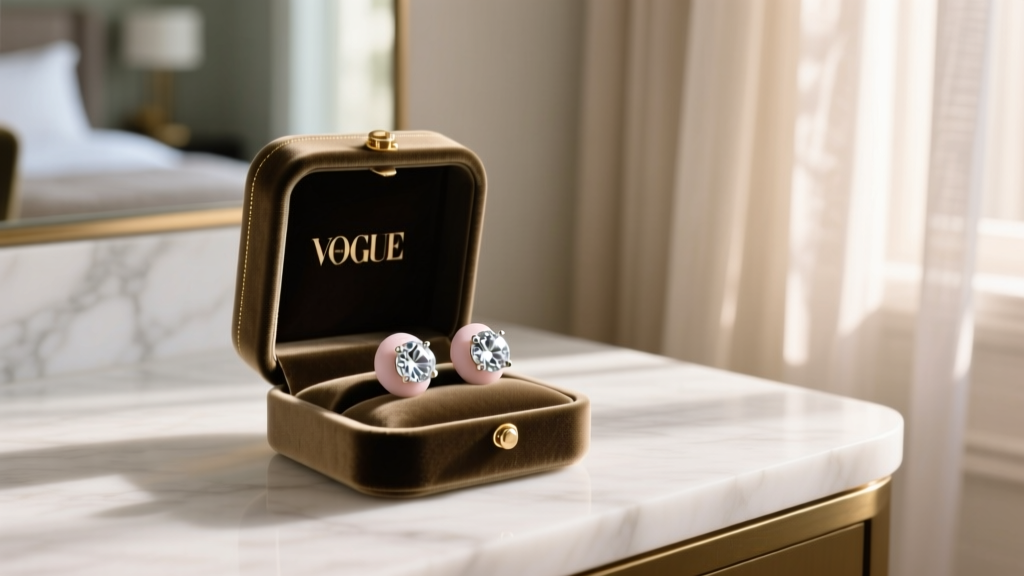
Gifting earrings is a timeless gesture, but jewelry buyers frequently overlook the most critical component of the piece: the backing mechanism. A stunning pair of diamond studs or artisan gold hoops can quickly become a source of frustration if the recipient lacks the dexterity to secure them or, worse, cannot remove them. When you are shopping for seniors, individuals with arthritis, or active children, the clasp dictates whether your gift will be worn daily or left in a jewelry box.
This guide bridges the gap between occasion-matching and practical jewelry mechanics. We will break down which earring backs to gift based on the recipient's lifestyle, and provide a masterclass on how to take the back off an earring when friction fits calcify, screw threads strip, or flat-backs become embedded.
The Hidden Challenge of Gifting Earrings: The Backing Mechanism
When selecting a gift, the gemstone cut, metal purity, and face-shape compatibility usually take center stage. However, the American Academy of Dermatology notes that prolonged wear of improper or irritating jewelry backs is a leading cause of contact dermatitis and localized infections. Furthermore, the physical mechanics of the back must match the recipient's motor skills.
Why the Back Matters More Than the Gemstone
Consider a standard butterfly friction back. It relies on the tension of a folded metal scroll gripping a grooved post. Over time, sebum, dead skin cells, and soap residue calcify inside these grooves. For a recipient with rheumatoid arthritis or neuropathy, generating the lateral pinch-force required to overcome this calcified friction is nearly impossible. If you are gifting to someone with limited hand mobility, you must avoid standard butterfly backs entirely, opting instead for La Pousette (jumbo push-backs), hinged leverbacks, or magnetic clasps.
Matching Earring Backs to Your Gift Recipient
Use this framework to match the earring backing to the specific needs of the person you are gifting them to. Getting this right ensures your gift is both beautiful and functional.
| Recipient Profile | Ideal Backing Type | Backing to Avoid | Technical Notes |
|---|---|---|---|
| Seniors / Arthritis | La Pousette, Leverback, Magnetic | Butterfly Friction, Small Screw-backs | Requires minimal pinch strength; large surface area for gripping. |
| Active Adults / Athletes | Locking Ear Wires, Screw-backs | Hinged Hoops, Friction Push-backs | Must withstand pulling forces from clothing and towels. |
| Children / Toddlers | Safety Clutch, Threadless Push-pin | Standard Butterfly, Fishhook Wires | Prevents accidental swallowing and poking during sleep. |
| Sensitive Skin / Allergies | Implant-Grade Titanium Flat-backs | Nickel-alloy Friction Backs, Silver | Look for ASTM F-136 titanium to prevent allergic reactions. |
Troubleshooting: How to Take the Back Off an Earring
Even with the best gifting intentions, you or your recipient may encounter a stuck earring back. Knowing how to take the back off an earring safely without bending the post or tearing the earlobe is a vital jewelry maintenance skill. Below are the three most common failure modes and their professional solutions.
Scenario A: The Stuck Butterfly Friction Back
The Problem: The metal scroll has lost its tension, or keratin buildup has effectively glued the back to the 20-gauge or 18-gauge post. Pulling too hard risks bending the post or tearing the fistula (the piercing hole).
The Solution:
- The Rubber Glove Trick: Put on a pair of nitrile or latex examination gloves. The rubber provides immense friction against the smooth metal, allowing you to twist and pull simultaneously without slipping.
- The Dental Floss Loop: If the back is flush against the earlobe and you cannot get a fingernail under it, take a piece of waxed dental floss, loop it behind the butterfly back, and pull the ends outward and slightly downward. This applies even, lateral pressure without bending the delicate metal post.
Scenario B: The Stripped Screw Back
The Problem: Screw backs are excellent for security, making them a popular choice for high-value diamond studs. However, 14k and 18k gold are relatively soft metals. If cross-threaded during manufacturing or forced by the user, the threads strip, leaving the back permanently locked in place.
The Solution:
- The Rubber Band Method: Wrap a small, thick rubber band tightly around the earring back to increase the diameter and grip. Use your thumb and forefinger to apply firm, steady counter-clockwise pressure.
- Nylon-Jaw Pliers: If hand strength fails, use jewelry pliers equipped with nylon jaw covers (never bare metal pliers, which will gouge the gold). Grip the back firmly while holding the front stud completely stationary with a second pair of padded pliers to prevent twisting the post inside the ear.
Scenario C: The Embedded Flat-Back Labret
The Problem: Flat-back labrets are the gold standard for cartilage and tragus piercings, highly recommended by the Association of Professional Piercers (APP) for their comfort and safety. However, if the ear swells, the flat disc can sink into the tissue, making it impossible to grip the front while unscrewing the back.
The Solution:
- For Internally Threaded (Screw) Backs: You must hold the front disc completely still while turning the back. Use a hemostat or locking tweezers to gently clamp the edge of the front disc. With your other hand, unscrew the back counter-clockwise. If the tissue is swollen, apply a sterile saline compress for 10 minutes to reduce inflammation before attempting removal.
- For Threadless (Push-Pin) Backs: These rely on tension, not threads. To remove them, you must bend the pin slightly to break the tension seal. Grip the front and back, and apply a gentle, firm bending motion (like snapping a twig) rather than pulling straight out.
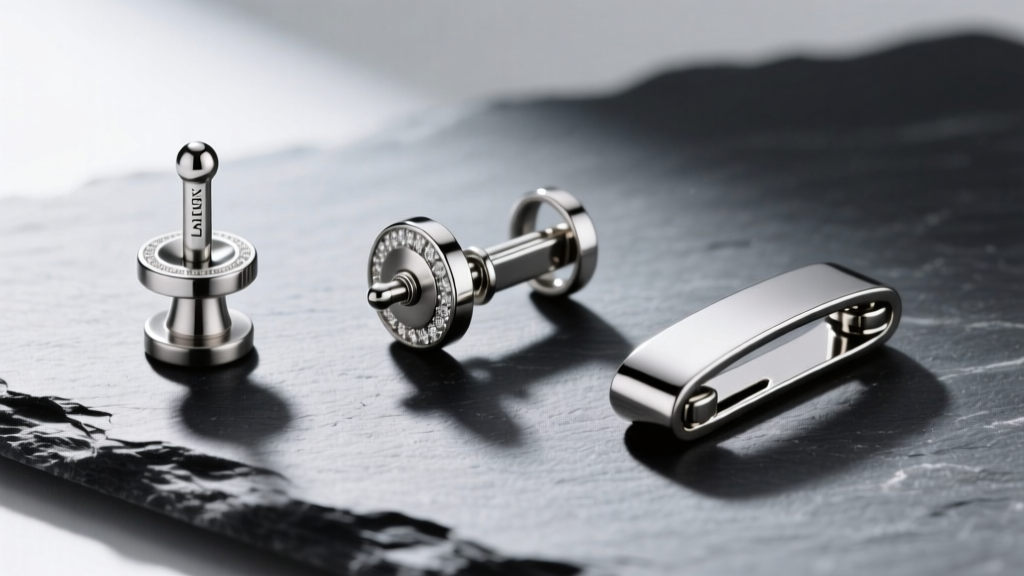
2026 Gifting Trends: Upgrading the Backing for a Better Gift
If you have already purchased a beautiful pair of earrings but realize the standard backs are inadequate for your recipient, you can easily upgrade them before wrapping. This elevates the gift from 'thoughtful' to 'expertly curated'.
La Pousette and Silicone O-Rings
For standard friction posts, consider gifting a set of aftermarket La Pousette backs. These feature a patented locking mechanism with a large, easy-to-grip silicone or ridged metal exterior. They cost between $30 and $80 but provide the security of a screw back with the ease of a push back. Alternatively, a $10 pack of medical-grade silicone O-rings can be slid onto the post behind a standard butterfly back, providing a larger surface area for arthritic fingers to grip.
Magnetic and Hinged Security Backs
For hoop earrings, traditional latch-backs can be finicky and prone to catching on hair. Upgrading to a hinged 'click' closure or a neodymium magnetic clasp ensures the recipient can easily open and close the hoop without needing a mirror or fine motor precision. When purchasing magnetic backs, ensure the neodymium magnets are encased in hypoallergenic surgical steel or titanium to prevent skin irritation.
Final Checklist Before Wrapping
Before you wrap your earring gift, run through this quick quality-assurance checklist:
- Check the Post Gauge: Ensure the post thickness matches standard piercings (usually 20G or 18G for lobes, 16G or 14G for cartilage). Gifting a 14G post to someone with a delicate 20G lobe piercing will cause pain and tearing.
- Verify the Post Length: Standard lobe posts are 6mm to 8mm. If your recipient has thicker earlobes, a 6mm post will sit too flush, trapping bacteria. Opt for 10mm posts if you are unsure.
- Test the Mechanism: Put the back on and take it off yourself. Does the screw thread catch? Is the friction back too tight? Catching a mechanical flaw before gifting saves the recipient from immediate frustration.
By prioritizing the mechanics of the earring back, you ensure your gift is not just a beautiful object, but a comfortable, wearable accessory that your recipient will cherish and use effortlessly for years to come.


