Step-by-Step Guide to Replacing Earring Posts and Backs
Learn how to choose, replace, and secure earring posts and backs. Step-by-step guide covering gauge sizes, materials, and locking mechanisms.

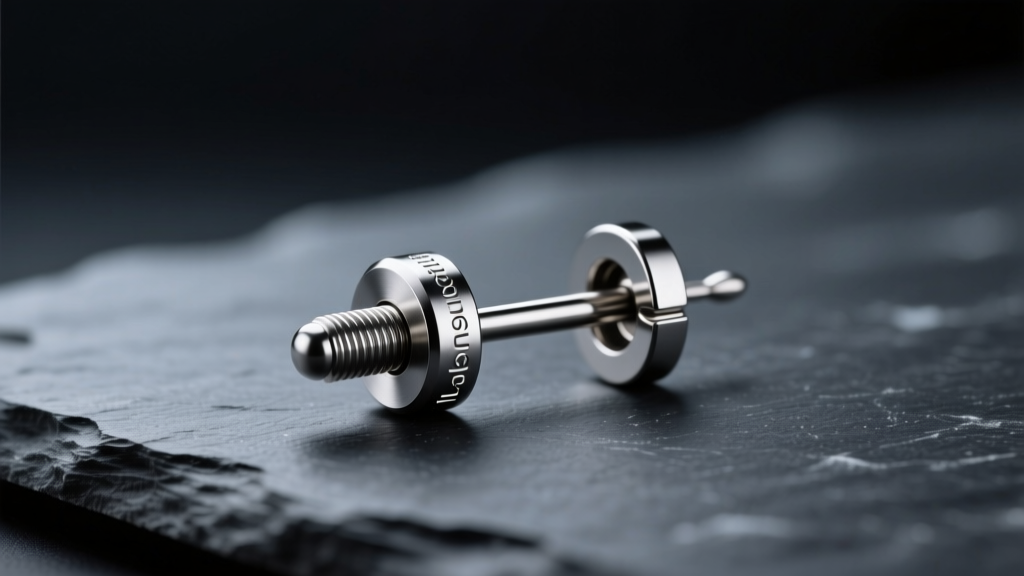
The Anatomy and Sizing of Earring Posts and Backs
Lost earrings, irritated piercings, and bent wires almost always trace back to a fundamental misunderstanding of earring posts and backs. Whether you are upgrading a pair of heirloom diamond studs or troubleshooting a stubborn cartilage piercing, understanding the precise metallurgy and mechanical engineering of your jewelry is essential. In 2026, the jewelry industry has largely moved away from generic 'one-size-fits-all' friction backs, favoring precision-threaded and secure-locking mechanisms that protect both your investment and your ear health.
Before replacing any component, you must understand the two critical dimensions of an earring post: gauge (thickness) and length. Standard commercial earrings often use 20-gauge (0.8mm) or 18-gauge (1.0mm) posts, while professional body piercers typically default to 16-gauge (1.2mm) or 14-gauge (1.6mm) for structural integrity and to prevent the 'cheese-cutter effect' in the earlobe.
Standard Post Dimensions and Applications
| Gauge Size | Millimeter (mm) | Standard Post Lengths | Best For |
|---|---|---|---|
| 20G | 0.81mm | 6mm - 8mm | Standard department store studs, lightweight pearls |
| 18G | 1.02mm | 6mm - 10mm | Fine jewelry diamond studs, standard lobe piercings |
| 16G | 1.29mm | 8mm - 12mm | Cartilage (helix, tragus), thick earlobes, active lifestyles |
| 14G | 1.63mm | 10mm - 14mm | Industrial scaffolds, stretched lobes, heavy statement pieces |
Step-by-Step: How to Measure, Remove, and Upgrade
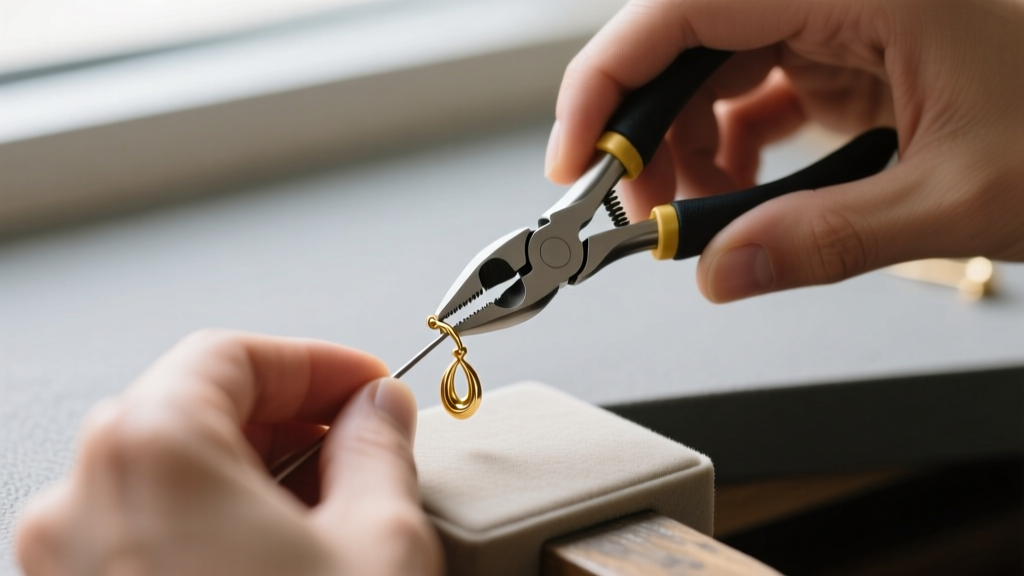
Replacing earring posts and backs is rarely a DIY soldering job unless you are a trained bench jeweler. However, you can safely remove stuck components, measure for replacements, and upgrade your securing mechanisms at home.
Step 1: Measure with Digital Calipers
Never guess your post thickness. Purchase a basic digital caliper ($15–$25 online). Clamp the jaws gently around the bare metal post (not the decorative head) to determine your exact gauge. Next, measure the wearable length—the distance from the base of the decorative head to the groove where the back sits. If your current post is 8mm and your earlobe is 6mm thick, you have 2mm of clearance, which is ideal for hygiene and swelling.
Step 2: Safely Remove Stuck Friction Backs
Friction backs (butterfly clutches) frequently become impacted due to dried sebum, hair product buildup, or accidental pushing. To remove a stuck back without tearing the fistula:
- Lubricate: Apply a drop of sterile saline or jojoba oil to the post and back junction.
- Stabilize: Pinch the decorative front firmly against the ear to prevent pulling on the piercing channel.
- Counter-Torque: Use a pair of clean, rubber-tipped jewelry pliers to grip the back. Gently twist counter-clockwise while pulling straight back. Avoid wiggling, which can bend the post.
Step 3: Upgrade to Secure Locking Mechanisms
If you are taking your earrings to a jeweler for a post replacement, request an upgrade from a standard friction post to a threaded post system. Brands like Maria Tash and Inverness utilize precision threading. Expect to pay $35–$60 for a pair of 14k gold threaded screw-backs, or $45–$85 for a high-end La Pousette locking clutch system.
Material Grades: What Touches Your Skin Matters
When replacing earring posts and backs, the metal grade is non-negotiable. Contact dermatitis from nickel exposure is one of the most common reasons people abandon wearing earrings altogether. According to the Mayo Clinic, nickel allergies affect up to 36% of women, making material transparency critical.
The Safe Metals Hierarchy
- ASTM F136 Implant-Grade Titanium: The absolute gold standard for sensitive ears and fresh piercings. It contains zero nickel and is highly polished to prevent bacterial adhesion. Titanium posts typically cost $15–$40.
- Niobium: A highly biocompatible, nickel-free reactive metal that can be anodized into vibrant colors. Excellent for custom cartilage posts.
- 14k or 18k Solid Gold (Nickel-Free): Ensure the alloy is specifically formulated without nickel (often using palladium or silver as the whitening agent instead). Avoid 'gold-plated' or 'gold-filled' posts, as the thin outer layer will eventually wear away, exposing the base brass or steel core to your piercing.
- 316L Surgical Steel: Often marketed as 'hypoallergenic,' surgical steel actually contains up to 10-14% nickel. While the nickel is usually bound tightly in the alloy matrix, polishing compounds or acidic skin pH can trigger reactions in highly sensitive individuals. The Association of Professional Piercers (APP) strongly advises against using steel for healing or highly reactive piercings.
Matching Backs to Your Lifestyle
The 'back' of the earring is the mechanical anchor. Choosing the wrong anchor for your lifestyle guarantees lost jewelry or chronic irritation.
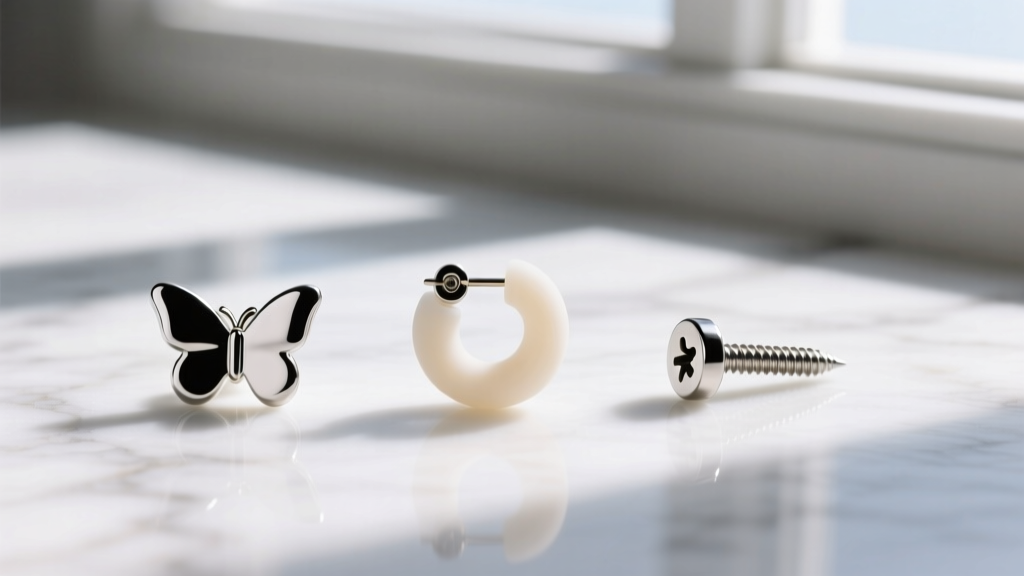
Friction vs. Screw vs. Locking Backs
Butterfly Friction Clutches: The industry default. They rely on tension and a grooved post. Verdict: Cheap and easy to use, but they trap bacteria, easily fall off during sleep, and the sharp post ends can scratch the neck.
Silicone O-Rings: Soft, flexible rubber rings that slide over a friction post. Verdict: Excellent for sports and sleeping as they eliminate the sharp post point. However, silicone degrades with exposure to oils and sweat, requiring replacement every 3–6 months.
Threaded Screw-Backs: The post features external or internal threads, and the back screws on. Verdict: Highly secure. Pro-Tip: Always choose internally threaded posts (where the screw is on the back, not the post). External threads act like a file, tearing the delicate tissue of the fistula every time you insert the earring.
La Pousette Locking Backs: A mechanical marvel featuring a spring-loaded dual-grip system that clicks securely into a specially designed post groove. Verdict: The ultimate security for high-value diamond studs. They require a specific post profile and are impossible to pull off accidentally.
Troubleshooting Common Post and Back Failures
Expert Insight: If your earring post feels 'loose' even when the back is pushed all the way down, your post groove is likely worn out from years of friction. A bench jeweler can use a laser welder to add a microscopic bead of metal to the post, creating a fresh groove for under $30.
Stripped Threads on Screw-Backs
If your screw-back spins endlessly without tightening, you have cross-threaded the components. Do not force it. Apply a drop of penetrating oil, let it sit for ten minutes, and gently back it out. If the threads on the precious metal post are stripped, the entire post must be laser-welded off and replaced by a professional jeweler.
Post Too Short for Swelling
If you are replacing posts on a newly pierced ear or an irritated older piercing, a standard 6mm post will embed into the tissue as the ear swells. Always keep a pair of 10mm or 12mm 'swelling accommodation' titanium posts in your first-aid kit. Once the swelling subsides (usually 7-14 days), you can safely downsize back to your standard length.
Final Maintenance Protocol
To ensure your upgraded earring posts and backs last a lifetime, implement a monthly maintenance routine. Soak friction backs in a 50/50 solution of warm water and ammonia-free jewelry cleaner to dissolve sebum buildup. For threaded components, use a soft-bristled toothbrush to clear debris from the screw grooves, ensuring a smooth, bacteria-free rotation every time you change your earrings.


