How to Make Earrings at Home: Sealing, Care & Cleaning Guide
Learn how to make earrings at home that last. Discover expert sealing, cleaning, and maintenance tips for DIY clay, resin, and wire jewelry.

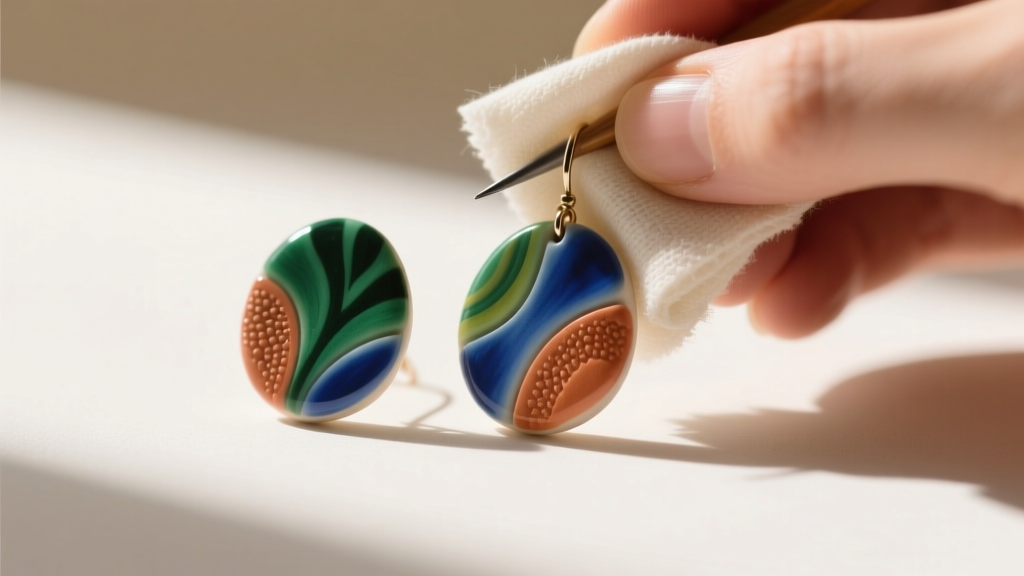
Learning how to make earrings at home is a deeply rewarding creative pursuit, but the difference between amateur crafts and professional-grade jewelry lies entirely in post-production care. Many DIY jewelry makers master the sculpting, wire-wrapping, or resin-pouring techniques, only to find their creations tarnishing, snapping, or causing contact dermatitis within weeks. Proper sealing, material selection, and specialized cleaning protocols are non-negotiable for handmade earrings.
This comprehensive guide bridges the gap between crafting and professional jewelry maintenance, providing exact specifications, chemical cleaning ratios, and material-specific care matrices to ensure your homemade earrings remain durable, hypoallergenic, and visually striking for years.
The Hardware Foundation: Selecting Hypoallergenic Ear Wires
Before addressing surface cleaning, we must address the structural point of contact: the ear wire or post. When figuring out how to make earrings at home for sensitive ears, the metallurgical grade of your findings is critical.
ASTM F136 Titanium vs. 316L Surgical Steel
Many craft stores sell 'surgical steel' findings, but this is largely a marketing term. 316L stainless steel contains nickel, which can leach when exposed to the slightly acidic pH of human skin and sebum, leading to allergic reactions. For professional-grade DIY earrings, you must source ASTM F136 implant-grade titanium ear wires. This specific alloy is entirely nickel-free and is the exact standard used for medical implants.
- Standard Lobe Piercings: Use 20-gauge (0.81mm) titanium wires. This is the industry standard for healed lobes and provides enough structural integrity to support moderate-weight clay or resin dangles.
- Cartilage and Helix Piercings: Opt for 18-gauge (1.02mm) or 16-gauge (1.29mm) flat-back labret posts, as cartilage fistulas typically heal at these thicker diameters.
Maintenance Tip: Always wipe down titanium posts with a 70% isopropyl alcohol swab before insertion to remove manufacturing oils and environmental dust, but avoid getting the alcohol on your handmade clay or resin components.
Sealing Techniques for Polymer Clay and Resin
Unsealed polymer clay is porous. Over time, it will absorb skin oils, lotions, and environmental pollutants, leading to a permanent dingy appearance. Sealing is a mandatory step in the DIY earring process.
Polyurethane vs. UV Resin Topcoats
For polymer clay (such as Sculpey or Fimo), water-based polyurethane varnishes (like Varathane) provide a flexible, non-yellowing seal. Apply two micro-thin coats, allowing 4 hours of curing time between layers. Avoid aerosol spray sealants, as the propellants can react with the plasticizers in the clay, resulting in a perpetually tacky surface.
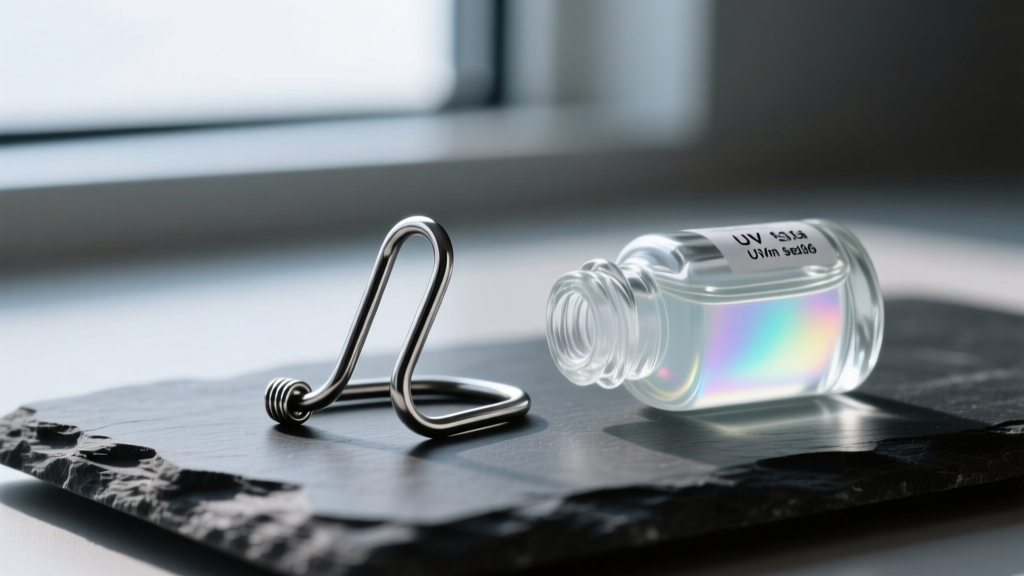
For a glass-like, high-gloss finish that offers superior scratch resistance, a thin doming layer of UV-curing jewelry resin is the professional standard. Use a silicone-tipped brush to spread a 0.5mm layer over the clay, then cure under a 36W UV lamp for 60 seconds. This creates an impermeable barrier that can be easily wiped clean with a damp cloth.
The DIY Earring Maintenance and Cleaning Matrix
Different materials react violently to incorrect cleaning agents. Use the matrix below to determine the exact care protocol for your specific handmade earrings.
| DIY Material | Daily Wear Risks | Safe Cleaning Agent | Agents to Avoid | Maintenance Frequency |
|---|---|---|---|---|
| Polymer Clay (Sealed) | Surface oils, makeup transfer | Mild dish soap + lukewarm water | Alcohol, Acetone, Bleach | Weekly wipe-down |
| Epoxy / UV Resin | Micro-scratches, UV yellowing | Microfiber cloth + glass cleaner | Abrasive pastes, Ammonia | Bi-weekly polishing |
| Copper / Brass Wire | Rapid oxidation, skin acidity | Lemon juice + salt bath | Chlorine, Saltwater | After every 3 wears |
| Sterling Silver Wire | Sulfur tarnish, humidity | Aluminum foil + baking soda bath | Hard-bristle brushing | Monthly or as needed |
Advanced Cleaning Protocols for Wire-Wrapped Metals
Wire wrapping is a staple technique when learning how to make earrings at home, but copper, brass, and sterling silver are highly reactive to sulfur and oxygen. According to the Gemological Institute of America (GIA), improper polishing can strip away intentional patinas or scratch soft metals. Here are the exact chemical baths for deep cleaning without abrasion.
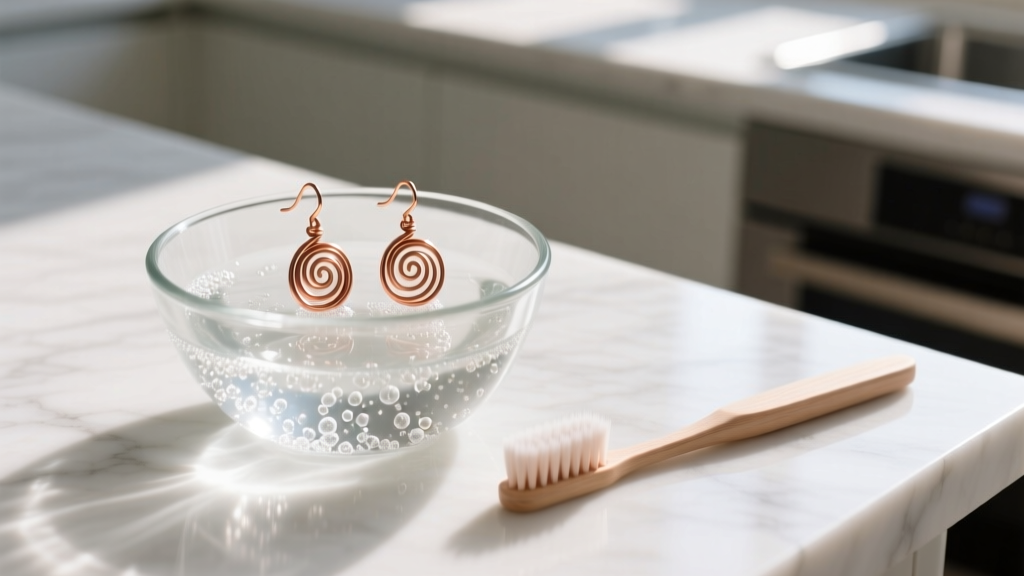
The Citric Acid Bath (For Copper and Brass)
When copper wire turns brown or green, it has formed copper oxide. To reverse this without scrubbing:
- Squeeze half a lemon into a small glass bowl.
- Add 1 tablespoon of fine sea salt and stir until dissolved.
- Submerge only the metal wire components of your earrings for 2 to 3 minutes. (Do not submerge if the wire is wrapped around porous stones or unsealed clay).
- Rinse immediately with distilled water and dry thoroughly with a lint-free cloth.
The Galvanic Tarnish Bath (For Sterling Silver)
Sterling silver (925) tarnishes due to hydrogen sulfide in the air. You can reverse this using an electrochemical reaction:
- Line a glass bowl with aluminum foil, shiny side up.
- Place your silver wire earrings on the foil.
- Sprinkle 1 tablespoon of baking soda over the jewelry.
- Pour boiling water into the bowl until the earrings are submerged. The sulfur will transfer from the silver to the aluminum foil within 60 seconds.
- Remove with wooden tweezers, rinse, and buff.
Troubleshooting Common Homemade Earring Failures
Even with perfect cleaning, structural failures can occur. Here is how to diagnose and fix the most common DIY earring issues.
- Adhesive Failure (Posts Popping Off): If you are gluing flat pads to clay or resin, cyanoacrylate (Super Glue) is insufficient. It becomes brittle and snaps under shear stress. Use a two-part clear epoxy (like E6000 or JB Weld Clear) and score the metal pad with sandpaper before gluing to create a mechanical bond.
- Wire Fatigue and Snapping: If your ear wires frequently snap at the loop, you are likely using 'dead soft' wire. For ear wires, you must use 'half-hard' or 'full-hard' wire, or work-harden your dead soft wire by tumbling it in a rotary tumbler with stainless steel shot for 45 minutes.
- Resin Tackiness: If your UV resin sealant remains sticky, it is due to oxygen inhibition on the surface layer. Wipe the sticky layer with a 90% isopropyl alcohol-soaked lint-free wipe to reveal the fully cured, hard surface beneath.
Archival Storage for Handmade Collections
How you store your earrings when they are not being worn dictates their lifespan. Never toss handmade earrings into a communal jewelry box where wire hooks can scratch resin surfaces or dent soft clay.
Store each pair in an individual, resealable polyethylene bag (minimum 2-mil thickness). For copper, brass, and silver wire earrings, drop a 3M Anti-Tarnish Strip into the bag. These strips absorb airborne sulfur and hydrogen sulfide, preventing tarnish for up to 12 months. Keep the bags in a dark, climate-controlled drawer, as UV exposure and high humidity are the primary catalysts for resin yellowing and metal oxidation.
Mastering how to make earrings at home is only the first step. By implementing these professional-grade sealing, cleaning, and storage protocols, you elevate your DIY jewelry from fragile crafts to enduring, wearable art.


