How Do I Clean Silver Earrings? A Beginner's Guide to Tarnish Removal
Learn exactly how do I clean silver earrings without damaging them. Discover safe, step-by-step tarnish removal methods for studs, hoops, and gemstones.

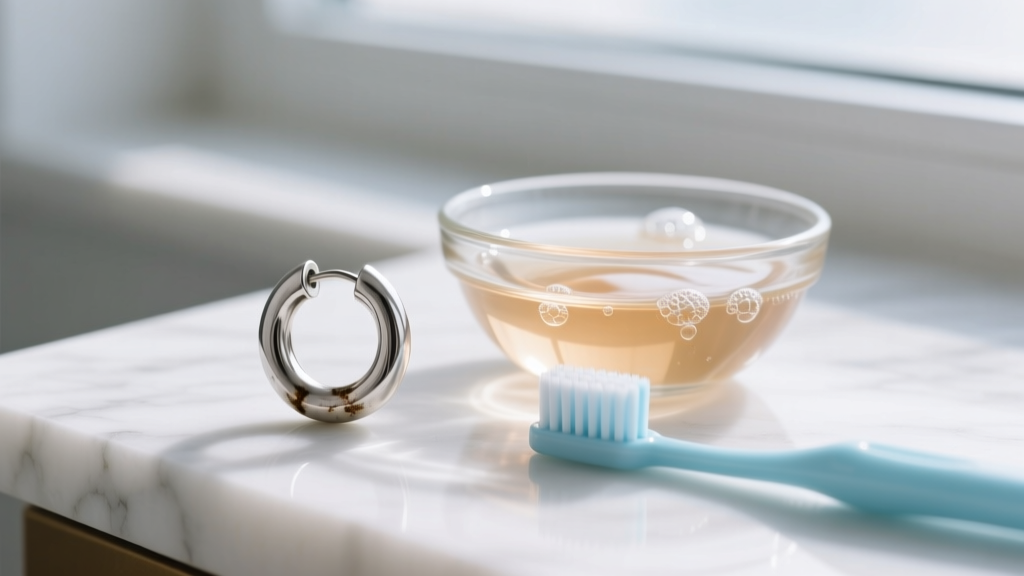
If you have ever opened your jewelry box to find your favorite pieces looking dull, dark, or blackened, you have likely asked yourself: how do I clean silver earrings without ruining them? Silver is a breathtaking, luminous metal, but it requires specific care to maintain its brilliance. Unlike gold or platinum, silver is highly reactive to its environment. However, restoring your earrings to their original shine is entirely possible with the right techniques, tools, and a basic understanding of metallurgy.
In this comprehensive beginner-friendly guide, we will break down the exact chemistry behind silver tarnish, how to identify your specific silver type, and the safest, most effective cleaning methods for every earring style—from delicate 20-gauge studs to intricate cartilage cuffs.
The Science of Silver Tarnish: Why It Happens
Before diving into cleaning methods, it is crucial to understand what you are actually cleaning. Tarnish is not dirt, and it is not rust. Pure silver (99.9%) is relatively inert and rarely tarnishes. However, pure silver is too soft for jewelry. To create sterling silver, metallurgists alloy it with 7.5% copper to add durability.
It is this copper that causes the problem. When copper is exposed to hydrogen sulfide in the air—which is released by everyday items like wool, felt, onions, eggs, and even human sweat—it triggers a chemical reaction that forms silver sulfide (Ag2S). This silver sulfide manifests as a yellowish, brown, or black coating on your earrings. Understanding this reaction is the key to reversing it safely without stripping away the underlying metal.
Identify Your Silver: Sterling vs. Plated
The cleaning method you choose depends entirely on the composition of your earrings. Using an aggressive technique on the wrong metal type can cause irreversible damage.
- Sterling Silver (.925): Look for hallmarks stamped on the earring post, clasp, or inner band. Common stamps include .925, STER, or 925/1000. Sterling silver is solid throughout, meaning you can use slightly more robust cleaning methods, including electrochemical baths and gentle polishing cloths.
- Silver-Plated: These earrings feature a base metal (usually brass or copper) coated with a microscopic layer of silver, typically ranging from 0.5 to 2.0 microns thick. They are rarely stamped with .925. Warning: Aggressive polishing or harsh chemical dips will rub the silver layer right off, exposing the dull base metal beneath. Plated earrings require the gentlest possible cleaning methods.
Step-by-Step: How Do I Clean Silver Earrings Safely?
Below are the two most effective, jeweler-approved methods for cleaning silver earrings at home. According to the Gemological Institute of America (GIA), gentle mechanical cleaning is always preferred over harsh chemical dips.
Method 1: The Gentle Soap Soak (Safe for All Silver Types)
This method is ideal for removing everyday sebum, lotion buildup, and light surface tarnish. It is 100% safe for sterling silver, silver-plated pieces, and most hard gemstones.
- Prepare the Solution: Fill a small glass bowl with warm (not hot) water. Add 3 to 4 drops of mild, phosphate-free liquid dish soap (Dawn or a similar gentle brand works best).
- Soak: Submerge your earrings for 5 to 10 minutes. This loosens trapped debris, especially around the threading of 18-gauge or 20-gauge earring posts and the hinge mechanisms of huggie hoops.
- Agitate Gently: Using a brand-new, ultra-soft baby toothbrush, gently brush the earrings. Pay special attention to the crevices behind the gemstone settings and the threads of internally threaded posts. Never use a hard-bristled jewelry brush, as it can scratch high-polish finishes and bend delicate posts.
- Rinse and Dry: Rinse thoroughly under lukewarm running water. Pat dry with a lint-free microfiber cloth. Ensure the earrings are completely dry before storing to prevent water spots.
Method 2: The Aluminum Foil Electrochemical Bath (For Heavy Tarnish)
If your plain sterling silver hoops or dangles are heavily blackened, polishing them will remove a micro-layer of silver. Instead, use science to reverse the chemical reaction. This method, endorsed by The Silver Institute, uses an electrochemical reaction to transfer the sulfur from the silver onto aluminum foil.
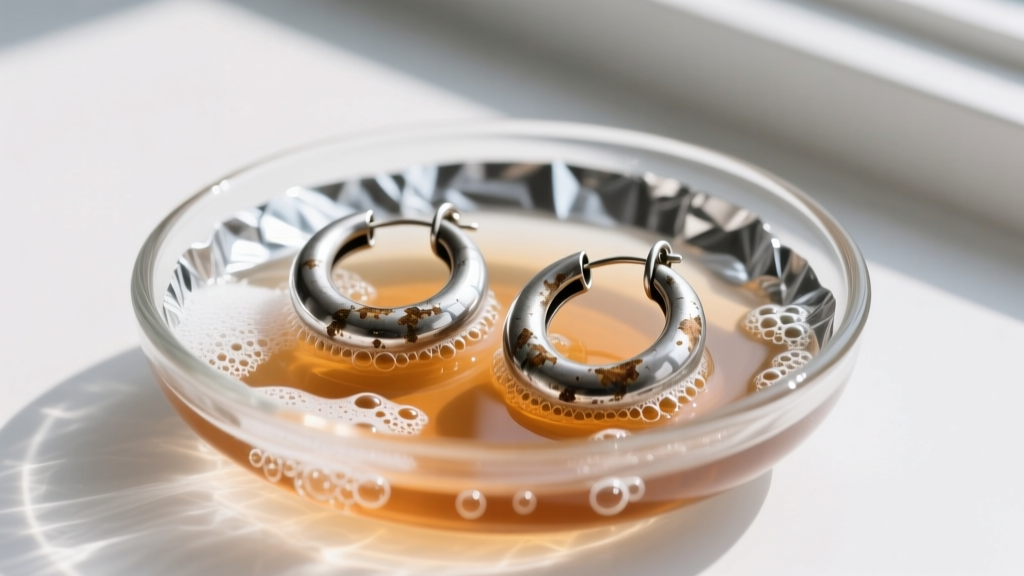
- Line the Bowl: Line the inside of a glass or ceramic dish with aluminum foil, shiny side up.
- Add the Catalyst: Place your heavily tarnished plain sterling silver earrings on the foil, ensuring they physically touch the aluminum.
- The Reaction: Sprinkle 2 tablespoons of baking soda and 1 tablespoon of coarse salt over the jewelry. Pour boiling water into the dish until the earrings are fully submerged. You will see bubbles and smell a faint rotten egg odor—that is the hydrogen sulfide releasing from the silver and bonding to the foil.
- Extract and Polish: After 5 minutes, use wooden tongs (never metal, which can disrupt the ion exchange) to remove the earrings. Rinse with distilled water and buff to a high shine with a microfiber cloth.
Expert Warning: Never use the aluminum foil bath on antiqued or oxidized silver earrings. The electrochemical reaction cannot tell the difference between intentional blackened detailing and accidental tarnish, and it will strip the dark patina right out of the designer's intended grooves.
Gemstone & Pearl Vulnerabilities: What to Avoid
When figuring out how to clean silver earrings with gemstones, you must consider the Mohs Hardness Scale and the stone's porosity. The GIA warns specifically against chemical and heat exposure for organic gems.
- Pearls, Opals, and Turquoise: These are highly porous and sensitive to heat and pH changes. The boiling water and baking soda from Method 2 will permanently cloud opals, crack turquoise, and dissolve the nacre on pearls. Clean silver earrings featuring these stones exclusively with a damp, soapy microfiber cloth, avoiding the stones entirely.
- Diamonds, Sapphires, and Cubic Zirconia: These hard, non-porous stones (Mohs 8-10) can safely withstand the warm soap soak in Method 1 and will benefit from the gentle toothbrush scrubbing to restore their light refraction.
Earring Type Cleaning Cheat Sheet
Different earring styles trap dirt and tarnish in unique ways. Use this structural guide to target your cleaning efforts.
| Earring Style | Primary Dirt Trap | Targeted Cleaning Strategy |
|---|---|---|
| Stud Earrings | Post threading and butterfly back clutches. | Soak backs in rubbing alcohol to dissolve sebum. Use a soft brush on the post threads to prevent cross-threading. |
| Huggies & Clickers | The hinge mechanism and the clicker closure groove. | Use a wooden toothpick to gently dislodge compacted lint from the hinge before doing a warm soap soak. |
| Ear Cuffs | The inner curvature that grips the cartilage. | Wipe the inner band with an alcohol-soaked cotton swab to remove skin oils that accelerate localized tarnishing. |
| Drop & Dangle | Jump rings and delicate chain links. | Lay flat on a microfiber cloth. Do not dangle them while brushing, as lateral pressure will warp thin wire components. |
Prevention: Storing Your Silver Earrings
The best way to clean tarnish is to prevent it from forming in the first place. Because hydrogen sulfide and moisture are the primary culprits, your storage strategy must neutralize both.
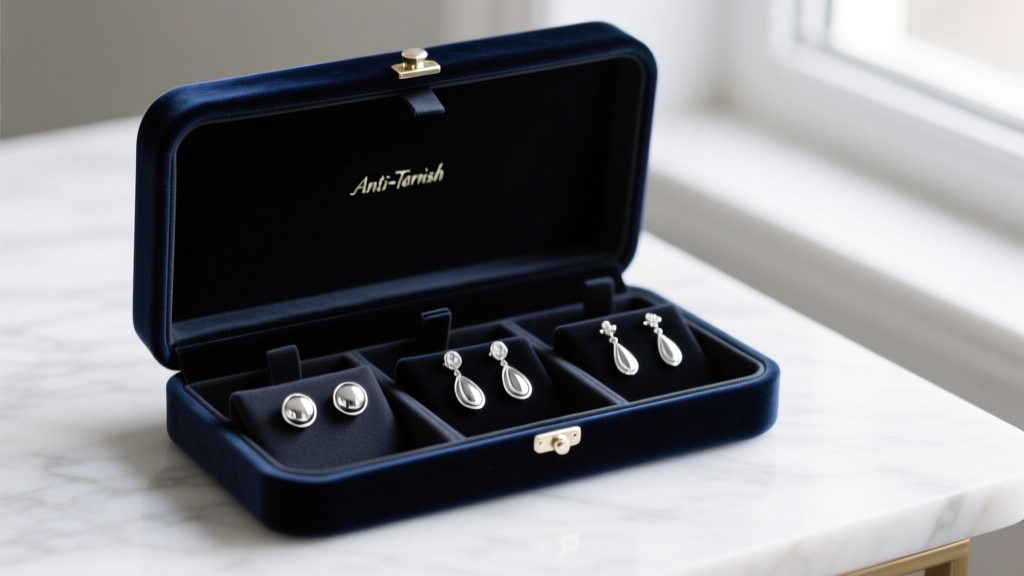
- Airtight Environments: Store your silver earrings in ziplock bags with the air squeezed out. For added protection, drop in a small silica gel packet to absorb ambient moisture.
- Anti-Tarnish Strips: These inexpensive, chemically treated paper strips (like 3M Anti-Tarnish Strips) absorb sulfur compounds from the air. Place one in your jewelry box or storage bag, and replace it every 6 months.
- Pacific Silvercloth: If you prefer a jewelry box, line it with Pacific Silvercloth. This specialized fabric is embedded with microscopic silver particles that act as a sacrificial anode, tarnishing themselves so your earrings do not.
- The Chalk Trick: In a pinch, placing a piece of standard blackboard chalk in your jewelry drawer will absorb excess humidity, significantly slowing the tarnishing process.
Conclusion
Knowing how to properly clean and maintain your silver earrings ensures they remain a staple in your rotation for decades. By identifying your metal type, respecting the vulnerabilities of delicate gemstones, and utilizing electrochemical science rather than abrasive force, you can keep your studs, hoops, and cuffs looking as brilliant as the day you bought them. Consistent, gentle care and airtight storage are your best defenses against the inevitable chemistry of silver sulfide.


