How Do You Make Stud Earrings? A Step-by-Step Silversmith Guide
Learn exactly how do you make stud earrings from scratch. This step-by-step silversmithing guide covers bezel setting, soldering, and polishing.

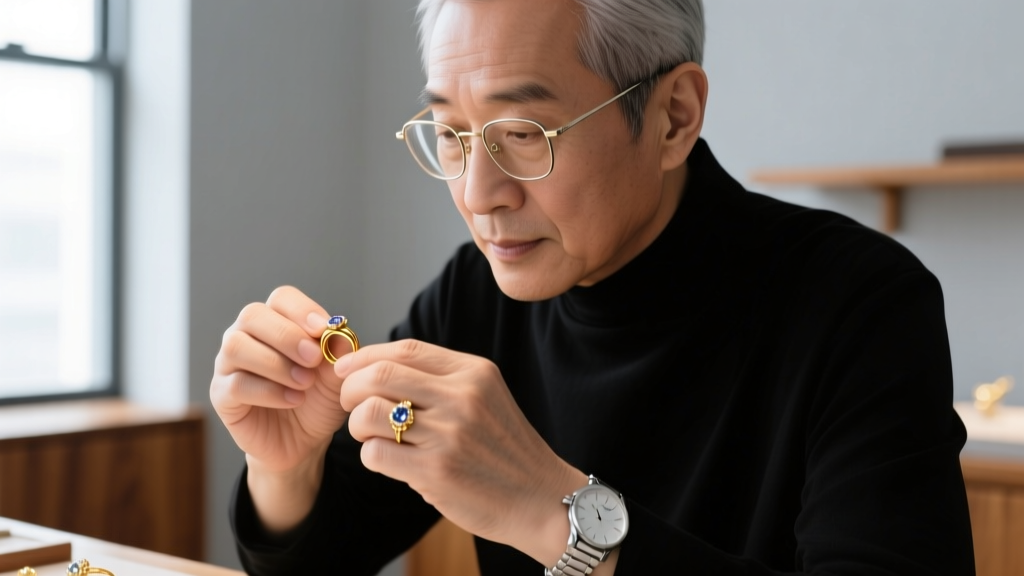
The Anatomy of a Handcrafted Bezel Stud
If you have ever asked, "how do you make stud earrings?", you are stepping into a foundational pillar of bench jewelry. While mass-produced studs are often die-struck and glued, a handcrafted bezel-set stud earring offers superior security, custom proportions, and a seamless finish. In 2026, the standard for high-end artisan studs relies heavily on Argentium silver and precise micro-soldering techniques.
A traditional bezel stud consists of three main components: the backplate (the flat disc resting against the earlobe), the bezel wire (the thin wall holding the gemstone), and the earring post (the pin that passes through the piercing). Mastering the fabrication of these three elements requires an understanding of metallurgy, heat control, and mechanical tension.
Essential Tools and Material Grades
Before firing up the torch, you must source the correct metallurgical grades. Using standard .925 sterling silver for the bezel wall is a common beginner mistake; the copper content makes it too stiff to push over a stone without work-hardening and cracking.
- Bezel Wire: Use .999 Fine Silver (dead soft). It is malleable and requires less force to burnish.
- Backplate & Post: Use .935 Argentium Sterling Silver. It is highly tarnish-resistant, fuses to itself without solder in some applications, and resists firescale.
- Solder: Hard solder (788°C) for the bezel wall; Medium solder (730°C) for attaching the post.
- Flux & Pickle: Prip's flux for heat protection; a warm 5% citric acid solution for the pickle pot (avoiding toxic sulfuric acid).
Wire Gauge & Post Thickness Chart
| Gauge Size | Millimeter (mm) | Best Application | Material Cost (Approx.) |
|---|---|---|---|
| 22-Gauge | 0.64mm | Delicate, lightweight studs (under 4mm stones) | $0.80 / foot |
| 20-Gauge | 0.81mm | Standard everyday studs (5mm - 8mm stones) | $1.10 / foot |
| 18-Gauge | 1.02mm | Heavy statement studs or cartilage flat-backs | $1.60 / foot |
For a standard 6mm round cabochon stud, a 20-gauge post is the industry sweet spot, providing enough structural integrity to support the stone without causing discomfort in a standard earlobe piercing.
Step 1: Fabricating and Soldering the Bezel Cup
The first physical step in answering how do you make stud earrings is constructing the bezel cup. Wrap 1mm x 4mm .999 fine silver bezel wire tightly around a steel ring mandrel matching the exact diameter of your gemstone. Cut the wire flush with a jeweler's saw (using a 2/0 blade) so the seam is perfectly flush. If light passes through the seam, solder will pool inside and ruin the setting.
Place the bezel on a charcoal block or ceramic honeycomb board. Apply a small chip of Hard silver solder to the outside of the seam. Using a butane or oxy-propane torch (like the Smith Little Torch), heat the entire bezel evenly until the silver reaches a dull cherry red (approx. 650°C). Focus the flame directly on the solder chip until it flashes and flows into the seam. Quench in water, then drop into your warm citric acid pickle pot for 5 minutes to remove oxidation.
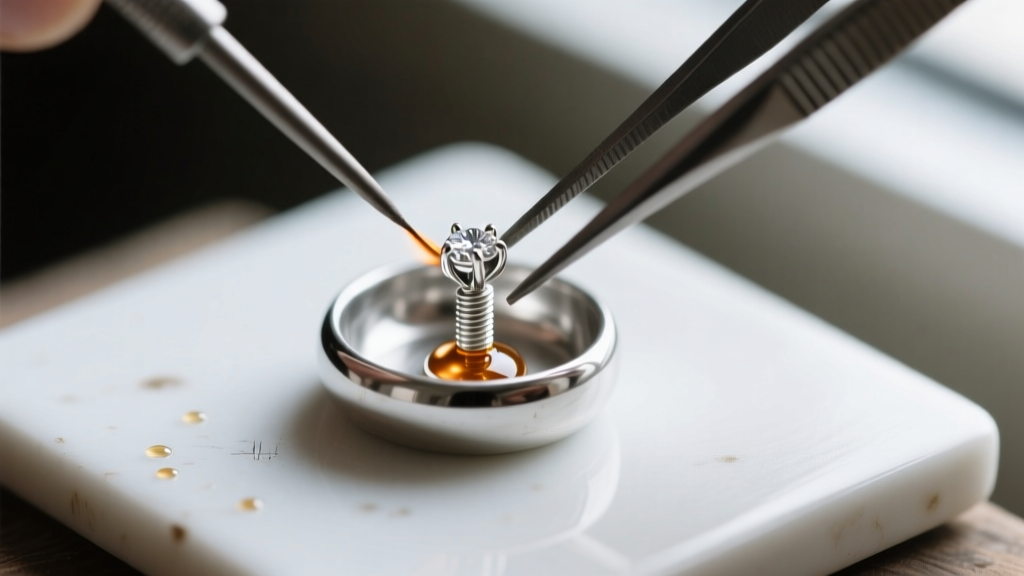
Step 2: Attaching the Earring Post (The Danger Zone)
Attaching the post is where most novice jewelers experience catastrophic failure. If you apply too much heat, the 20-gauge wire will instantly melt into a ball. To prevent this, we use a heat-sink technique and Medium solder.
- Cut a 12mm length of 20-gauge Argentium wire. File one end completely flat.
- Apply a tiny dot of Medium paste solder to the flat end of the post.
- Place the cleaned bezel cup upside down on a soldering block. Use a third-hand tool or cross-lock tweezers to hold the post perfectly vertical in the center of the backplate.
- Apply a small flame to the backplate, not the post. The goal is to bring the backplate up to the solder's flow temperature. Once the backplate is hot enough, the solder will wick down onto it, securing the post.
- Quench and pickle immediately.
Pro-Tip: According to master fabrication guides from Rio Grande, using a ceramic soldering board with a small drilled divot allows the post to sit securely without the need for tweezers, freeing up your hands to control the torch and solder pick.
Step 3: Setting the Gemstone
Once the cup is soldered and pickled, saw off the excess backplate using a jeweler's saw, following the exact curve of the bezel. File the edges smooth with a half-round needle file. Now, the stone is ready to be set.
Drop your cabochon into the bezel. It should sit flat against the backplate without rattling. If it rocks, your bezel wire is uneven, or the stone has a domed culet that requires a thicker backplate spacer.
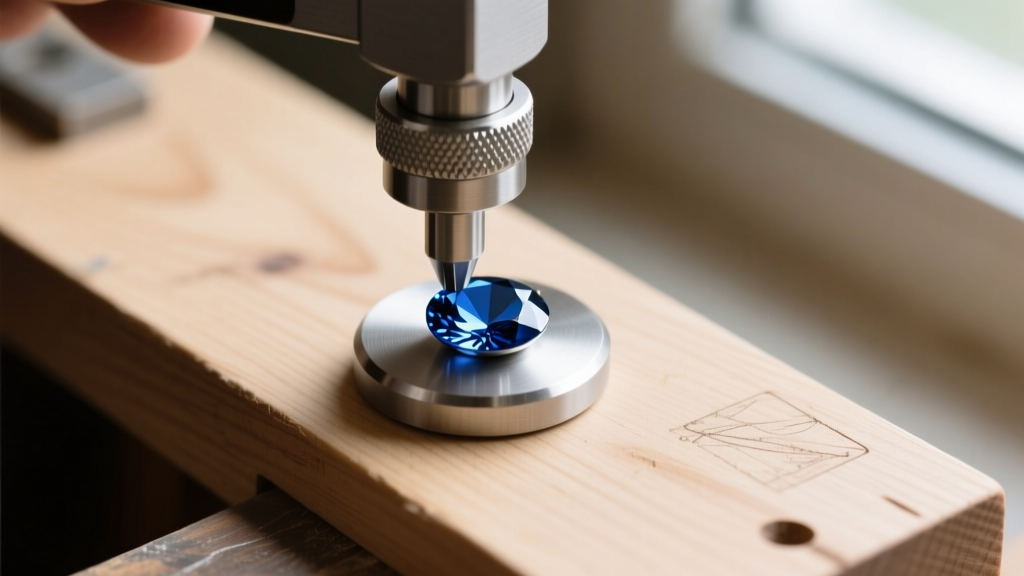
Using a steel bezel pusher, press the fine silver wall down over the girdle of the stone. Never push in a continuous circle. Instead, use a compass approach: push North, then South, then East, then West. This distributes the metal evenly and prevents unsightly ripples or gaps. Once the wall is fully seated against the stone, use a steel burnisher to rub the edge smooth, creating a high-polish seal that prevents dirt from entering the setting.
Troubleshooting Common Fabrication Failures
Even experienced bench jewelers encounter issues when fabricating micro-jewelry like studs. Here is a diagnostic framework for common problems:
- The Post Snaps Off During Polishing: This usually means the solder did not fully flow, creating a 'cold joint' where the solder merely stuck to the surface rather than alloying with the silver. Re-pickle, apply fresh flux, and re-solder with a slightly higher flame temperature.
- The Stone Rattles After Setting: The bezel wire was too tall for the cabochon's edge, leaving a gap underneath. You must carefully file down the top edge of the bezel wire with a mizzy wheel on your flex shaft before setting.
- Fire Scale Ruins the Finish: If you are using standard .925 sterling instead of Argentium, copper oxidation will rise to the surface during soldering. Always use a boric acid and denatured alcohol dip before fluxing to create a protective barrier, as recommended by the Gemological Institute of America (GIA) for preserving silver alloys.
Final Thoughts on Crafting Custom Studs
Learning how do you make stud earrings is a rite of passage for any silversmith. It demands precision on a microscopic scale, where a millimeter of excess solder or a fraction of a second too much heat can ruin the piece. By utilizing .999 fine silver for your bezels, leveraging the firescale-resistant properties of Argentium, and employing disciplined compass-point setting techniques, you can produce heirloom-quality studs that rival high-end luxury manufacturers. Whether you are setting a simple 5mm turquoise cabochon or a high-grade sapphire, the fundamental mechanics of tension, heat, and metallurgy remain your most vital tools on the bench.


