How Long Do Earrings Take to Heal? Lobe vs. Cartilage Timelines
Discover exactly how long earrings take to heal based on placement. Get expert aftercare routines, cleaning tips, and material guides.

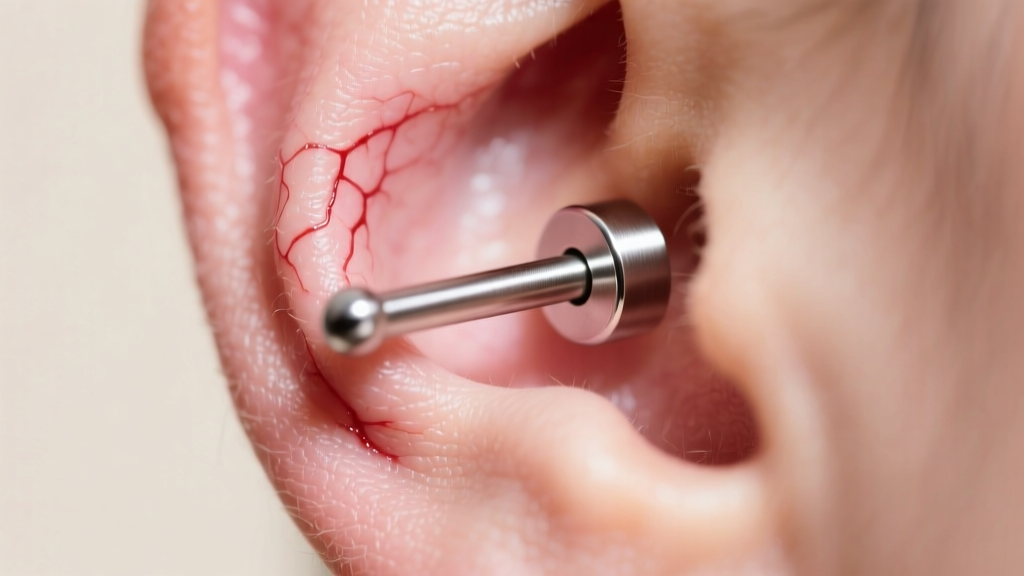
Getting a new piercing is thrilling, but the true test of patience begins the moment the needle is removed. If you are wondering how long do earrings take to heal, the answer is not a simple one-size-fits-all number. Healing timelines are dictated by human anatomy, specifically the vascularity of the pierced tissue, the gauge of the jewelry, and the metallurgical quality of the metal sitting inside your wound. As a senior style and trend analyst at Jewel Style Radar, I have reviewed decades of dermatological data and professional piercing standards to bring you this definitive, science-backed aftercare guide.
The Biology of Piercing Healing: Why Placement Matters
To understand healing times, you must first understand the biology of a piercing. A piercing is essentially a controlled puncture wound. The body heals this wound by forming a 'fistula'—a tube of scar tissue that lines the piercing channel. The speed at which this fistula matures depends entirely on blood flow. Vascular tissues, like the earlobe, have a rich blood supply that rapidly delivers white blood cells, oxygen, and nutrients to the wound site. Avascular tissues, like the upper ear cartilage, lack direct blood vessels and must rely on surrounding tissues for nutrient exchange, making the healing process significantly slower and more prone to irritation.
How Long Do Earrings Take to Heal? The Definitive Timeline
Below is a comprehensive breakdown of standard healing windows based on data from the Association of Professional Piercers (APP). Keep in mind that these are minimum benchmarks; full fistula maturation can take months longer than the initial surface healing.
| Piercing Placement | Estimated Healing Time | Recommended Starter Gauge | Best Material Grade |
|---|---|---|---|
| Standard Earlobe | 6 to 8 Weeks | 18g or 16g | ASTM F136 Titanium |
| Upper Lobe / High Lobe | 8 to 12 Weeks | 16g | ASTM F136 Titanium |
| Helix (Outer Cartilage) | 6 to 9 Months | 16g or 14g | Implant-Grade Titanium |
| Tragus | 6 to 9 Months | 16g | Niobium or Titanium |
| Conch | 9 to 12 Months | 14g or 12g | 14k/18k Solid Gold |
| Industrial (Scaffold) | 12 to 18 Months | 14g | ASTM F136 Titanium |
| Daith / Rook | 9 to 12 Months | 16g | Implant-Grade Titanium |
Lobe Piercings: The 6-8 Week Benchmark
Standard earlobe piercings are the most common and the fastest to heal. Because the lobe is composed of soft, vascularized tissue, the initial fistula forms quickly. However, a widespread mistake is changing the jewelry at the six-week mark. While the surface may appear healed, the inner tissue is still fragile. According to the Cleveland Clinic, premature jewelry changes can introduce bacteria and cause micro-tears in the newly formed scar tissue, resetting your healing clock. For the first 8 weeks, stick to a flat-back labret stud made of implant-grade titanium to prevent the post from embedding into the swelling tissue.
Cartilage Piercings: Navigating the 6-12 Month Marathon
If you are asking how long do earrings take to heal in the cartilage, prepare for a marathon, not a sprint. Cartilage piercings like the helix, conch, and tragus are notorious for 'healing hiccups.' Because cartilage is avascular, any trauma—such as sleeping on the piercing, snagging it on a towel, or using harsh chemicals—can cause localized inflammation known as a hypertrophic scar (commonly called an irritation bump). These bumps are not infections; they are the body's response to friction and pressure. The golden rule for cartilage is the 'T.H.A.' method: do not Touch, Twist, or Play with the jewelry. Leave it completely alone outside of your daily cleaning routine.
The Ultimate Daily Cleaning Protocol
Forget the rubbing alcohol, hydrogen peroxide, and tea tree oil. These harsh astringents destroy the delicate new cells trying to rebuild your fistula. Modern wound care dictates a much gentler approach. Follow this exact protocol twice a day:
- Step 1: Wash Hands. Always use antibacterial soap and warm water before going near your piercing.
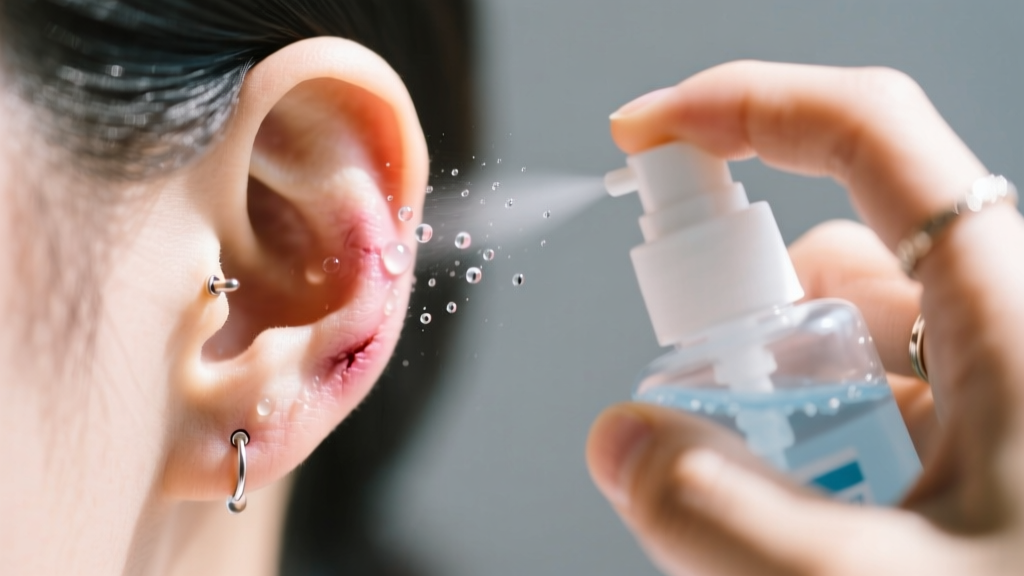
- Step 2: Apply Sterile Saline. Use a sterile 0.9% sodium chloride wound wash (ensure there are no additives or preservatives in the ingredient list). Spray it directly onto the front and back of the piercing.
- Step 3: Soften Crusties. Let the saline sit for 30 to 60 seconds to soften any dried lymph fluid (crusties). Never pick or scratch crusties off dry, as this will tear the healing fistula.
- Step 4: Gently Wipe. Use a piece of sterile, non-woven gauze to gently wipe away the softened debris. Avoid cotton swabs or cotton balls, as the microscopic fibers can wrap around the jewelry post and become embedded in the wound.
- Step 5: Dry Thoroughly. Moisture breeds bacteria. Gently pat the area dry with a fresh piece of non-woven gauze, or use a hairdryer on the 'cool' setting from a few inches away.
Metallurgy Matters: Why Your Jewelry Choice Dictates Healing
You cannot separate healing times from jewelry materials. Many commercial jewelry brands use the term 'surgical steel,' which is a marketing buzzword, not a regulated medical standard. Surgical steel often contains nickel, a known allergen that causes contact dermatitis, swelling, and delayed healing. For any fresh piercing, your jewelry must be ASTM F136 compliant implant-grade titanium, niobium, or solid 14k/18k nickel-free gold. Titanium is entirely biocompatible, non-magnetic, and contains zero nickel, making it the undisputed gold standard for initial piercings. Avoid plated metals, sterling silver, and acrylics entirely during the healing phase, as the friction of a healing fistula will wear away plating and expose the skin to reactive base metals.
The Crucial Step of Downsizing
One of the most overlooked aspects of piercing aftercare is 'downsizing.' When you are initially pierced, the professional will insert a labret stud with an extra-long post to accommodate the inevitable swelling that occurs in the first 48 to 72 hours. Once that swelling subsides (usually around the 2 to 3-week mark for lobes, and 4 to 6 weeks for cartilage), the long post becomes a liability. It can catch on hair, clothing, and pillows, introducing unnecessary angles and friction to the healing channel. You must return to your piercer to have the post swapped for a shorter, snug-fitting one. Skipping the downsizing appointment is the number one cause of persistent cartilage irritation bumps.
'A piercing is a wound, and it should be treated as such. Patience, high-quality implant-grade metals, and sterile saline are the only three things you need for a successful healing journey.' — Association of Professional Piercers (APP) Guidelines.
When to Change Your Starter Jewelry
So, how do you know when the healing process is truly complete? Surface healing is deceptive. A lobe might look perfect at 8 weeks, but the fistula may still be thin and fragile. A good rule of thumb is to wait at least two to three times the minimum healing window before stretching or changing to heavy, dangling statement earrings. For cartilage, wait a full 12 months before swapping your flat-back titanium stud for a hoop or clicker ring. Hoops introduce rotational movement that can drag bacteria into the channel and irritate the tissue. When in doubt, consult an APP-certified professional who can assess the tissue maturity and safely perform your first jewelry change.


