How to Bead Earrings: Restringing, Cleaning & Care
Learn how to bead earrings with expert restringing techniques, material-specific cleaning protocols, and maintenance tips for lasting wear.

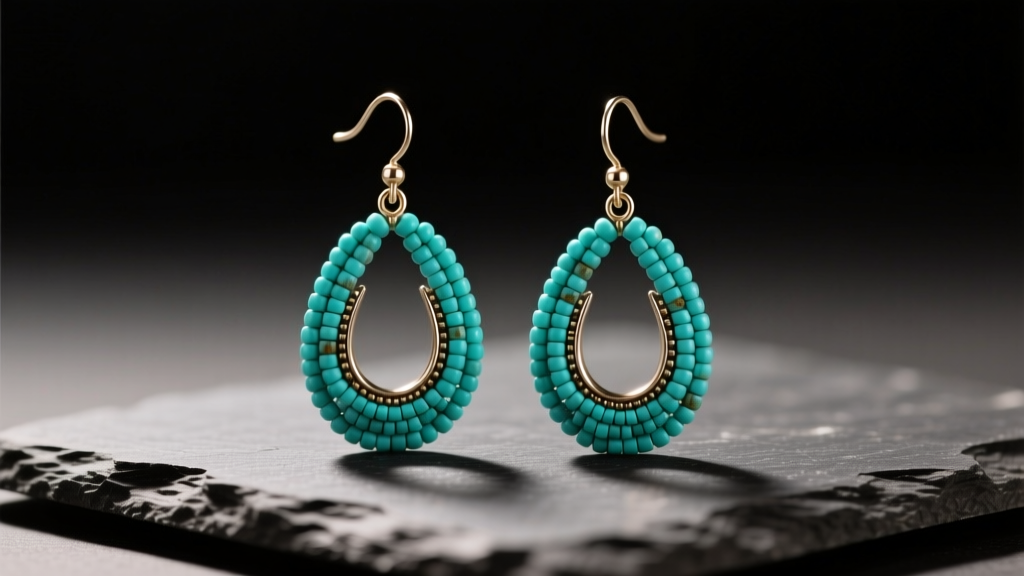
The Hidden Complexity of Beaded Earring Maintenance
Understanding how to bead earrings is not just about initial assembly; it is a lifelong commitment to the structural integrity and aesthetic brilliance of the piece. Beaded earrings, whether they feature delicate freshwater pearls, porous turquoise, or heavy glass drops, endure significant environmental and mechanical stress. From the acidic pH of human sweat to the friction of daily hair brushing, the stringing materials and gemstones require meticulous care. Many jewelry wearers assume that once a pair of beaded earrings is strung, they are permanent. In reality, the lifecycle of a beaded earring demands periodic restringing, specialized cleaning, and strategic storage. In this comprehensive guide, we dive deep into the professional techniques for maintaining, re-beading, and cleaning your favorite beaded ear wear.
When to Re-String: Diagnosing Structural Fatigue
Before learning how to bead earrings for repair, you must know when intervention is necessary. Stringing materials degrade over time, often invisibly, until a catastrophic failure occurs. Look for these specific warning signs:
- Silk Thread Fraying: Natural silk is highly susceptible to acidic sweat and cosmetic chemicals. If you see fuzzing near the bead tips or the ear wire loop, the structural integrity is compromised.
- Nylon Stretching: While Nymo or Fireline nylon is incredibly strong, heavy bead loads can cause permanent elongation over years of wear, leading to gaps between beads.
- Wire Kinking and Oxidation: Beading wire (even 49-strand stainless steel) can develop microscopic stress fractures at the crimp points. If the wire feels stiff or shows dark oxidation near the crimp covers, it must be replaced.
- French Wire (Bullion) Wear: The tiny coiled metal wire that protects the thread loop at the ear wire will eventually uncoil or wear through from friction against the metal ear wire.
How to Bead Earrings: The Professional Restringing Framework
When researching how to bead earrings for repair, the choice of stringing material dictates the tools and techniques you will use. Here is a breakdown of professional-grade materials:
Selecting the Right Stringing Medium
Silk Thread (Griffin Sizes F or G): The gold standard for pearls and lightweight gemstones. Size F (0.35mm) is ideal for small Akoya pearls, while Size G (0.45mm) handles heavier drops. Silk requires knotting between every bead to prevent total loss if the thread snaps.
Nylon Thread (Fireline 6lb or 8lb): A gel-spun polyethylene thread that is virtually stretch-proof and UV resistant. It is perfect for seed beads, crystals, and intricate multi-pass weaving where silk would be too bulky.
Beading Wire (Soft Flex 49-Strand .019"): For heavy gemstone drops, glass beads, or metal components, a 49-strand nylon-coated stainless steel wire provides the necessary tensile strength and drape. Avoid 7-strand wire for earrings, as it kinks easily and lacks fluid movement.
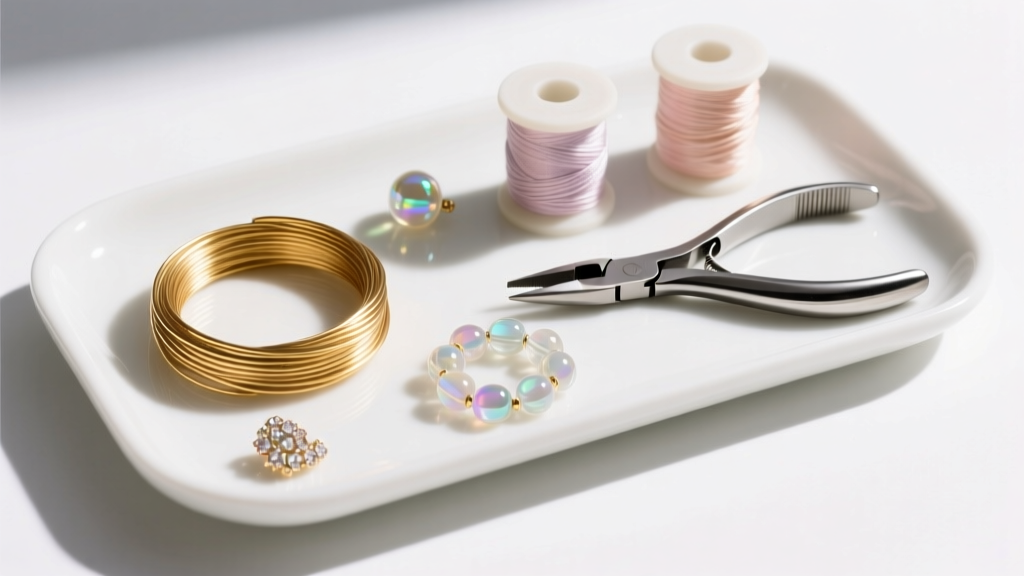
Step-by-Step Restringing Technique
- Prepare the Ear Wire: Cut a 1-inch piece of French bullion wire. Thread it onto your silk or nylon before adding any beads. This coil will sit at the very end of the earring, wrapping around the ear wire loop to prevent friction cutting.
- String the Beads: Load your beads in the desired pattern. If using silk, leave enough tail to tie a surgeon’s knot.
- Secure the Connection: For wire, use a 2x2mm sterling silver or gold-filled crimp tube. Crush it with micro-crimp pliers, then fold it using the outer notch to create a perfect, rounded bead-like finish. Cover with a 3mm crimp cover for a seamless look.
- Finish the Loop: Pass the thread or wire back through the French bullion, form a small loop, and pass back through the first three beads. Apply a microscopic drop of hypoallergenic jeweler's epoxy (like GS Hypo Cement) to the knot or crimp for permanent security.
Cleaning Protocols by Bead Material
The most critical aspect of earring maintenance is knowing what chemicals and mechanical actions your specific beads can withstand. The Mohs scale of mineral hardness, combined with porosity, dictates your cleaning strategy. According to the Gemological Institute of America (GIA), improper cleaning is the leading cause of irreversible gemstone damage.
| Bead Material | Mohs Hardness | Safe Cleaning Method | Ultrasonic Safe? |
|---|---|---|---|
| Pearl (Organic) | 2.5 - 3.0 | Damp microfiber cloth, no chemicals | NO |
| Turquoise (Porous) | 5.0 - 6.0 | Dry, soft untreated cloth only | NO |
| Lapis Lazuli | 5.0 - 6.0 | Mild soap, quick rinse, immediate dry | NO |
| Amethyst / Quartz | 7.0 | Mild dish soap, soft brush, warm water | YES |
| Glass / Crystal | 5.5 - 7.0 | Mild soap, ultrasonic or steam OK | YES |
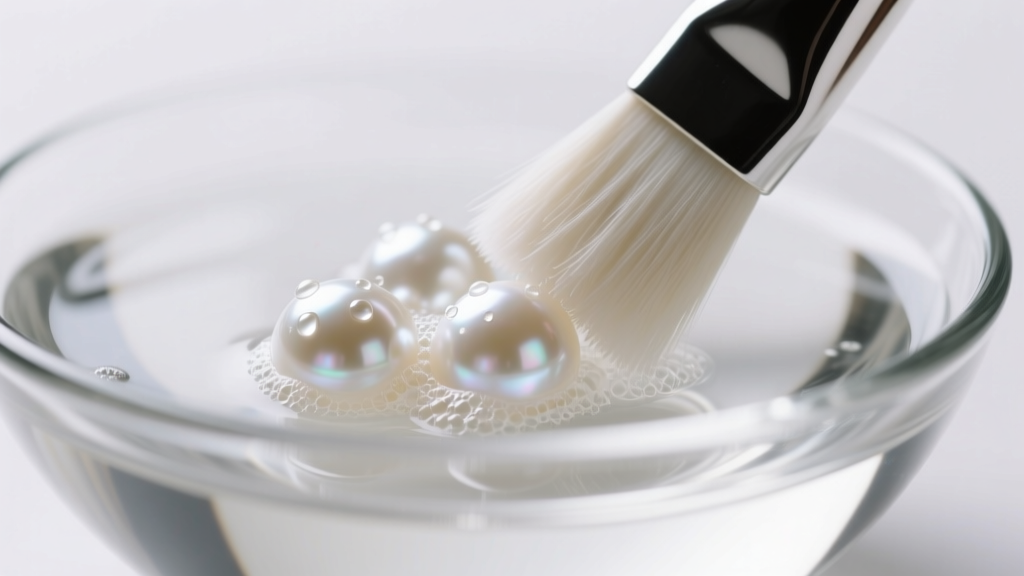
The Danger of Ultrasonic Cleaners
While ultrasonic cleaners are fantastic for diamond and hard crystal earrings, they are disastrous for organic and porous beads. The high-frequency vibrations can shatter the nacre layers of a pearl or cause micro-fractures in treated turquoise. Furthermore, the heat generated by the ultrasonic waves can melt the wax or resin used to stabilize lower-grade turquoise and lapis lazuli. Always default to manual, gentle cleaning for anything below a 7.0 on the Mohs scale.
Storage and Environmental Protection
Proper storage extends the time between restringing and cleaning cycles. Beaded earrings should never be tossed into a communal jewelry box where heavy metal bangles can crush delicate glass or chip soft gemstones.
- Anti-Tarnish Environments: If your beaded earrings feature silver bead caps, oxidized copper spacers, or brass crimp covers, store them in airtight ziplock bags with 3M anti-tarnish strips. This neutralizes sulfur compounds in the air that cause rapid oxidation.
- Humidity Control: High humidity accelerates the degradation of natural silk thread. Store silk-strung pearl earrings in a breathable cotton pouch inside a climate-controlled room, avoiding the bathroom where shower steam is prevalent.
- Hanging vs. Laying Flat: Heavy beaded drop earrings should be laid flat in a divided tray. Hanging them for months on end can cause the stringing material to stretch permanently due to gravity, altering the drape and tension of the design.
Final Thoughts on Beaded Earring Longevity
Mastering how to bead earrings from a maintenance perspective transforms you from a passive consumer into an active curator of your jewelry collection. By selecting the correct stringing medium for the specific bead weight, utilizing French wire to protect high-friction zones, and adhering to strict, material-specific cleaning protocols, you ensure that your beaded earrings remain vibrant and structurally sound for decades. For more advanced gemstone care guidelines, always refer to authoritative resources like the GIA Pearl Care Guide to protect your most delicate investments.
Expert Tip: Always keep a small jewelry repair kit with GS Hypo Cement, a few sizes of crimp tubes, and micro-flush cutters on hand. Catching a frayed thread or a loose crimp before the earring drops onto a hard floor is the ultimate maintenance strategy.


