How to Clean Earrings at Home: A Material-Specific Guide
Learn how to clean earrings at home safely. Discover material-specific methods for gold, silver, titanium, and gemstones to restore shine and prevent infection.

The Science of Earring Tarnish and Biofilm
Understanding how to clean earrings at home begins with understanding what you are actually cleaning. Earrings accumulate two primary types of buildup: environmental tarnish and biological biofilm. Tarnish is a chemical reaction, most commonly seen in sterling silver, where the metal reacts with sulfur compounds in the air to form silver sulfide. Biofilm, on the other hand, is a sticky matrix of sebum, dead skin cells, cosmetic residues, and bacteria that clings to the earring post and backing.
This biological buildup is particularly problematic in smaller gauge sizes, such as 20g and 18g, where the tight space between the post and the earlobe creates a warm, moist incubator for bacteria. Furthermore, externally threaded earrings—where the screw pattern is on the post itself—trap microscopic debris in the metal grooves. Learning the correct, material-specific cleaning protocols is essential not just for aesthetic brilliance, but for the long-term health of your piercings.
Essential Tools for Home Earring Cleaning
Before diving into specific metals, assemble a dedicated jewelry cleaning kit. Avoid using harsh household cleaners, bleach, or toothpaste, which contains abrasive silica that will permanently scratch high-polish metals and soft gemstones.
- Mild Dish Soap: A grease-cutting, phosphate-free dish soap (like original Dawn) is ideal for breaking down lipophilic (oil-attracting) buildup on diamonds and gold.
- Soft-Bristled Baby Toothbrush: The ultra-soft bristles can reach into prong settings and threading grooves without scratching the metal.
- Microfiber Cloths: Lint-free cloths for drying and buffing. Paper towels leave behind micro-scratches and lint.
- Interdental Brushes: Essential for cleaning the internal threading of 14g and 16g barbells or the grooves of ear cuffs.
- Distilled Water: Tap water contains chlorine and hard minerals that can leave spots or react with certain metals; always use distilled water for the final rinse.
What to Avoid (The Damage List)
Never use ultrasonic cleaners on porous stones, fracture-filled diamonds, or plated jewelry. The high-frequency vibrations can shatter opals, loosen pearl glue, and strip gold vermeil down to the base brass. Similarly, avoid rubbing alcohol on acrylic or resin earrings, as it will cause the material to become brittle and cloud over time.
Step-by-Step: How to Clean Earrings at Home by Material
Different metals and stones require vastly different chemical approaches. What restores a platinum stud to a mirror finish might completely ruin a turquoise drop earring.
14k/18k Solid Gold & Platinum
Solid gold and platinum are highly resistant to tarnish, meaning your primary enemy here is biological oils and lotion buildup. Diamonds, in particular, are lipophilic and will attract oils to their pavilion (the bottom of the stone), making them look cloudy and dull.
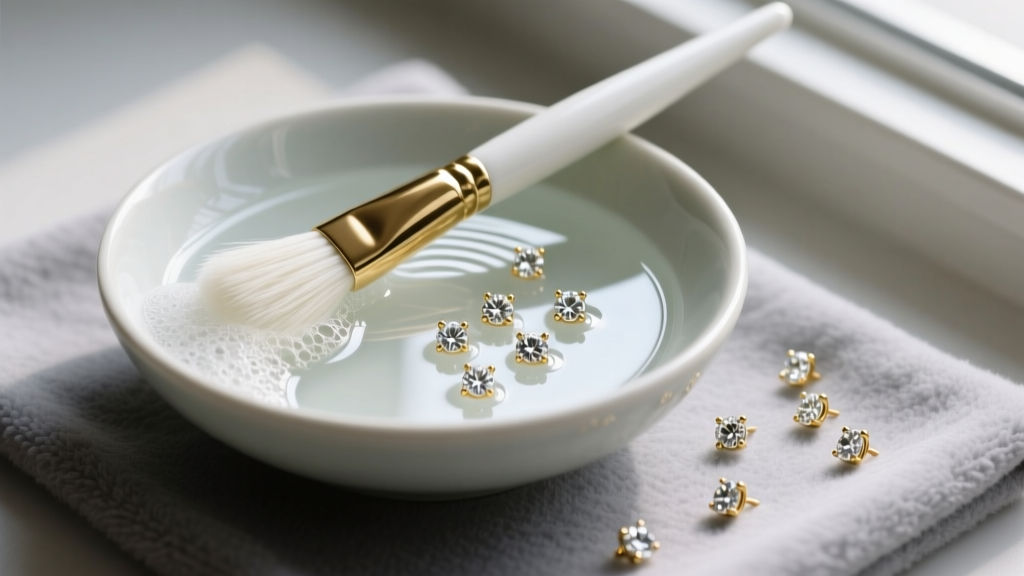
- Fill a small ceramic bowl with warm (not hot) distilled water and add three drops of mild dish soap.
- Submerge your gold or platinum earrings and let them soak for 15 to 20 minutes. This softens hardened sebum and cosmetic residues.
- Using your soft-bristled baby toothbrush, gently scrub the earring. Pay special attention to the back of the diamond settings and the grooves of the earring post.
- Rinse thoroughly under a gentle stream of distilled water. Ensure the drain is closed!
- Pat dry with a clean microfiber cloth. Avoid air drying, which can leave water spots on the metal.
Sterling Silver (925)
Sterling silver contains 92.5% silver and 7.5% copper. It is the copper that reacts with moisture and sulfur to create that blackish tarnish. While you can polish it away with a cloth, polishing removes a microscopic layer of silver each time. Instead, use a chemical ion-exchange method to reverse the tarnish without removing metal.
- Line the inside of a glass or ceramic bowl with aluminum foil, shiny side up.
- Place your tarnished silver earrings on the foil, ensuring they are touching the metal.
- Sprinkle two tablespoons of baking soda and one tablespoon of sea salt over the jewelry.
- Pour boiling distilled water into the bowl until the earrings are fully submerged. You will immediately see bubbles and smell a faint sulfur (rotten egg) odor.
- Let them sit for 3 to 5 minutes. The electrochemical reaction transfers the silver sulfide from the earring to the aluminum foil.
- Remove with wooden or plastic tongs (never metal, which can scratch the silver), rinse in cool distilled water, and buff dry with a microfiber cloth.
Implant-Grade Titanium (ASTM F136)
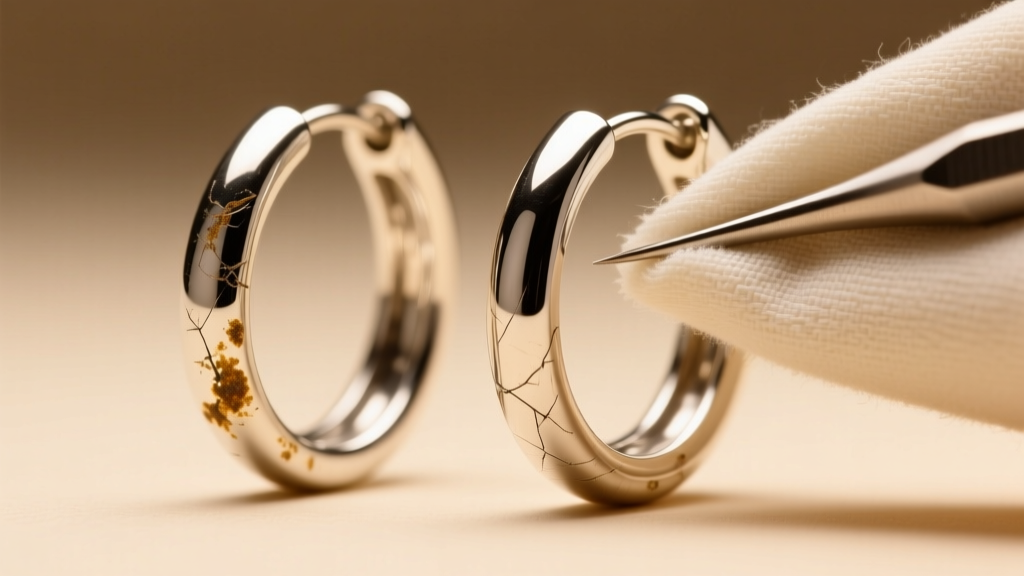
Implant-grade titanium is the gold standard for initial piercings and sensitive ears because it is entirely nickel-free and biocompatible. It does not tarnish or rust, but it does accumulate biofilm, especially around the O-rings of threadless ends or the threading of internally threaded barbells.
For routine maintenance, simply wipe the titanium down with a sterile saline wound wash (0.9% sodium chloride with no additives). For a deeper clean, use the mild dish soap and warm water method outlined for gold. According to the Association of Professional Piercers (APP), avoiding harsh chemicals like hydrogen peroxide or rubbing alcohol is crucial, as these can degrade the anodized colored layers on titanium jewelry and irritate the piercing channel.
Porous Gemstones (Pearls, Opals, Turquoise)
Porous organic and inorganic gemstones require a completely different paradigm. Pearls are made of calcium carbonate, which dissolves in acidic solutions. Opals are hydrated silica, containing up to 20% water; if they dry out too quickly or are exposed to heat, they will craze (crack). Turquoise is highly porous and will absorb oils, lotions, and soaps, permanently altering its color.
Never submerge porous gemstones in water or chemical solutions. The Gemological Institute of America (GIA) strongly recommends cleaning these stones using only a damp, untreated microfiber cloth to gently wipe away surface oils immediately after wearing.
For pearl earrings, gently wipe the pearl with a damp cloth, then use a slightly soapy, damp cloth to clean the metal post and backing, being meticulously careful not to let the soapy water touch the pearl itself. Always store pearls in a soft pouch, separate from harder metals that could scratch their delicate nacre.
Material-Specific Cleaning Agents Comparison Table
Use this quick-reference matrix to ensure you are pairing the right cleaning agent with your specific earring material to avoid catastrophic damage.
| Material | Safe Cleaners | Unsafe Cleaners | Drying Method |
|---|---|---|---|
| 14k/18k Gold | Mild dish soap, warm water, ammonia-free glass cleaner | Bleach, chlorine, toothpaste, hard-bristled brushes | Microfiber cloth pat dry |
| Sterling Silver | Aluminum foil/baking soda bath, specialized silver polish | Bleach, ammonia, saltwater pools, toothpaste | Microfiber cloth buffing |
| Titanium | Sterile saline, mild dish soap, warm water | Hydrogen peroxide, rubbing alcohol (on anodized colors) | Air dry or microfiber |
| Pearls & Opals | Damp untreated cloth only | Ultrasonic cleaners, steam, soap, acids, alcohols | Air dry flat on a towel |
| Diamonds (Solid) | Mild dish soap, soft brush, ultrasonic (if no fractures) | Chlorine (can damage the gold alloy setting) | Microfiber cloth |
Post-Cleaning Care and Sterilization for Fresh Piercings
There is a distinct difference between cleaning earrings for aesthetic maintenance and sterilizing jewelry for a fresh or healing piercing. If you are re-inserting an earring into an unhealed lobe or cartilage piercing, surface cleaning is not enough to prevent infection.
While true sterilization requires an autoclave reaching 250°F (121°C) under pressure, you can achieve high-level disinfection at home for healed piercings. After washing your earrings with soap and water, submerge them in 70% isopropyl alcohol for 10 minutes. Note that this is only safe for solid metals like titanium, niobium, and solid gold. Do not use this method on plated jewelry, acrylic, wood, or porous stones. After the alcohol soak, allow the earrings to air dry completely on a clean paper towel before insertion to prevent alcohol burn inside the piercing fistula.
Common Cleaning Mistakes and Troubleshooting
Even with the best intentions, jewelry enthusiasts often encounter stubborn issues. Here is how to troubleshoot the most common earring cleaning dilemmas.
My Diamond Stud Still Looks Cloudy
If you have soaked and brushed your diamond earring and it still lacks brilliance, the issue is likely a buildup of hard water scale or silicone-based hair products on the pavilion. Create a paste of baking soda and a few drops of water, apply it gently to the back of the stone with a soft brush, and rinse. The mild alkalinity helps break down silicone residues that dish soap sometimes leaves behind.
The Earring Post is Stuck in the Backing
Friction backs (butterfly clutches) often get jammed due to a buildup of dried sebum and dead skin inside the metal tube. Do not pull with pliers, as you will bend the post. Instead, submerge the earring and backing in warm, soapy water for 30 minutes to soften the biological glue. Once softened, use a twisting motion while pulling the backing off. Clean the inside of the friction back with a wooden toothpick to remove the trapped debris.
My Gold Vermeil Earrings are Turning Pink/Brass
Gold vermeil consists of a thick layer of gold plated over sterling silver. If your earrings are turning a pinkish or brassy color, the gold layer has worn away, exposing the silver underneath (which may have a copper flash layer). Unfortunately, no amount of cleaning will restore the gold color. You must take the earrings to a professional jeweler to have them re-plated. To prevent this in the future, never use polishing cloths on vermeil, as the mild abrasives will strip the gold layer prematurely.
By adopting these targeted, material-specific cleaning routines, you ensure that your earring collection remains hygienic, structurally sound, and brilliantly radiant for decades to come.


