How to Clean and Secure Pave Stud Earrings: A Step-by-Step Guide
Learn how to safely clean, inspect, and secure pave stud earrings with our expert step-by-step guide to maintaining diamond brilliance.

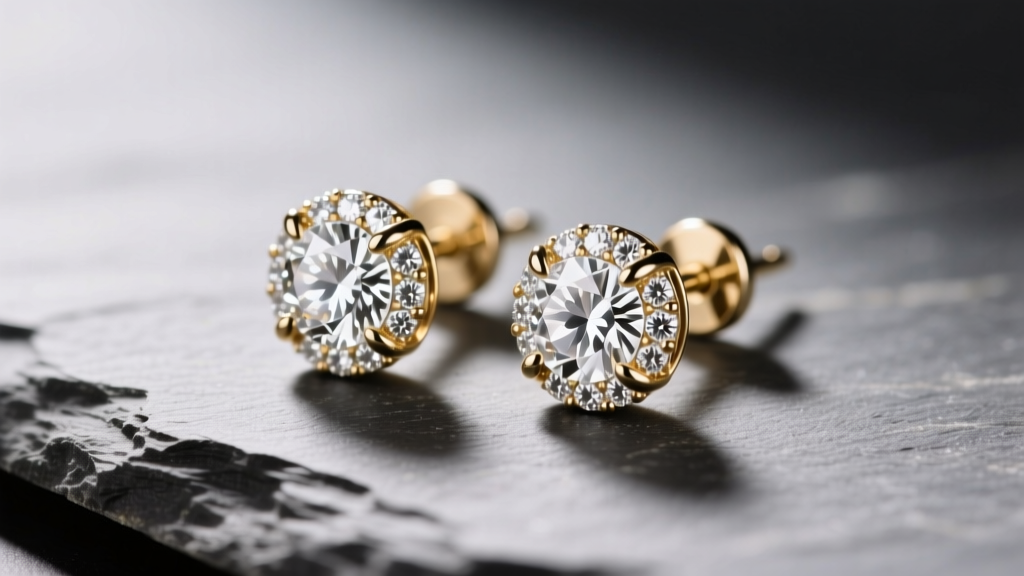
The Anatomy and Vulnerability of Pave Settings
Pave stud earrings are a cornerstone of fine jewelry, offering maximum brilliance through a surface 'paved' with microscopic diamonds. However, this specific setting style presents unique maintenance challenges. The term 'pavé' refers to the bead-setting technique where melee diamonds—typically ranging from 0.005 to 0.02 carats (1.0mm to 1.3mm in diameter)—are held in place by tiny, hand-pushed beads of precious metal. Because these micro-prongs are incredibly small, they are highly susceptible to snagging on textiles, accumulating cosmetic polymers, and eventually wearing down.
Furthermore, the brilliance of a pave setting relies entirely on light return. When sebum, lotions, and dead skin cells accumulate in the microscopic gaps between the melee stones, they disrupt the diamond's refractive index, turning a fiery stud into a dull, grayish disk. According to the Gemological Institute of America (GIA), diamonds are natural grease magnets, meaning your pave earrings will attract oils from your skin and hair products faster than almost any other gemstone. This guide provides a master jeweler's protocol for deep cleaning, inspecting, and securing your pave stud earrings.
Step-by-Step Guide: Deep Cleaning Pave Studs at Home
Forget harsh chemicals or abrasive pastes. The goal is to dissolve lipids (oils) without applying lateral pressure to the delicate micro-beads holding your stones in place.
Step 1: The Sink Trap Protocol
Before you begin, never clean fine jewelry over an open drain. The most common way pave earrings are lost is when a loose stone falls out during cleaning, or the earring itself slips from your fingers. Place a silicone sink strainer over the drain, or better yet, use a dedicated rubber mat or a small plastic basin lined with a towel. This provides a soft landing pad and ensures that if a micro-diamond does dislodge, it remains contained.
Step 2: The Degreasing Soak
Mix a solution of one cup of lukewarm water (not hot, as extreme heat can stress certain alloyed metals or damage fracture-filled stones) and three drops of a mild, ammonia-free dish detergent, such as original Dawn. Submerge your pave stud earrings and let them soak for exactly 15 to 20 minutes. This dwell time allows the surfactants to break down the hydrophobic grease films clinging to the pavilion (underside) of the melee diamonds.
Step 3: Precision Brushing
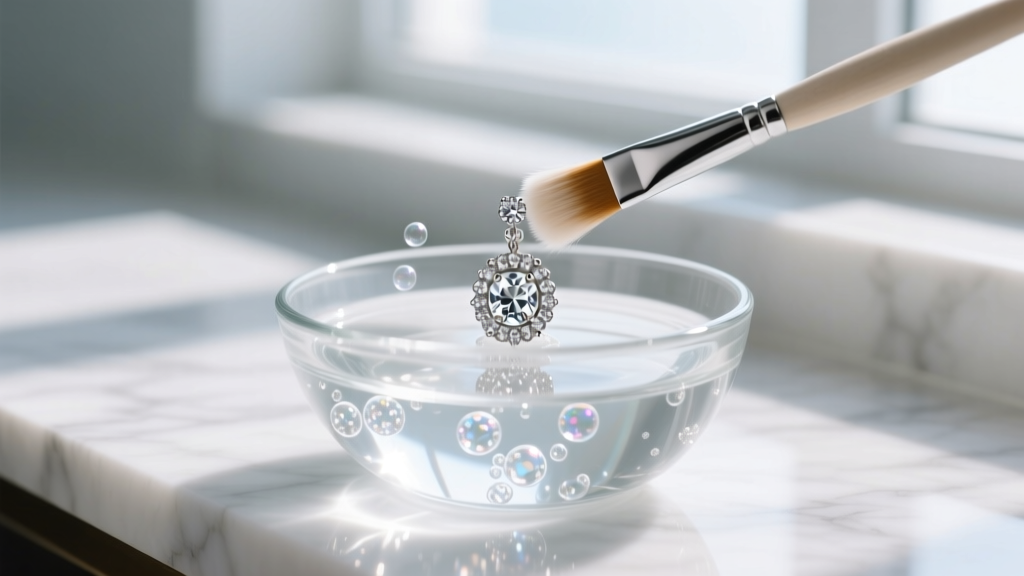 Remove the earrings from the solution. Using a brand-new, ultra-soft baby toothbrush or a specialized jewelry brush with soft bristles, gently agitate the surface. Do not scrub in aggressive circles. Instead, use light, flicking motions directed away from the center of the setting to push debris out from under the micro-prongs. Pay special attention to the gallery (the undercarriage of the earring), where lotion buildup is most severe. Rinse thoroughly under a gentle stream of lukewarm water and pat dry with a lint-free microfiber cloth.
The Ultrasonic and Steam Cleaning Hazards
Many jewelry owners assume that taking their pave stud earrings to a local jeweler for an ultrasonic cleaning is the safest route. While ultrasonic cleaners are excellent for solid metal pieces and single-stone solitaires, they pose a severe risk to pave settings. Ultrasonic machines use high-frequency sound waves to create microscopic cavitation bubbles in a liquid solution. When these bubbles collapse against the jewelry, they create intense localized shockwaves.
If a single micro-bead in your pave setting is even fractionally loose, the ultrasonic vibrations will shake the melee diamond completely out of its seat. Similarly, high-pressure steam cleaners can force moisture and microscopic debris deeper into the setting or bend delicate prongs. For pave jewelry, manual cleaning with a soft brush and degreaser is universally recommended by master jewelers to preserve the structural integrity of the bead setting.
Metallurgy Matters: Platinum vs. Gold for Pave
When purchasing or maintaining pave stud earrings, the base metal dictates the longevity of the setting. Jewelers of America notes that the metal's 'memory' and malleability directly impact how well it holds micro-stones.
- Platinum: The premier choice for pave. Platinum is highly malleable and displaces rather than wears away. When a platinum micro-prong is pushed over a diamond, it stays there. It develops a patina over time but does not lose mass, making it the safest metal for securing expensive melee.
- 14k and 18k Gold: Gold alloys are harder but more brittle. Over years of wear, gold micro-beads can actually wear down or snap off if snagged on a sweater. 14k gold is slightly more durable than 18k gold due to its higher alloy content, but both require more frequent professional re-tipping than platinum.
Securing the Asset: Upgrading Your Earring Backings
A pristine pave setting is useless if the earring falls out of your earlobe. Standard friction backs (butterfly backs) rely on a small metal scroll that grips the notches on the earring post. Over time, the tension in the scroll weakens, and the earring can slide off silently. If you are wearing high-value pave studs, upgrading your backings is a mandatory security measure.
| Backing Type | Security Level | Mechanism | Best For |
|---|---|---|---|
| Friction (Butterfly) | Low-Medium | Tension grip on notched post | Lightweight, inexpensive everyday studs |
| Screw Back | High | Threaded post and screw nut | High-value pave studs, active lifestyles |
| La Pousette (Locking) | Very High | Spring-loaded locking mechanism | Heirloom pieces, maximum security |
| Flat Disc Back | Medium | Friction grip with wide surface area | Thick earlobes, preventing drooping |
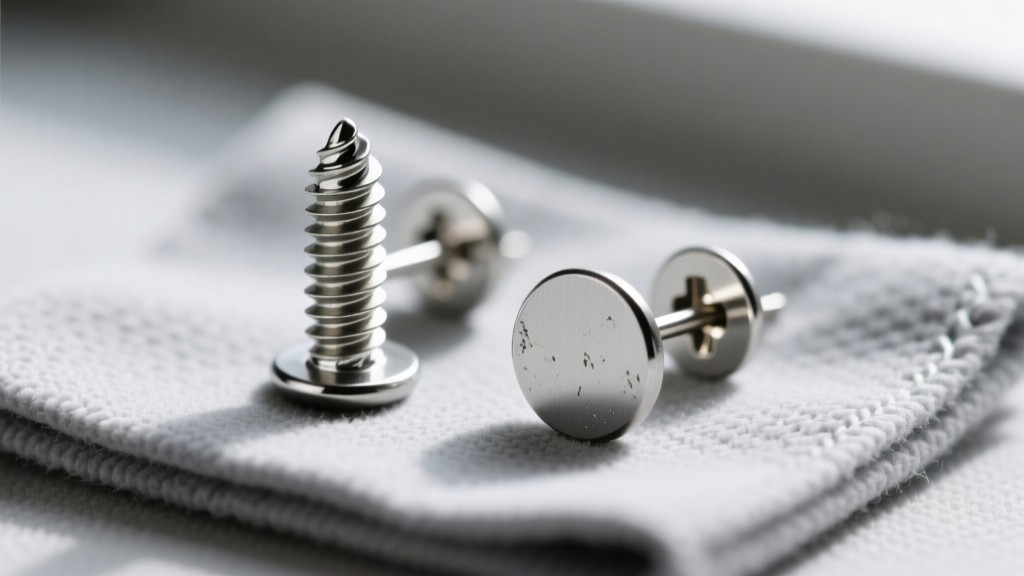 For pave stud earrings costing over $1,000, insist on threaded screw backs or La Pousette locking backs. The threaded post requires you to screw the nut past the threads, making it mechanically impossible for the backing to fall off without deliberate untwisting.
Routine Inspection: The 10x Loupe Test
To prevent catastrophic stone loss, you must inspect your pave stud earrings monthly. Purchase a 10x Hastings triplet loupe (a high-quality magnifier that eliminates edge distortion). Under a bright, direct LED light, examine the surface of the pave setting at 10x magnification. You are looking for three specific failure modes:
- Lifted Beads: Look for tiny metal balls that appear raised or separated from the girdle of the diamond.
- Worn Prongs: If the metal bead looks flat or melted rather than perfectly round, it has worn down and needs re-tipping.
- Stone Rattle: Gently tap the earring against your fingernail. If you hear a faint buzzing or rattling, a stone is loose in its seat and must be tightened by a professional immediately.
When to Seek Professional Maintenance
While home cleaning keeps the diamonds sparkling, it cannot fix structural wear. If your pave stud earrings are worn daily, take them to a certified bench jeweler every 12 to 18 months. The jeweler will use a microscope to check the integrity of every single micro-bead, tighten any loose melee stones, and professionally polish the metal without compromising the setting. By combining meticulous at-home degreasing with strategic backing upgrades and professional inspections, your pave stud earrings will remain secure and brilliantly luminous for decades.


