How to Clean, Secure, and Replace Plastic Earring Backs
Learn how to properly clean, secure, and replace plastic earring backs. Expert tips on silicone vs acrylic, heavy stud support, and hygiene.

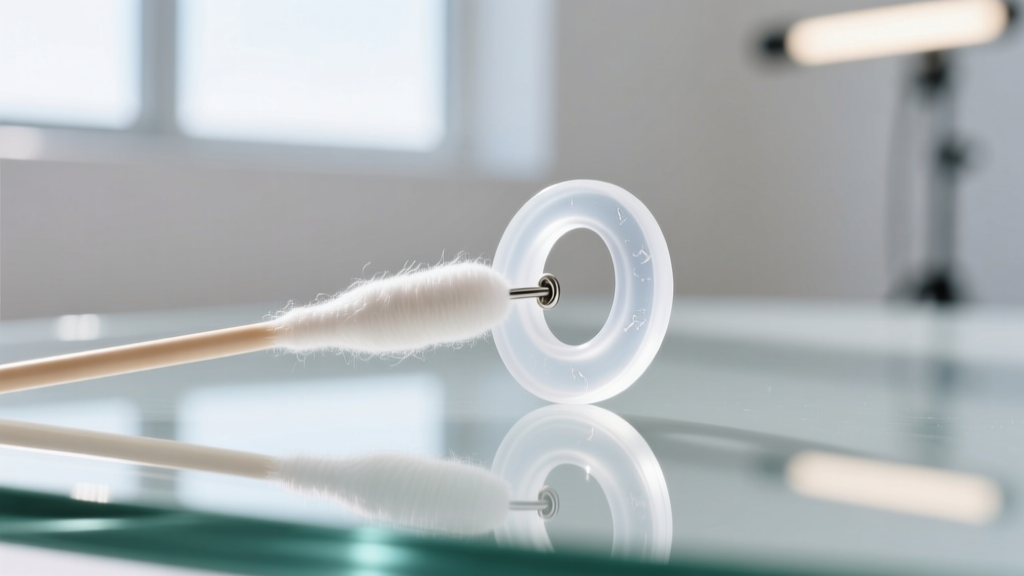
For jewelry enthusiasts and those with sensitive skin, metal earring backs can often cause irritation, allergic contact dermatitis, or simply fail to support the weight of a heavy gemstone stud. This is where high-quality plastic earring backs—specifically medical-grade silicone, PTFE (Teflon), and precision-molded acrylic—become essential wardrobe staples. However, unlike solid gold or titanium, polymers require specific maintenance routines to prevent bacterial buildup, material degradation, and the dreaded "ear cheese" odor.
In this comprehensive guide, we will explore the material science behind plastic earring backs, provide a step-by-step deep cleaning protocol, and share professional jeweler tricks for keeping heavy studs perfectly upright on your earlobe.
The Material Science: Acrylic vs. Silicone vs. PTFE
Not all plastic earring backs are created equal. The term "plastic" in the jewelry industry is a broad umbrella that covers several distinct polymers, each with unique physical properties, durometer (hardness) ratings, and biocompatibility profiles.
- Medical-Grade Silicone (Platinum-Cured): With a Shore A durometer rating between 40 and 50, silicone is flexible, hypoallergenic, and provides excellent friction. It is the gold standard for sensitive ears and heavy earrings because it grips the post without requiring excessive force to remove.
- Acrylic (PMMA): Injection-molded acrylic backs are rigid (Shore D scale) and often used for standard butterfly friction backs. While cheap and widely available, acrylic is porous at a microscopic level, making it prone to trapping sebum and dead skin cells. According to the Association of Professional Piercers (APP), acrylic is not recommended for fresh piercings or long-term wear in unhealed tissue due to its inability to be fully sterilized in an autoclave.
- PTFE (Teflon): Often used for flexible screw-backs or retainers, PTFE is biologically inert and highly resistant to chemical degradation. It is an excellent choice for those who need a non-metallic option that can withstand rigorous cleaning protocols.
The Anatomy of Failure: Why Plastic Backs Degrade
The inner canal of a standard friction back is typically engineered to 0.85mm to 1.1mm to accommodate 20-gauge (0.81mm) and 18-gauge (1.02mm) earring posts. Over time, this microscopic gap becomes a trap for keratinized debris, sebum, and environmental dust.
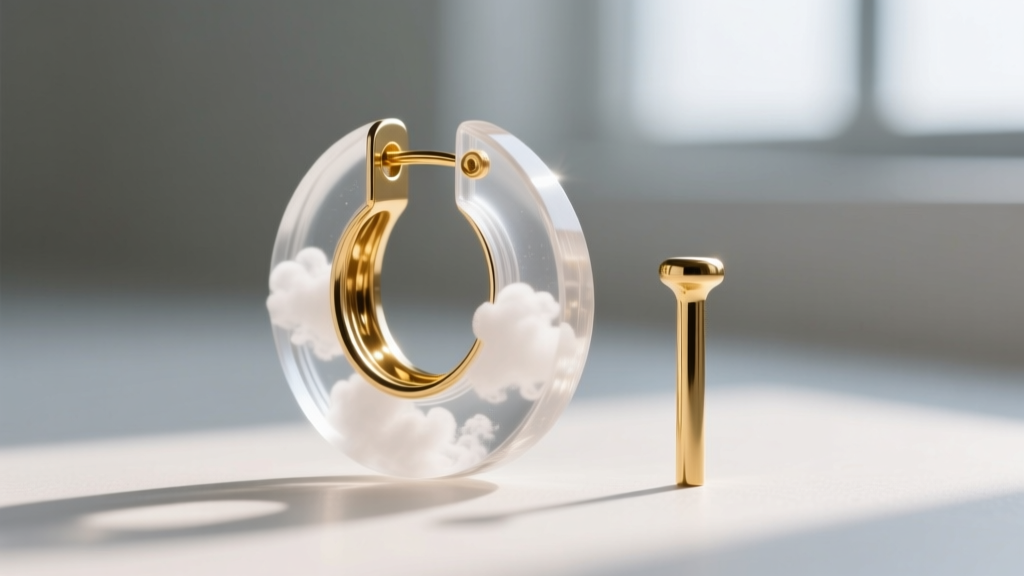
When sebum accumulates inside the plastic canal, it oxidizes and harbors anaerobic bacteria, leading to a foul, cheese-like odor. Furthermore, the constant friction of a metal post pushing through an acrylic or silicone hole causes micro-abrasions. In cheaper acrylics, these abrasions lead to micro-cracking and eventual shattering. In silicone, the hole stretches out, losing its elastic memory and resulting in a back that slides off the post with zero resistance.
Step-by-Step Guide to Deep Cleaning Plastic Earring Backs
Wiping your earring backs with a cotton swab and rubbing alcohol is insufficient and can actually damage medical-grade silicone by drying out the polymers and causing micro-tearing. Follow this enzymatic cleaning protocol once a week to maintain optimal hygiene and material integrity.
Step 1: The Enzymatic Soak
Fill a small glass beaker with warm (not boiling) distilled water. Drop in an enzymatic cleaner tablet—such as those designed for dental retainers or dentures (e.g., Efferdent or Retainer Brite). These effervescent tablets contain proteases that specifically break down the protein bonds in dead skin cells and sebum without degrading the plastic polymer. Let the backs soak for exactly 15 minutes.
Step 2: Mechanical Agitation
Remove the backs from the solution. Using a soft-bristled interdental brush (0.4mm to 0.6mm width), gently scrub the inner canal of the earring back. Do not use metal needles or safety pins to dig out debris, as this will permanently score the inside of the plastic, creating new grooves for bacteria to hide.
Step 3: Disinfection and Drying
Rinse thoroughly under distilled water. If you must disinfect, use a quick mist of 70% isopropyl alcohol, but do not soak silicone in alcohol. Pat dry with a lint-free microfiber cloth. Allow them to air dry completely on a paper towel before reattaching to your earrings; trapping moisture against the earlobe can lead to localized fungal infections.
How to Secure Heavy Studs Using Plastic Earring Backs
A common complaint with heavy gemstone studs (such as 5+ carat cubic zirconia or solid gold clusters weighing over 4 grams) is "drooping." This occurs when the center of gravity of the earring head pulls the post downward, causing the stud to point at the floor. The American Academy of Dermatology (AAD) notes that constantly adjusting heavy, drooping earrings can also cause mechanical trauma to the earlobe piercing channel. Here is how to use plastic earring backs to solve the physics of a drooping stud.
| Earring Weight | Recommended Backing Setup | Support Mechanism |
|---|---|---|
| Under 2 grams | Standard Silicone Friction Back | Relies on the elastic grip of the 0.85mm inner canal. |
| 2 to 5 grams | Silicone Disc + Friction Back | A 10mm flat silicone disc acts as a wide buffer, distributing weight across the back of the earlobe. |
| Over 5 grams | PTFE Screw-Back + Silicone O-Ring | Threads lock the post in place, while the O-ring provides cushioning against the lobe. |
The "Double-Back" Buffer Technique
For earrings in the 2 to 5-gram range, purchase flat, 10mm medical-grade silicone support discs (often sold as "earring lifters"). Slide the disc onto the post first, pushing it flush against the back of your earlobe. Then, secure the earring with your standard silicone friction back. The wide surface area of the disc prevents the heavy earring head from pivoting downward, keeping your diamond or gemstone perfectly face-forward.
When to Replace Your Plastic Earring Backs
Plastic and silicone earring backs are consumable components, not lifetime accessories. Knowing when to discard them is crucial for both the security of your jewelry and the health of your piercings.
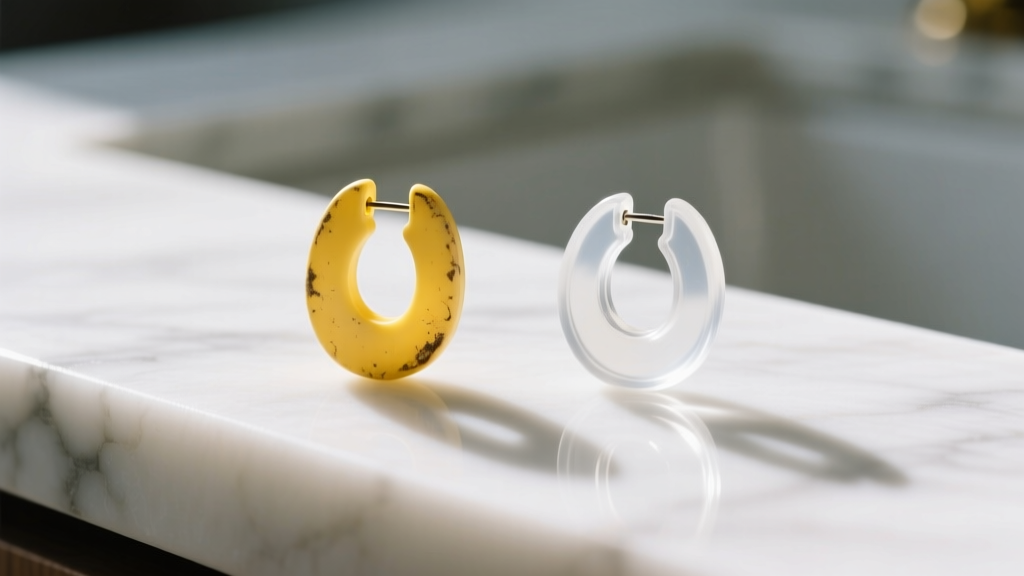
- UV Degradation (Yellowing): If your clear acrylic or silicone backs have taken on a yellow or cloudy tint, the polymer chains are breaking down due to UV exposure and oxidation. Degraded plastic becomes brittle and is highly likely to snap while you are removing it.
- Loss of Elastic Memory: Test your silicone backs by pulling them gently apart. If the inner hole remains visibly stretched or distorted for more than a few seconds after releasing the tension, the silicone has lost its elastic memory. It will no longer provide adequate friction to hold a stud securely.
- Permanent Odor: If the enzymatic soak and interdental brush protocol fails to remove the sebum odor, the microscopic pores of the plastic are permanently compromised. Discard them immediately to avoid contact dermatitis.
As a general rule of thumb, replace daily-wear silicone friction backs every 3 to 4 months, and acrylic backs every 6 months. Keep a bulk supply of platinum-cured silicone backs on hand; they are typically sold in packs of 50 for under $10, making regular replacement an inexpensive insurance policy for your most prized jewelry.


