How to Disinfect Earrings: The Material-Specific Guide
Learn how to disinfect earrings safely without damaging metals or gemstones. Expert troubleshooting for titanium, gold, silver, and porous stones.

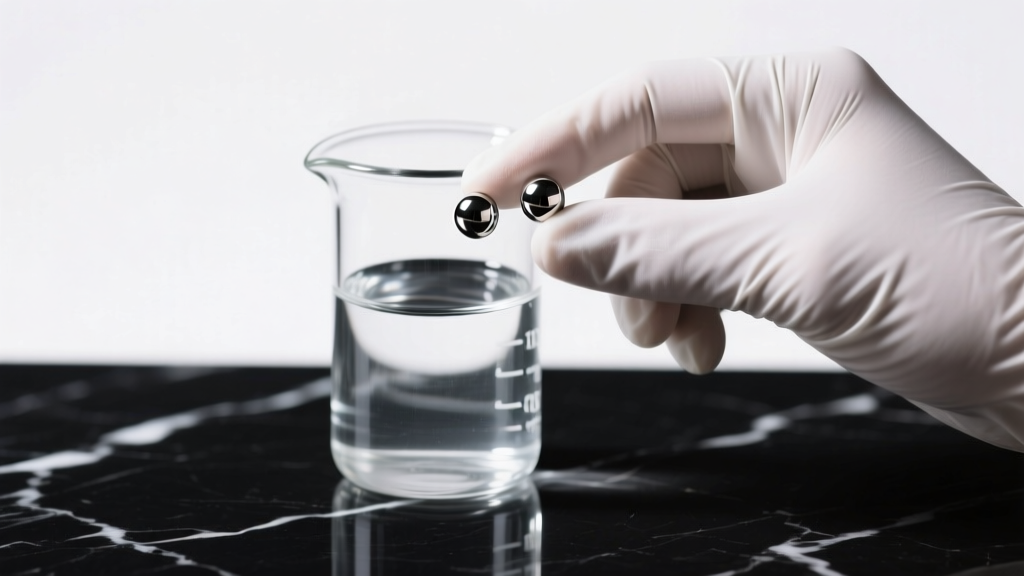
Knowing how to disinfect earrings properly is a critical skill for anyone with a curated ear project, multiple lobe piercings, or a tendency toward sensitive skin. While cleaning removes visible debris like sebum and dead skin cells, disinfecting actively destroys pathogens, bacteria, and fungi that cause infections. However, the most common mistake consumers make is applying a blanket chemical approach to all jewelry. In 2026, dermatological and professional piercing guidelines heavily emphasize material-specific protocols, as the wrong disinfectant can permanently ruin porous gemstones, strip gold plating, or accelerate the oxidation of sterling silver.
The Chemistry of Earring Disinfection: Why One Size Fails All
Not all disinfectants are created equal, and their chemical interactions with jewelry alloys vary wildly. According to the CDC Guidelines for Disinfection and Sterilization, 70% isopropyl alcohol (IPA) is highly effective at denaturing bacterial proteins. The 30% water content is crucial; it acts as a catalyst, allowing the alcohol to penetrate the cell walls of microbes. Conversely, 99% IPA evaporates too quickly to effectively kill certain pathogens and can dehydrate organic gemstones.
Harsh chemicals like sodium hypochlorite (household bleach) or hydrogen peroxide should never be used on jewelry. Bleach contains chlorine, which reacts aggressively with the copper and silver alloys found in 14k and 18k gold, causing irreversible surface pitting and structural weakening. Hydrogen peroxide, while a common first-aid antiseptic, is highly oxidative and will rapidly tarnish sterling silver and degrade the nacre on pearls.
Understanding Biofilm in Threaded Jewelry
Before applying any disinfectant, you must address biofilm—a slimy matrix of bacteria and sebum that adheres to metal surfaces. Biofilm is particularly stubborn in the microscopic crevices of externally threaded earrings (where the screw pattern is on the post). The threads act as a harbor for pathogens. If you soak an externally threaded 18-gauge earring in alcohol without mechanical friction, the biofilm inside the threads will survive. Always use a soft-bristled, dedicated jewelry brush to gently agitate the threads before and during the chemical soak. For future purchases, opt for internally threaded or threadless (push-pin) jewelry, which offers a smooth post surface that biofilm cannot easily grip.
Step-by-Step Protocols by Material Grade
1. Implant-Grade Titanium (ASTM F136) & Niobium
Titanium and niobium are highly inert, non-porous metals that can withstand rigorous disinfection methods. These are the only materials recommended for fresh piercings by the Association of Professional Piercers (APP).
- Chemical Soak: Submerge in 70% isopropyl alcohol for 5 to 10 minutes. Do not exceed 15 minutes, as prolonged exposure can degrade silicone O-rings on ear cuffs or huggies.
- Thermal Disinfection: Titanium can be fully sterilized by boiling in distilled water for 10 minutes. Ensure the jewelry is fully submerged and not resting directly against the hot metal bottom of the pot.
2. Solid Gold (14k/18k) & Platinum
Solid gold is alloyed with metals like copper, zinc, and silver to increase hardness. These alloys are sensitive to harsh chemicals.
- Chemical Soak: A brief 3-minute soak in 70% IPA is safe for solid gold, provided there are no soft gemstones attached. Rinse immediately with distilled water.
- Surfactant Wash: For routine disinfection, use a few drops of antibacterial, fragrance-free liquid soap in warm water. Soak for 5 minutes, brush gently, and rinse. This removes lipid-based biofilm without risking alloy oxidation.
3. Sterling Silver (925) & Gold Vermeil
Sterling silver contains 7.5% copper, making it highly prone to oxidation (tarnish) when exposed to alcohols and sulfur compounds. Gold vermeil (a thick layer of gold over a sterling silver base) can be stripped by abrasive chemicals.
- Protocol: Avoid alcohol soaks entirely. Instead, wash with a mild, non-citrus antibacterial soap and warm water. Dry immediately and thoroughly with a microfiber cloth to prevent water spots and tarnish acceleration.
4. Porous Gemstones & Organics (Opals, Pearls, Turquoise, Wood)
Organic and porous materials are incredibly fragile. Alcohol will strip the moisture from opals, causing them to craze (crack), and will dissolve the delicate nacre layers of pearls.
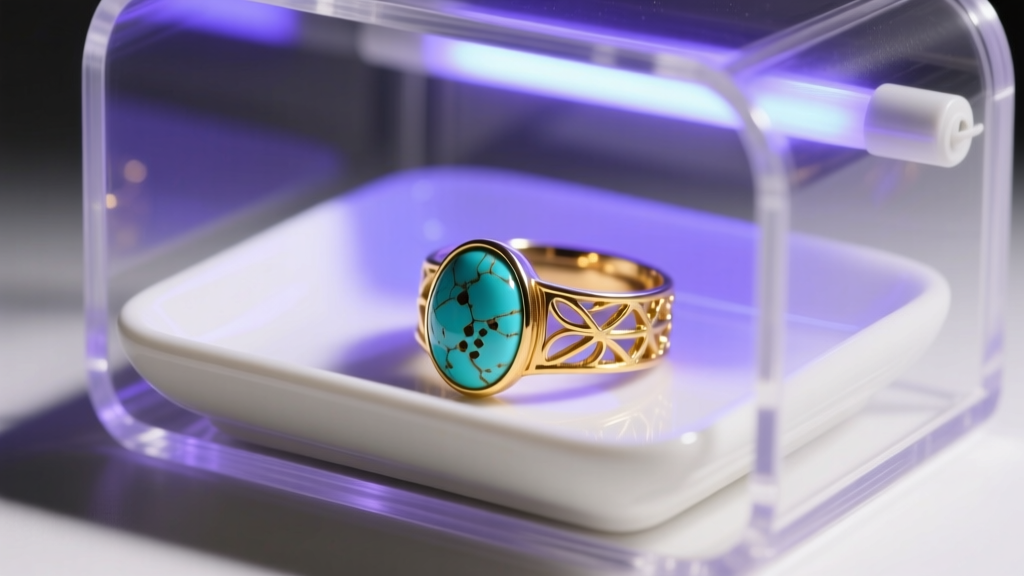
- UV-C Sanitization: The safest and most effective way to disinfect porous stones is using a UV-C light sanitizer box. UV-C light (specifically at the 254nm wavelength) destroys the DNA of bacteria and viruses without introducing moisture or harsh chemicals.
- Surface Wipe: If a UV box is unavailable, lightly dampen a lint-free cloth with distilled water and a drop of mild baby shampoo. Wipe the metal components carefully, avoiding direct contact with the stone, and dry immediately.
Troubleshooting: Infection vs. Contact Dermatitis
Often, people search for disinfection methods because their ears are red, swollen, or painful. However, applying harsh disinfectants to an already irritated piercing can exacerbate the issue. Use the table below to diagnose the root cause before treating the jewelry.
| Symptom Profile | Primary Cause | Actionable Solution |
|---|---|---|
| Yellow/green discharge, hot to the touch, throbbing pain, systemic fever. | Bacterial Infection (Pathogen invasion) | Do NOT remove the jewelry (it can trap the abscess). Cleanse with sterile saline. See a doctor for antibiotics. Autoclave or boil titanium jewelry once removed. |
| Clear/white fluid (lymph), intense itching, flaky skin, localized redness exactly where the metal touches. | Contact Dermatitis (Nickel allergy or chemical burn) | Switch to ASTM F136 titanium. Stop using rubbing alcohol or tea tree oil, which cause chemical burns on healing fistulas. |
| Swelling, tender bump (hypertrophic scarring), piercing hole looks stretched or angled. | Mechanical Irritation (Sleeping on it, wrong gauge/angle) | Downsize the post length. Avoid sleeping on a travel pillow. Ensure a 16g or 14g post is thick enough to prevent the "cheese-cutter effect" in cartilage. |
The Autoclave vs. UV Sanitizer Debate for Home Use
As home hygiene tech has advanced, many collectors wonder if they need medical-grade sterilization. An autoclave uses pressurized steam (typically 121°C at 15 psi) to achieve true sterilization—meaning the complete destruction of all microbial life, including bacterial spores. While professional piercers use autoclaves for initial jewelry insertion, they are impractical, expensive, and potentially damaging for daily home use (the heat and moisture will ruin gemstones and wood).
For home maintenance, a UV-C sanitizer box is the superior choice. While it only achieves high-level disinfection rather than true sterilization, it is more than sufficient for killing everyday pathogens on worn jewelry. Ensure your UV box features bulbs emitting at the 254nm wavelength, and remember that UV light only disinfects surfaces it directly touches; you must flip your earrings halfway through the cycle to ensure the posts and backs are fully exposed.
Emergency Protocol: Stuck Earrings in Swollen Lobes
A frequent troubleshooting scenario involves a standard 20-gauge earring back becoming embedded in a swollen earlobe due to an allergic reaction or sudden infection. Panic often leads to dangerous DIY extraction attempts.
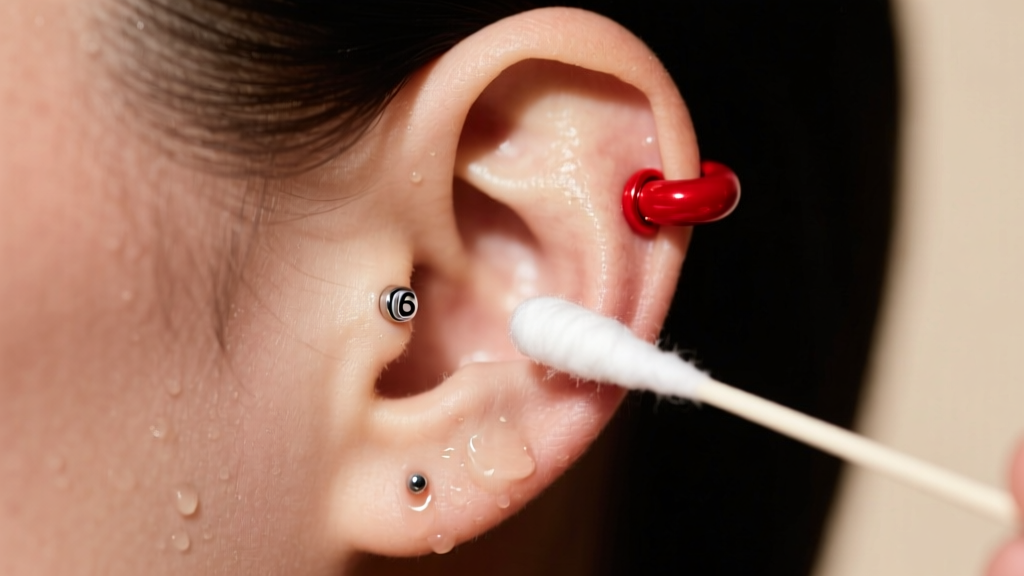
- Do Not Force It: Pulling on a swollen lobe can tear the fistula (the piercing channel), leading to severe scarring and blowout.
- Reduce Swelling First: Apply a clean, cold compress to the front and back of the earlobe for 5 minutes to constrict blood vessels and reduce tissue volume.
- Lubricate the Post: Apply a drop of sterile saline or a water-based lubricant to the front of the post. Gently twist the earring to work the moisture into the swollen tissue.
- The Dental Floss Trick: If the butterfly back is deeply embedded, take a piece of clean, unwaxed dental floss. Thread it behind the earlobe and slide it down into the gap between the skin and the metal back. Use the floss to gently pull the skin back while simultaneously pushing the earring post forward from the front.
- Seek Professional Help: If the metal is completely swallowed by the tissue, visit a professional piercer or urgent care clinic. They possess specialized taper tools and hemostats to safely extract the jewelry and swap it for a longer, implant-grade titanium post to accommodate the swelling.
Final Thoughts on Earring Hygiene
Mastering how to disinfect earrings is about matching the chemical or physical intervention to the specific material grade of your jewelry. By reserving harsh alcohols and boiling methods strictly for inert metals like titanium, utilizing gentle surfactants for gold and silver, and relying on UV-C technology for porous gemstones, you protect both your investment and your physical health. Always consult the Gemological Institute of America (GIA) guidelines when dealing with rare or highly valuable stones, and prioritize implant-grade metals for any jewelry that remains in the body long-term.


