How to Make Dangle Earrings With Beads: A Professional Guide
Learn how to make dangle earrings with beads using professional wire-wrapping techniques, correct gauge sizes, and hypoallergenic metals.

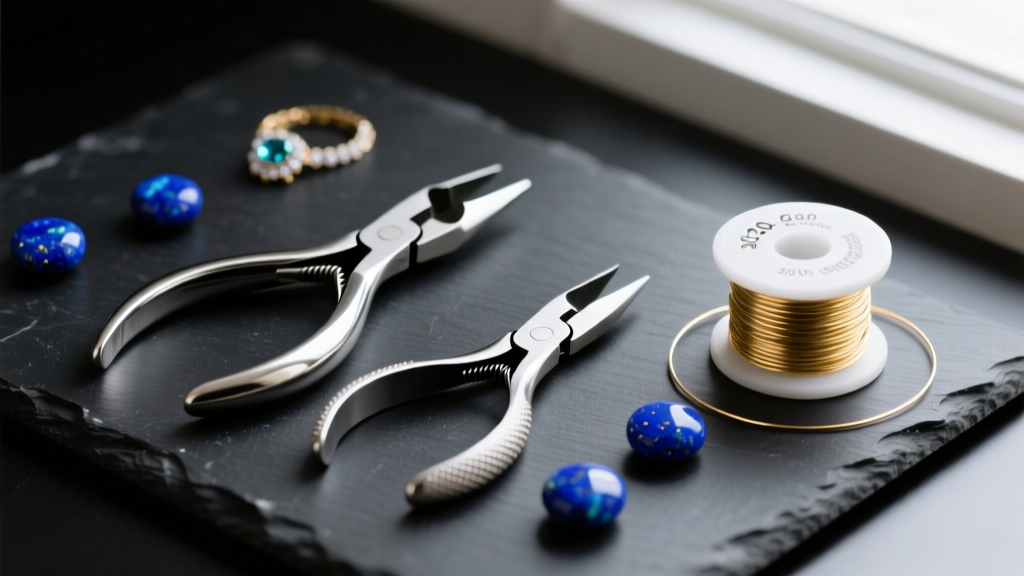
The Anatomy of a Professional Dangle Earring
Learning how to make dangle earrings with beads is a foundational skill in jewelry design, but the difference between an amateur craft project and a professional, retail-ready piece lies in the structural integrity of the wirework. A poorly constructed dangle earring will inevitably fail: the wire loop pulls open, the bead cracks against the metal, or the ear wire loses its tension and falls out of the lobe. As of 2026, the jewelry market heavily favors durable, hypoallergenic components, meaning you must abandon cheap craft-store spools and understand the metallurgy of your materials.
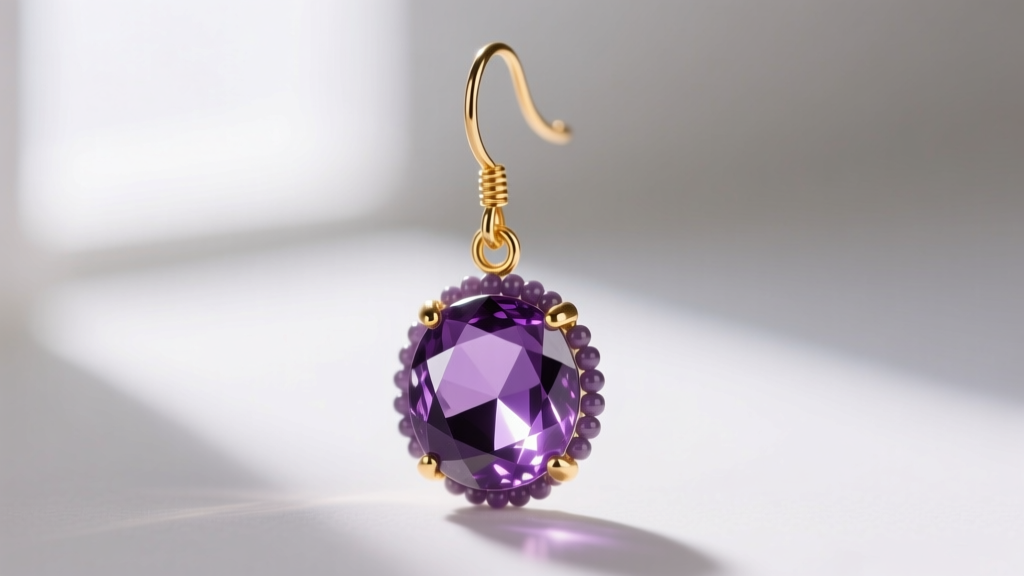
A standard beaded dangle earring consists of three primary components: the ear wire (or French hook), the connecting loop (which should always be a wrapped loop for security), and the headpin that secures the bead. Mastering the tension, gauge selection, and wire temper for each of these components is the key to creating heirloom-quality earrings.
Essential Tools and Material Grades
Before stringing a single bead, you must curate your toolkit. Using the wrong pliers will mar your metal, and using the wrong wire temper will result in structural failure.
The Toolkit
- Flush Cutters: Essential for cutting wire cleanly. Always ensure the flat side of the blade faces the part of the wire you intend to keep, leaving a perfectly flush end.
- Round-Nose Pliers: Used exclusively for forming loops. Look for pliers with smooth, untextured jaws to prevent scratching soft metals like 14k gold-filled wire.
- Chain-Nose Pliers: Used for gripping, bending at sharp angles, and tucking in wire tails. Opt for a pair without serrated teeth.
- Nylon Jaw Pliers: Crucial for straightening wire and work-hardening it slightly without leaving tool marks.
- Cup Burr or Sanding Pad: Mandatory for smoothing the sharp ends of ear wires to prevent lobe tearing.
Wire Temper and Metal Selection
Wire temper (hardness) dictates how the metal behaves under stress. According to metallurgical standards outlined by suppliers like Rio Grande, wire is generally sold in three tempers:
- Dead Soft: Bends effortlessly but lacks structural memory. Use this only for the wrapping wire in a wrapped loop.
- Half-Hard: Offers a balance of malleability and spring-back. This is mandatory for ear wires and headpins, as it holds its shape under the weight of the beads.
- Full-Hard: Extremely stiff and brittle. Rarely used in basic dangle earrings, reserved mostly for clasps and pins.
Expert Tip: Never use standard brass or nickel-silver craft wire for earrings. As of 2026, consumer demand for hypoallergenic jewelry is at an all-time high. Stick to 14/20 gold-filled wire, .925 sterling silver, or ASTM F136 implant-grade titanium for sensitive ears.
Understanding Bead Hole Sizes vs. Wire Gauges
One of the most common frustrations when learning how to make dangle earrings with beads is discovering that your headpin is too thick for the bead's drill hole. Wire gauge is inversely proportional to its thickness—the higher the gauge number, the thinner the wire. Below is a reference chart to help you match your wire to your beads.
| Bead Material | Average Hole Size | Maximum Wire Gauge (Thickness) |
|---|---|---|
| Freshwater Pearls | 0.5mm - 0.7mm | 24-Gauge (0.51mm) |
| Glass & Crystal | 0.8mm - 1.0mm | 22-Gauge (0.64mm) |
| Semi-Precious Stone | 1.0mm - 1.2mm | 20-Gauge (0.81mm) |
| Large Focal Beads | 1.5mm+ | 18-Gauge (1.02mm) |
For standard dangle earrings, 22-gauge half-hard wire is the most versatile choice for headpins, accommodating 90% of commercial glass and stone beads while remaining strong enough to support a wrapped loop.
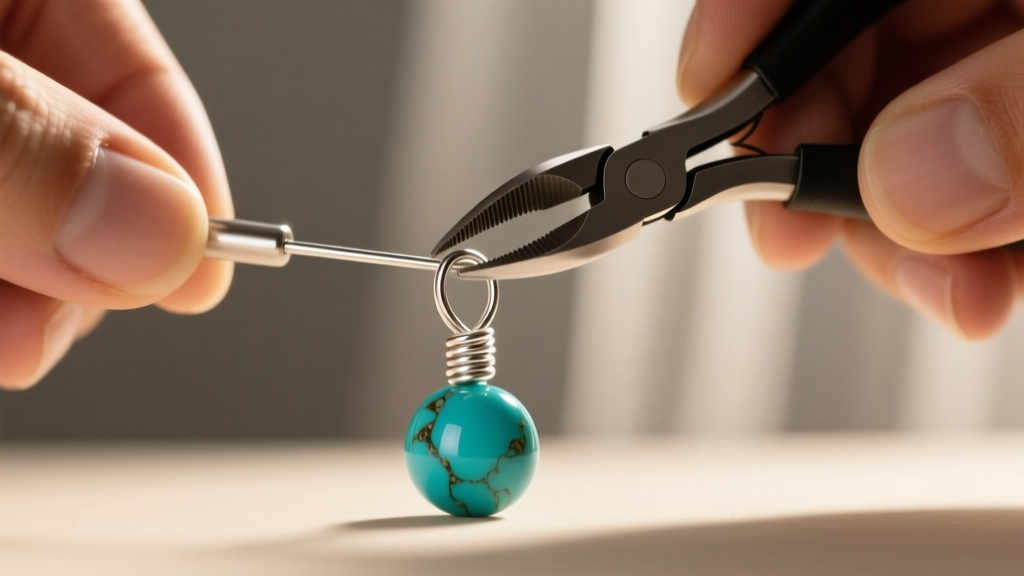
Step 1: Preparing the Headpin and Beads
Begin by selecting a 22-gauge half-hard headpin. If you are cutting your own wire, cut a 2.5-inch length using your flush cutters. String your chosen beads onto the wire. The order of the beads dictates the final silhouette; placing a small metal spacer bead at the bottom protects delicate stones like turquoise or opal from chipping against the flat pad of the headpin.
Once your beads are seated flush against the bottom, grasp the wire approximately 1.5 inches above the top bead. This excess wire is critical—it provides the necessary length to form a secure wrapped loop. Using your chain-nose pliers, bend the wire at a strict 90-degree angle directly above the bead.
Step 2: Creating the Wire-Wrapped Loop
Amateur jewelers often use a simple "P-loop" (bending the wire into a circle and snipping the excess). This is a critical failure point; the tension of the ear wire will eventually pull a P-loop open, dropping the bead. You must use a wrapped loop.
- Form the Loop: Grip the very tip of the 90-degree bend with your round-nose pliers. Roll the pliers toward the bead, wrapping the wire around the jaw to form a complete circle. The loop should sit directly on top of the bead.
- Wrap the Tail: Switch to your chain-nose pliers. Grip the loop firmly. Take the long tail of the wire and wrap it tightly around the straight stem of the wire, directly below the loop. Make 2.5 to 3 tight, adjacent coils.
- Trim and Tuck: Use your flush cutters to snip the excess tail wire, leaving about 1mm. Use the very tip of your chain-nose pliers to squeeze and "tuck" this tiny sharp end flat against the coil so it will not snag on hair or clothing.
Step 3: Assembling the Ear Wire and Dangle
For the ear wire, use a thicker 20-gauge half-hard wire to ensure it can withstand the repeated friction of being inserted into the ear lobe. Cut a 3-inch piece of wire. Form a small, simple loop at one end (this will connect to your wrapped loop). Bend the wire into a gentle "U" shape over the larger jaw of your round-nose pliers, creating a 15mm drop. Finally, use a cup burr attached to a rotary tool, or a fine-grit sanding pad, to round off the sharp tip of the ear wire. Skipping this step will result in scratched, irritated earlobes for the wearer.
Open the small loop on the ear wire laterally (twisting it side-to-side like a door hinge, never pulling it apart like a C-clamp). Slide the wrapped loop of your beaded dangle onto the ear wire, close the hinge securely, and give the entire piece a gentle polish with a microfiber cloth.
Troubleshooting Common Wire-Wrapping Failures
Even experienced jewelers encounter structural issues. Here is how to diagnose and fix the most common problems when crafting beaded dangles:
- Wire Snapping During Wrapping: This occurs due to "work hardening." If you bend dead-soft wire back and forth too many times, the metal's crystalline structure locks up and it snaps. Fix: Wrap smoothly and deliberately in one direction. If it keeps snapping, anneal the wire with a micro-torch or switch to a softer metal like pure copper for practice.
- The Loop Pulls Open: You likely used dead-soft wire for the headpin instead of half-hard, or you failed to complete a full 360-degree wrap. Fix: Always use half-hard wire for the structural stem of the earring.
- Beads Rattling or Spinning: There is too much space between the top bead and the wrapped loop. Fix: Add a tiny 2mm metal spacer bead or a micro-coil of wire directly above the stone to lock it in place before forming your 90-degree bend.
Final Polish and Care Instructions
Once your dangle earrings are assembled, they require proper finishing. If you used sterling silver, consider tumbling the finished earrings (excluding soft stones like pearls or opals) in a rotary tumbler with stainless steel shot and a drop of burnishing compound for 30 minutes. According to tutorials by Fire Mountain Gems, this process not only polishes the metal to a high shine but also work-hardens the ear wires, giving them the perfect amount of "spring" to stay securely in the ear.
By mastering these precise gauge selections, wire tempers, and wrapping techniques, you elevate your craft from simple beading to professional jewelry design, ensuring your dangle earrings are as durable as they are beautiful.


