How to Make Hoop Earrings: A Step-by-Step Wireworking Guide
Learn how to make hoop earrings from scratch. This step-by-step wireworking guide covers hypoallergenic metals, gauge sizes, and professional finishing.

The Art and Science of Custom Wireworking
Creating your own jewelry is one of the most rewarding pursuits in the metal arts, and learning how to make hoop earrings is the perfect entry point for beginner and intermediate bench jewelers. Unlike complex cast pieces or soldered assemblies, continuous wire hoops rely on fundamental metallurgy, precision cutting, and mechanical tension. When executed correctly, a handmade hoop earring offers a seamless, comfortable fit that mass-produced alternatives simply cannot match.
In this comprehensive guide, we will bypass generic craft-wire tutorials and focus on professional-grade techniques. We will explore hypoallergenic material selection, exact gauge tolerances for different piercing types, and the crucial science of work-hardening to ensure your earrings retain their shape over years of daily wear.
Essential Tools and Hypoallergenic Materials
The foundation of any ear-safe jewelry piece is the metal. For continuous hoops that pass directly through the fistula (the piercing channel), you must prioritize biocompatibility. According to Rio Grande's metallurgical guidelines, metals like Argentium silver and pure niobium are exceptional choices for sensitive ears due to their low reactivity and lack of nickel alloys.
| Material | Standard Hardness | Best Application | Expert Notes |
|---|---|---|---|
| Argentium Silver (935) | Dead Soft / Half Hard | Everyday Lobe Hoops | Tarnish-resistant due to germanium content; fuses without solder. |
| Niobium | Dead Soft | Hyper-Sensitive Ears | Highly biocompatible; can be anodized to any color via voltage. |
| Implant-Grade Titanium (ASTM F136) | Hard | Cartilage / Helix Hoops | Extremely difficult to bend by hand; requires specialized forming tools. |
| Copper / Brass | Dead Soft | Prototyping Only | Not ear-safe for long-term wear; oxidizes and causes skin reactions. |
Selecting the Correct Wire Gauge
Gauge selection dictates both the structural integrity of the hoop and its compatibility with the wearer's piercing. The standard lobe piercing is typically 20-gauge (0.81mm) or 18-gauge (1.02mm). For delicate cartilage or helix piercings, 22-gauge (0.64mm) is preferred to reduce weight and pressure on the tissue. Always purchase wire in 'dead soft' temper if you plan to hammer and form it yourself, as 'half-hard' wire will resist bending and may snap under tension.
Step-by-Step: How to Make Hoop Earrings
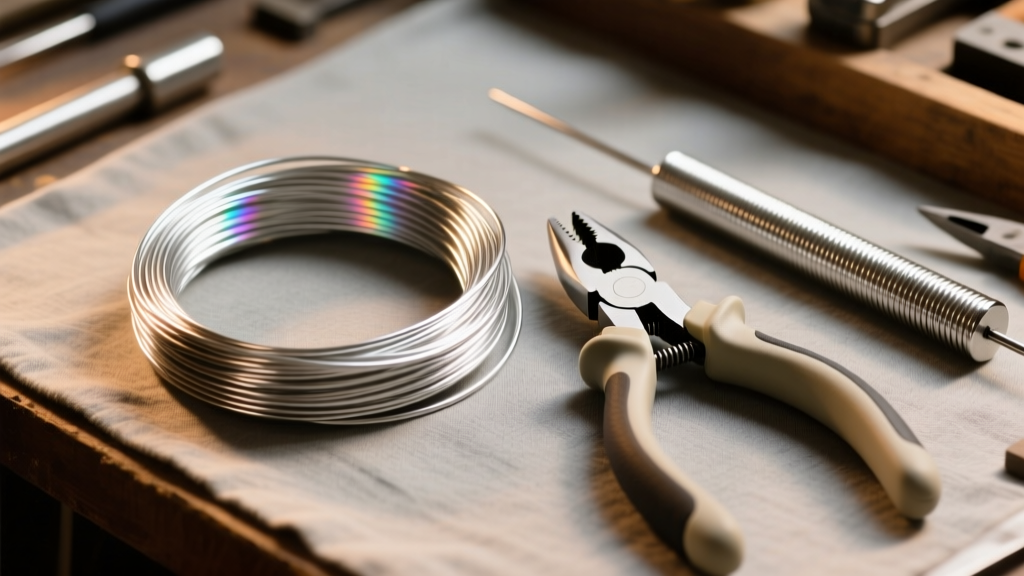
Now that your bench is equipped with the proper metals, it is time to move to the physical fabrication. You will need a steel ring mandrel, a rawhide or nylon mallet, PepeTools nylon jaw pliers, and high-quality Lindstrom flush cutters.
Step 1: Measuring and the Flush Cut
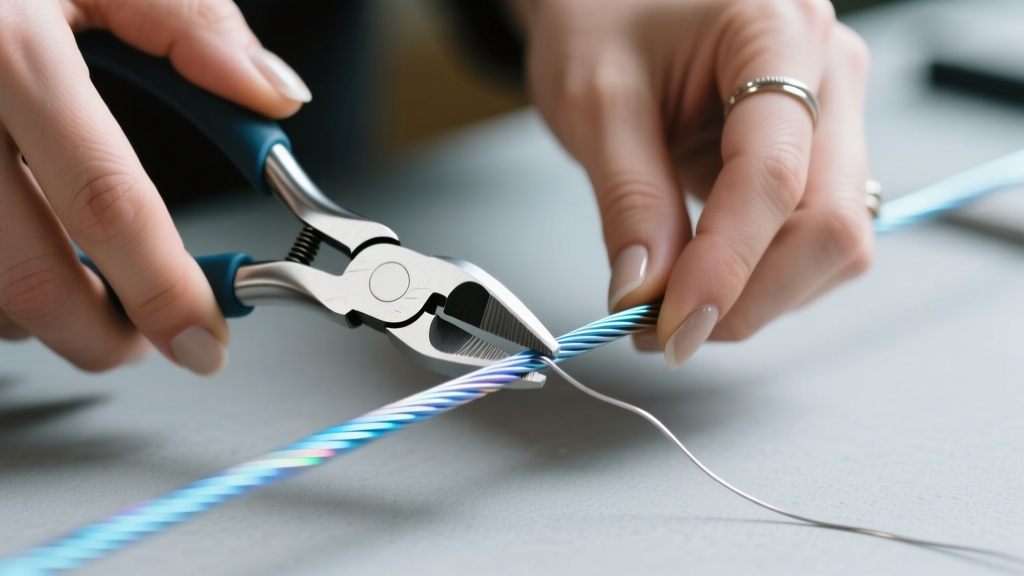
Determine your desired hoop diameter. A standard medium hoop is 20mm, while a large statement hoop might be 35mm. Wrap your wire around the corresponding groove on your steel ring mandrel. When cutting the wire, the orientation of your flush cutters is critical. The flat side of the cutter blades must face the working end of the wire (the part that will become the earring). This ensures a perfectly flat, flush cut on the earring end, leaving the sharp 'pinch' burr on the scrap side. A clean cut here saves hours of filing later.
Step 2: Forming the Perfect Circle
Place your cut wire onto the mandrel. Using your rawhide mallet, strike the wire firmly but evenly as you rotate it around the steel cone. Never use a steel hammer, as it will mar the surface of your precious metal and create deep scratches that are difficult to polish out. The rawhide compresses the metal slightly, encouraging it to take the shape of the mandrel without damaging the finish. Continue until the wire overlaps itself slightly, forming a complete circle with a small gap for the closure.
Step 3: Creating the Tension Closure
The hallmark of a professional continuous hoop is the 'snap' closure. Using your nylon jaw pliers (never bare steel pliers, which will dent the wire), gently squeeze the hoop to close the gap. You want the two ends to cross over each other slightly, creating outward lateral tension. When you pull the ends apart to insert the earring, they should snap back into perfect alignment when released. If the ends meet without tension, the hoop will easily pull apart in the ear. If they cross too much, the wire will warp.
Step 4: Filing and Polishing the Ends
Even with a perfect flush cut, microscopic burrs remain. Use a fine-cut needle file or a rotary cup burr to gently round the extreme tip of the wire end that enters the ear. The goal is a smooth, bullet-like taper that glides through the fistula without scraping the delicate tissue. Follow up with a silicone polishing wheel on your rotary tool to bring the ends to a high mirror shine.
The Science of Work-Hardening
A common mistake beginners make when learning how to make hoop earrings is skipping the work-hardening phase. Dead soft wire is highly malleable, meaning your beautifully formed hoops will easily bend out of shape when the wearer takes them on and off. According to jewelry fabrication resources like Halstead Bead, work-hardening alters the metal's crystalline structure.
When you strike the wire with a mallet or tumble it with stainless steel shot, you introduce 'dislocations' into the metal's crystal lattice. These dislocations tangle and lock together, making the metal significantly harder and more resistant to deformation. For continuous hoops, place your finished pieces in a rotary tumbler with stainless steel shot and a drop of burnishing compound for 45 to 60 minutes. This not only work-hardens the wire to a 'half-hard' or 'spring-hard' temper but also burnishes the surface to a brilliant, professional luster.
Troubleshooting Common Wireworking Issues
Even experienced bench jewelers encounter structural issues when forming hoops. Here is how to diagnose and fix the most common problems:
- The Hoop is Oval or Warped: This occurs from uneven hammering on the mandrel. To fix, place the hoop flat on a steel bench block and gently tap the high spots with a rawhide mallet until it sits perfectly flat.
- The Ends Do Not Align: If one end sits higher than the other, you have twisted the wire during the tension-forming stage. Grip the hoop with two pairs of nylon jaw pliers and gently twist the ends in opposite directions until they sit on the exact same plane.
- The Wire Snapped During Bending: This usually happens if you are using half-hard wire or if the metal has a structural flaw. Always anneal your silver wire with a torch before forming if it feels overly resistant, or start with dead soft temper.
- The Earring Causes Irritation: Ensure you are not using polishing compounds containing harsh chemicals that remain trapped in the metal's pores. Always ultrasonically clean your finished hoops in warm water and mild dish soap before wearing.
Final Thoughts on Custom Fabrication
Mastering the continuous hoop is a rite of passage for jewelry makers. By understanding the interplay between wire gauge, material biocompatibility, and the physics of work-hardening, you elevate your craft from simple assembly to true metallurgical artistry. Whether you are crafting a pair of minimalist 20-gauge niobium sleepers or bold 16-gauge argentium silver statement pieces, the techniques outlined above will ensure your creations are as durable and comfortable as they are beautiful.


