How to Make Dangle Earrings: Master Wire Gauges & Kinetic Balance
Master how to make dangle earrings with expert techniques on wire gauges, kinetic balance, and metal fatigue prevention for durable, professional jewelry.

The Physics of Dangle Earrings: Why Most DIY Designs Fail
When learning how to make dangle earrings, most beginners focus entirely on aesthetics, selecting beautiful gemstones and intricate wire-wrapping patterns. However, as a professional jeweler, I can tell you that 90% of homemade dangle earrings fail within six months due to a fundamental misunderstanding of kinetic physics and metal fatigue. Dangle earrings are essentially pendulums. Every time the wearer turns their head, the earring swings, creating microscopic torsional stress at the connection points—specifically the ear wire loop and the primary jump ring.
If you are using dead-soft wire for structural components or relying on open jump rings for heavy kinetic elements, your design is structurally compromised from the start. To create heirloom-quality dangle earrings, we must approach fabrication through the lens of material science, structural joinery, and dynamic balance. This deep dive will equip you with the technical specifications required to engineer dangle earrings that move fluidly, hang perfectly, and withstand years of daily wear.
Material Science: Selecting the Right Wire Alloy and Temper
The foundation of any durable dangle earring is the wire. According to metallurgical guidelines from Rio Grande, the temper (hardness) of your wire is just as critical as the alloy itself. Wire temper dictates how the metal will behave under stress and how it will work-harden during fabrication.
| Wire Temper | Best Application in Dangles | Yield Strength & Behavior |
|---|---|---|
| Dead Soft | Decorative wire weaving, weaving around cabochons | Low yield strength; bends easily but lacks structural memory. Will deform under the weight of heavy drops. |
| Half-Hard | Ear wires, structural frames, wrapped loops | Moderate yield strength; holds its shape well under moderate stress. The industry standard for ear wires. |
| Full-Hard | Clasps, heavy-duty jump rings, tension settings | High yield strength; very stiff and brittle. Difficult to bend without specialized heavy-duty pliers. |
| Spring-Hard | Pin stems, specialized tension components | Maximum yield strength; acts like a spring. Rarely used in standard dangle fabrication. |
For the alloy itself, move beyond standard Sterling Silver (.925). I highly recommend Argentium Silver 935. The addition of germanium makes it highly resistant to tarnish and gives it a slightly higher melting point and better ductility, which is crucial when you are work-hardening ear wires. For hypoallergenic requirements, Niobium is superior to titanium for dangles because it can be anodized in vibrant colors and is remarkably malleable, though it requires specific heavy-duty flush cutters to avoid damaging your tools.
Step-by-Step Fabrication: Engineering for Longevity
1. Calculating the Center of Gravity
A dangle earring that constantly flips backward or tangles in the hair is a victim of poor center-of-gravity engineering. Before cutting your final wire, create a brass or copper prototype. Suspend the prototype from a digital caliper or a simple pin.
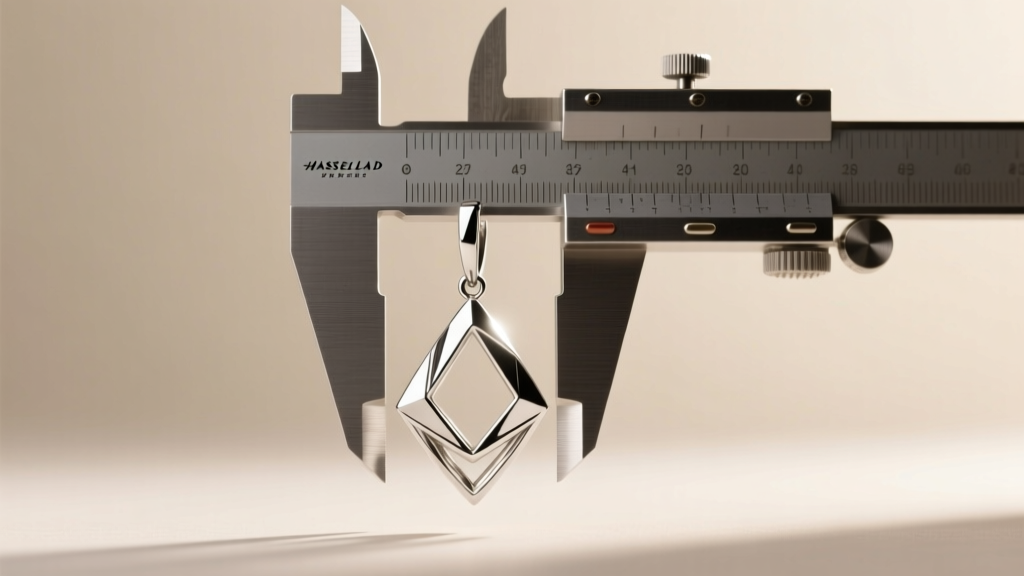
The point of suspension (the top loop) must align perfectly with the vertical center of mass of the entire dangle assembly. If the heaviest gemstone sits too far forward, the earring will tilt. To correct this, you must either add counter-weight to the back of the design or adjust the bail loop placement higher up on the structural frame. The goal is a neutral hang where the earring rests perfectly parallel to the earlobe.
2. Forging and Hardening the Ear Wire
The ear wire takes the brunt of the kinetic abuse. Never use dead-soft wire for an ear wire; it will pull open and drop the earring. Start with 20-gauge (0.81mm) half-hard Argentium or 14k Gold-Filled wire. Cut a 3.5-inch length. Form your loop using a 2mm mandrel. Once the French curve is shaped, you must work-harden the wire. Place the ear wire on a steel bench block and lightly tap the front curve with a polished rawhide or nylon mallet. This compresses the crystalline structure of the metal, increasing its tensile strength without altering its dimensions. Finish by tumbling to relieve surface stresses.
Advanced Joinery: Eliminating Weak Points
The connection between the ear wire and the dangle body is the most common failure point. The research presented at the Santa Fe Symposium on Jewelry Manufacturing Technology frequently highlights that traditional open jump rings subjected to lateral pendulum motion will eventually fatigue and snap, or slowly pull apart if the gap is not perfectly flush.
- The Wrapped Loop: For connecting beads or heavy drops, the wrapped loop is mandatory. Use 24-gauge (0.51mm) dead-soft wire. Ensure your flush cutters are oriented correctly—the flat side of the cut must face the bead, leaving a perfectly flush surface that won't snag on the wearer's hair.
- Soldered Jump Rings: If your design requires a ring connector, it must be soldered. A 4mm, 18-gauge (1.02mm) jump ring soldered with hard silver solder provides a tensile strength that far exceeds the wire itself.
- Riveted Hinges: For multi-segment articulated dangles, consider using microscopic tubular rivets instead of jump rings. This creates a true mechanical hinge that eliminates lateral play and drastically reduces metal fatigue.
Troubleshooting Common Structural Failures
Even experienced jewelers encounter structural anomalies when scaling up a new dangle design. Here is a diagnostic framework for the most common issues:
Expert Diagnostic Rule: If a dangle earring 'clicks' or sounds metallic when it swings, the components are striking each other due to insufficient clearance. Always maintain a minimum 1.5mm clearance between moving metal parts to prevent acoustic annoyance and surface marring.
Failure: The ear wire loop pulls open over time.
Solution: You used half-hard wire but didn't work-harden the loop itself. Use a cup bur to smooth the end, then use chain-nose pliers to gently twist the loop closed, applying torque rather than just pulling it laterally.
Failure: The wire wrap unravels at the base of a briolette.
Solution: The base wire was too thick. When wrapping a 24g wire, the core wire should be no larger than 18g. If the core is too thick, the wrapping wire cannot grip tightly enough, leading to slippage during kinetic movement.
Final Finishing and Tumbling Protocols
The final step in learning how to make dangle earrings professionally is the finishing process. Hand-polishing leaves microscopic scratches that can act as stress concentrators, initiating cracks under repetitive motion. Instead, utilize a rotary tumbler.
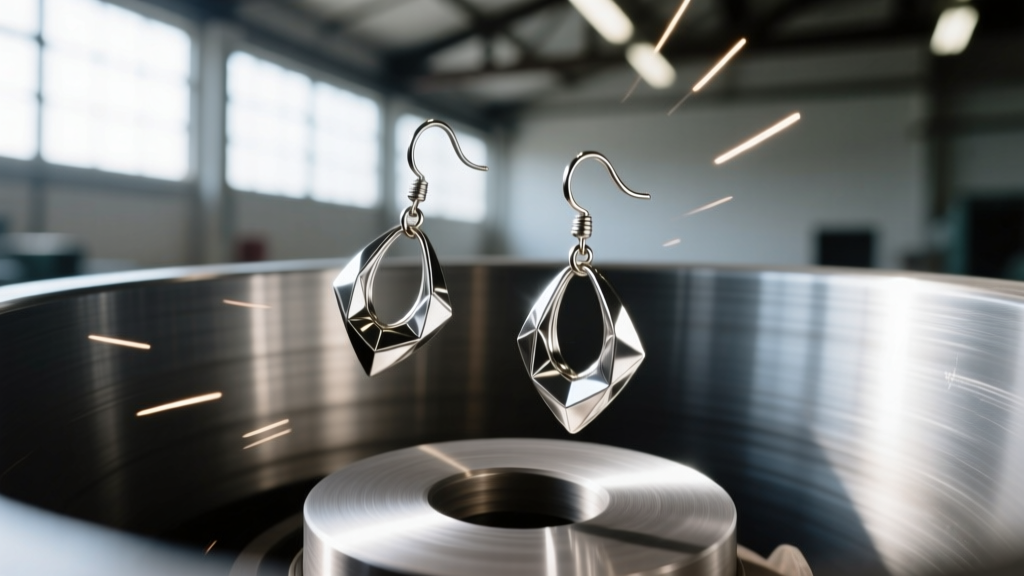
Load your finished dangle earrings into a rubber barrel with mixed stainless steel shot (pins, balls, and diagonals) and a few drops of burnishing compound like Rio Grande's Sunsheen. Tumble for exactly 45 to 60 minutes. Any longer, and you risk work-hardening the delicate wire wraps to the point of brittleness, causing them to snap. The steel shot will compress the surface of the silver or gold-filled wire, creating a mirror-like finish while simultaneously increasing the surface hardness, ensuring your kinetic masterpieces are as durable as they are beautiful.


