How to Make Earring Wires and Posts: A Technical Masterclass
Learn how to make earring wires and posts with master-level technical details on wire gauges, metal alloys, and tension mechanics for fine jewelry.

The Physics and Metallurgy of Earring Fabrication
When you set out to make earring components from scratch, you are not merely bending metal; you are manipulating crystalline structures at a microscopic level. Mass-produced ear wires are often stamped and tumbled, resulting in inconsistent tension and premature fatigue. As a bench jeweler, understanding the metallurgy of precious alloys is the difference between a bespoke earring that lasts a lifetime and one that fails within a month. The primary challenge in earring fabrication is balancing malleability during the forming process with the tensile strength required to hold a heavy gemstone or withstand daily wear.
To successfully make earring wires and posts, one must master the concept of work hardening. As metal is bent, drawn, or hammered, its crystal lattice structure becomes distorted. Dislocations in the lattice pile up, preventing further movement and increasing the metal's yield strength. This is measured in Vickers Hardness (HV). For instance, fully annealed (dead-soft) sterling silver sits at roughly 65 HV, making it useless for tension-based ear wires. Through controlled work hardening, that same sterling silver can reach 140 HV, providing the necessary 'snap' and memory required for a secure French wire closure.
Alloy Selection and Work Hardening Dynamics
Not all precious metals behave identically under stress. According to metallurgical data from the Gemological Institute of America (GIA), the alloying metals used in karat gold and sterling silver drastically alter their mechanical properties.
Sterling Silver (925)
Sterling silver is alloyed with 7.5% copper. The copper provides structural integrity, but it also makes the alloy highly susceptible to fire scale during soldering and rapid work hardening. When bending 20-gauge sterling silver wire for ear hooks, you must work deliberately. Over-working the wire without annealing will cause micro-fractures, leading to a catastrophic shear at the bend point.
14k and 18k Yellow Gold
Gold alloys are generally more forgiving than silver but require precise thermal management. 14k gold (58.5% pure gold) alloyed with silver and copper offers an excellent strength-to-weight ratio. It work hardens slower than sterling silver, allowing for more complex shaping before annealing is required. However, 18k gold (75% pure gold) is softer and often requires a heavier wire gauge to achieve the same structural rigidity as 14k.
Platinum and Palladium
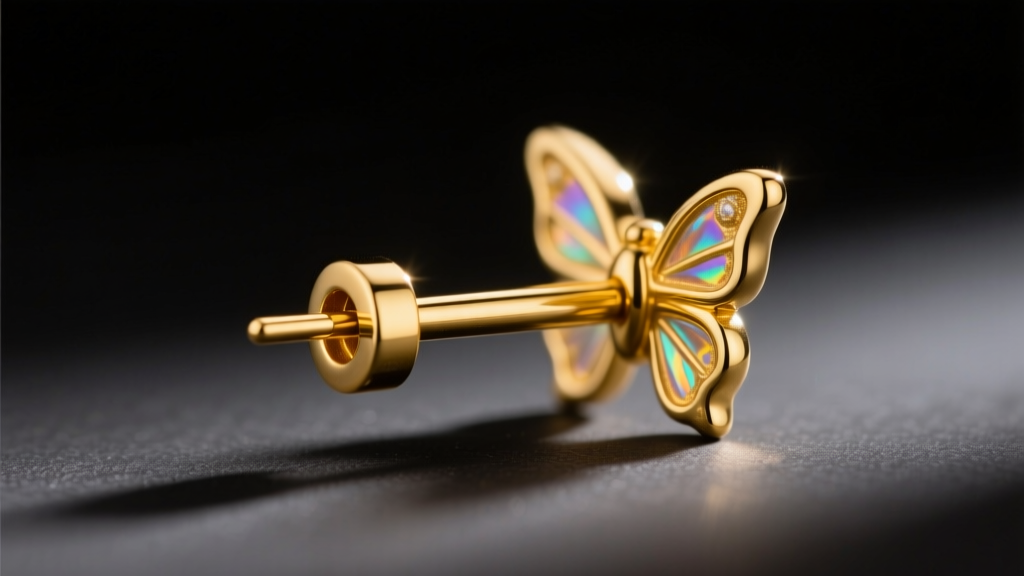
Platinum is notoriously difficult to work harden. It has a high melting point (1,768°C) and does not develop spring-back memory in the same way gold or silver does. For this reason, platinum earring posts are typically fabricated with a slightly thicker gauge or reinforced with an iridium alloy to prevent the post from bending when the wearer inserts the butterfly clutch.
Wire Gauge Standards and Tensile Requirements
Selecting the correct wire gauge is critical for both wearer comfort and structural integrity. The Association of Professional Piercers (APP) establishes standards for body jewelry, which directly inform fine jewelry earring fabrication. Using a gauge that is too thick can cause tissue stretching and discomfort, while a gauge that is too thin will result in a weak ear wire that deforms under the weight of a drop earring.
| Wire Gauge (AWG) | Diameter (mm) | Hardness State | Primary Application | Tensile Notes |
|---|---|---|---|---|
| 18 Gauge | 1.02 mm | Half-Hard | Heavy drop earrings, leverbacks | High rigidity; requires gradual piercing insertion. |
| 20 Gauge | 0.81 mm | Half-Hard / Full-Hard | Standard French wires, stud posts | Industry standard; optimal balance of strength and comfort. |
| 21 Gauge | 0.72 mm | Full-Hard | Delicate dangles, lightweight hoops | Excellent for sensitive lobes; requires full-hard state to prevent bending. |
| 22 Gauge | 0.64 mm | Full-Hard | Ear cuffs, micro-studs | Low tensile strength; strictly for lightweight, non-load-bearing components. |
Fabricating French Wires: A Step-by-Step Protocol
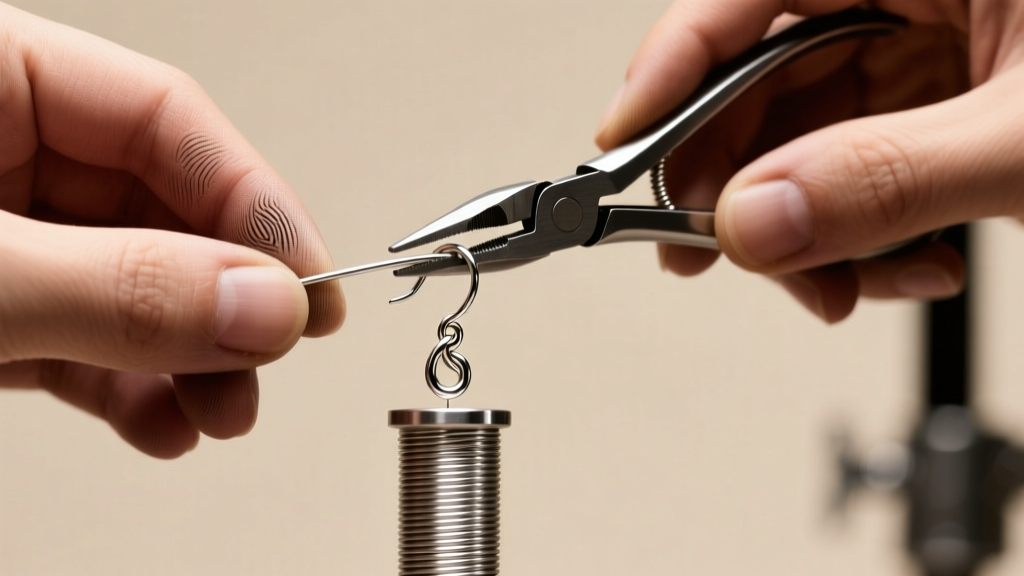
The French wire (or fishhook) is the most common earring finding. To make earring wires that possess commercial-grade quality, you must utilize precision mandrels and controlled tension. Here is the professional protocol for fabricating 20-gauge half-hard sterling silver French wires:
- Preparation: Cut 2.5-inch lengths of 20-gauge half-hard wire. Ensure the ends are perfectly flush using high-quality side cutters.
- The Bottom Loop: Using a 3mm steel mandrel or the tip of your round-nose pliers, form a small, perfectly closed loop at one end. This loop will hold the jump ring or gemstone dangle. File the end of the wire flat so it sits flush against the shank.
- The Main Sweep: Switch to a 7.5mm or 8mm steel mandrel. Place the wire against the mandrel and use your thumb to apply even, continuous pressure, sweeping the wire into a 'J' shape. Do not use pliers for this step, as they will mar the metal and create localized stress points.
- The Tension Bend: At the top of the sweep, create a slight outward flare (about 15 degrees). This flare is what provides the outward tension against the back of the earlobe, keeping the earring secure.
- Work Hardening: If you started with half-hard wire, the bending process has likely pushed it to a full-hard state. To test the tension, gently squeeze the 'J' curve. It should spring back to its original shape immediately. If it stays compressed, the wire was too soft and must be discarded or re-annealed and re-drawn.
- Finishing: Tumble the wires in a rotary tumbler with stainless steel shot and a mild burnishing compound for 45 minutes. This final step compresses the outer layer of the metal, increasing surface hardness and providing a mirror polish.
Soldering Earring Posts: Thermal Dynamics and Flux Chemistry
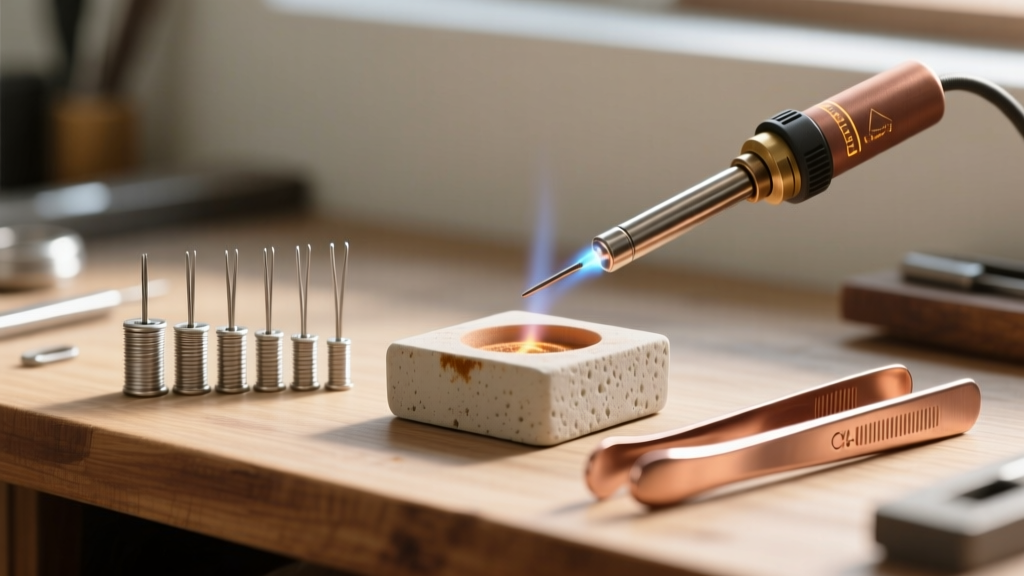
Soldering a post to a cast or fabricated earring backing requires a deep understanding of thermal dynamics. A common beginner mistake is using 'Easy' solder for earring posts. Easy solder has a lower flow point (approx. 650°C for silver) but lacks the shear strength required for a high-stress joint. According to technical guidelines from Rio Grande, you must always use 'Hard' solder (flow point approx. 788°C) for earring posts. This ensures the joint will not melt or weaken if the earring requires subsequent sizing, laser welding, or aggressive polishing.
Flux Selection and Firecoat
When soldering karat gold or sterling silver posts, oxidation is the enemy. For sterling silver, apply a boric acid and denatured alcohol firecoat to the entire piece before applying standard borax-based flux to the joint. This prevents firescale (copper oxide) from forming deep within the metal. For 14k and 18k gold, a fluoride-based flux (such as Handy Flux) is preferred, as it dissolves the oxides of the alloying metals (copper, zinc, and nickel) at lower temperatures, allowing the solder to flow cleanly via capillary action.
Post Alignment and Jigging
A perfectly soldered post is useless if it is not perfectly perpendicular to the earring face. Use a graphite or titanium soldering jig with pre-drilled 20-gauge holes. Insert the post into the jig, apply a microscopic pallion of Hard solder and flux to the base of the post, and place the earring backing on top. Heat the backing evenly with a micro-torch, allowing the heat to transfer to the post. The solder will flash and flow the moment the entire assembly reaches the eutectic temperature.
Troubleshooting Structural Failures in Custom Earrings
Even experienced jewelers encounter mechanical failures when attempting to make earring components. Here is a diagnostic framework for the most common issues:
- Wire Snapping at the Loop: This is almost always caused by over-annealing or using dead-soft wire. The crystal lattice has become too relaxed, and the sharp bend of the loop creates a stress concentration that exceeds the metal's tensile limit. Switch to half-hard wire and ensure your loop mandrel is not too small.
- Post Shearing During Wear: If a post snaps off flush with the backing, the solder joint failed. This happens if the joint was starved of solder, if the metal was contaminated with oils during preparation, or if Easy solder was used. Strip the joint, pickle it in warm sodium bisulfate, re-flux, and re-solder using Hard grade solder.
- Allergic Reactions to Soldered Joints: Many standard gold and silver solders contain cadmium or nickel to lower their melting points. When soldering posts that will sit directly against the sensitive tissue behind the earlobe, always use cadmium-free and nickel-free solders. Platinum or palladium-based white gold solders are the safest choice for hypoallergenic requirements.
- Loss of Tension in French Wires: If the ear wire slowly opens up over time, the metal lacks 'memory.' This occurs when the wire is not sufficiently work-hardened after forming. Implement a tumbling or hammer-planishing step to compress the surface grains and lock in the tension.
Master Jeweler's Insight: Never quench hot sterling silver or karat gold earring components directly in water immediately after soldering unless you have verified the alloy's thermal shock resistance. Rapid quenching can cause microscopic crystalline fractures in certain high-copper gold alloys, leading to post failure weeks after the piece has been delivered to the client. Always allow the piece to air-cool to a dull black before dropping it into the pickle pot.
Final Quality Control and Finishing
The final step in earring fabrication is rigorous quality control. Every post must be tested with a standard butterfly clutch to ensure a snug, friction-fit without requiring excessive force that could bend the wire. The post ends should be rounded with a cup bur and polished with a rouge-charged muslin wheel to ensure they glide through the ear piercing without catching on tissue. By respecting the metallurgy, adhering to strict gauge standards, and utilizing proper thermal techniques, you elevate your craft from simple assembly to true master-level jewelry fabrication.


