How to Make Earrings with Beads: A Technical Wire-Wrapping Guide
Master how to make earrings with beads using expert wire-wrapping techniques. Learn wire gauges, metallurgy, and structural integrity for durable drops.

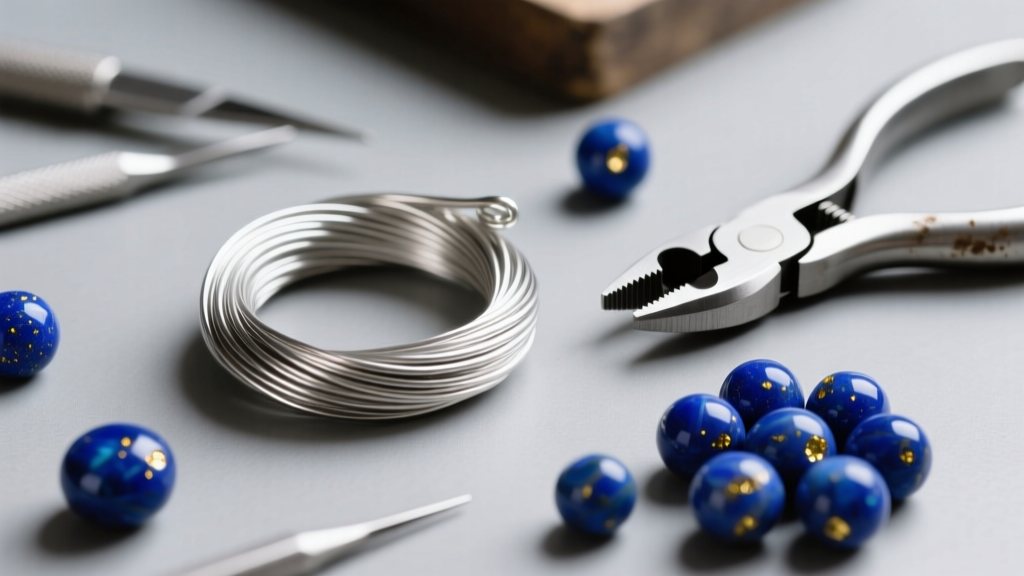
Learning how to make earrings with beads is often reduced to simple stringing tutorials that ignore the fundamental physics of jewelry making. For pieces meant to be worn daily, structural integrity is just as critical as aesthetic design. Beaded drop earrings endure constant kinetic stress, friction, and environmental exposure. A poorly executed wire wrap or an incorrect alloy choice will inevitably lead to structural failure, lost gemstones, or skin irritation.
This expert deep dive bypasses basic crafting advice, focusing instead on the metallurgy, gauge tolerances, and precision wire-wrapping techniques required to engineer professional-grade beaded earrings.
The Metallurgy of Beading Wire: Hardness and Alloys
Before selecting a bead, you must understand the crystalline structure of your wire. Wire hardness dictates how the metal behaves under stress and how it will work-harden during manipulation. According to technical guidelines from Rio Grande, wire is generally sold in three tempers:
- Dead Soft (Annealed): The metal's crystalline structure is relaxed. It bends effortlessly but work-hardens rapidly. Ideal for weaving or complex wire-woven bezels, but too malleable for structural ear wires or load-bearing wrapped loops.
- Half-Hard: The optimal temper for learning how to make earrings with beads. It offers a balance of ductility for wrapping and tensile strength to maintain its shape under the weight of glass or stone beads.
- Full-Hard / Spring-Hard: Highly brittle. It will snap if subjected to tight wrapping loops. Reserved almost exclusively for forged clasps or rigid structural pins.
For hypoallergenic requirements, avoid cheap brass or nickel-silver alloys. Opt for ASTM F136 compliant Titanium (Grade 5 for ear wires, Grade 1 for wrapping), Niobium, or high-quality .925 Sterling Silver.
Gauge Selection and Structural Load Limits
Matching your wire gauge to both the bead's drill hole and the gemstone's specific gravity is a common failure point for beginners. The GIA Gem Encyclopedia notes that gemstone densities vary wildly; a 10mm lapis lazuli bead exerts significantly more downward shear force on a wire loop than a 10mm glass pearl.
| Wire Gauge (AWG) | Diameter (mm) | Compatible Bead Types | Max Recommended Drop Weight |
|---|---|---|---|
| 26-Gauge | 0.40mm | Freshwater pearls, micro-drilled gemstones | 2 grams |
| 24-Gauge | 0.51mm | Standard pearls, small crystal bicones | 5 grams |
| 22-Gauge | 0.64mm | Most glass beads, medium semi-precious stones | 12 grams |
| 20-Gauge | 0.81mm | Ear wires, heavy agate/jasper focal beads | 25+ grams (as ear wire) |
Pro Tip: Always measure bead holes with digital calipers. Many natural stone beads have tapered drill holes that may accept a 22-gauge wire at the top but bottleneck in the center, causing internal micro-fractures in the stone.
Step-by-Step Technical Assembly: The Wrapped Loop
The wrapped loop is the gold standard for connecting beads in drop earrings. It prevents the loop from pulling open under lateral stress. Interweave Jewelry Making emphasizes that precision in the initial bend dictates the symmetry of the final coil.
1. Calculating Wire Length and Tolerance
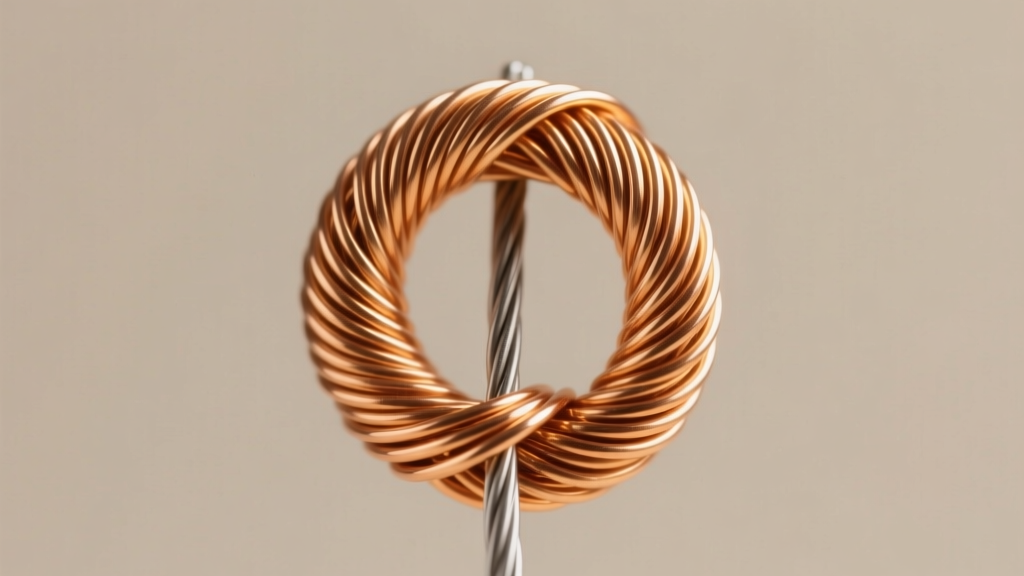
For a standard wrapped loop using 22-gauge half-hard wire, cut exactly 3.5 inches (89mm) of wire per bead. This accounts for the top wrap (approx. 4 coils), the bead's vertical height, and the bottom wrap. Leaving excess wire creates structural instability, while cutting it short results in sharp, protruding tails.
2. Executing the 90-Degree Bend
Using flat-nose pliers (ensure they are teeth-free to avoid marring the metal), grip the wire exactly 1 inch from the top end. Bend the wire to a strict 90-degree angle. Do not use round-nose pliers for this initial bend; they create a curved slope rather than a sharp shoulder, which compromises the flush seating of the first wrap coil.
3. The Flush Cut and Coil
When trimming the wire tail before wrapping, always use high-quality flush cutters. The beveled side of the cutter blade must face the waste wire, leaving a perfectly flat, 90-degree cut on the working end. Wrap the wire tightly around the base stem 3 to 4 times. Grip the coils with nylon-jaw pliers and squeeze gently to compress them into a single, unified band of metal.
Ear Wire Anatomy and Ergonomic Finishing
The ear wire (French hook) is the primary load-bearing component of the earring. Fabricating your own ear wires from 20-gauge half-hard wire ensures consistency and superior ergonomics compared to mass-stamped findings.
- The Mandrel Bend: Wrap the wire around a 6mm steel mandrel to create the primary curve. This specific diameter accommodates the average earlobe thickness while preventing the earring from sliding too far forward.
- Work-Hardening: Bending the wire aligns its crystalline structure, increasing hardness. After bending, place the ear wires in a rotary tumbler with stainless steel shot for 45 minutes. This compresses the surface molecules, yielding a high-polish, spring-hard finish that resists bending during wear.
- Tip Finishing: Never leave a shear-cut wire tip exposed to the ear canal. Use a cup bur mounted in a flex shaft or rotary tool, lubricated with beeswax, to grind the tip into a smooth, rounded dome. Follow with a 600-grit sanding pad.
Troubleshooting Common Structural Failures
Even with perfect technique, material variables can cause issues. Here is how to diagnose and fix the most common failures when figuring out how to make earrings with beads:
Bead Spin and Rattling
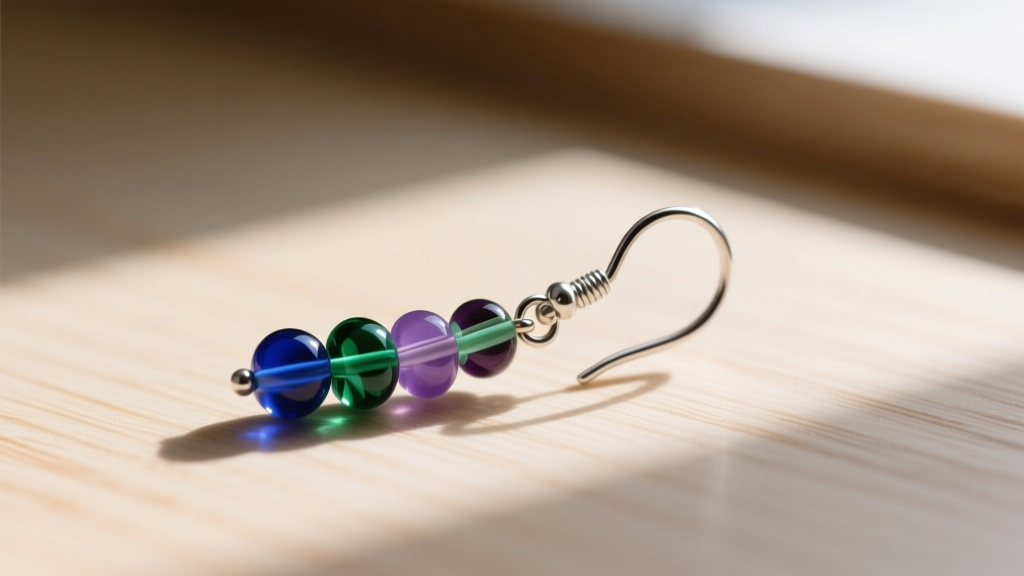
If a bead spins freely on the wire or rattles against the wrapped loops, the bead's drill hole is wider than the wire gauge. Do not use superglue, which degrades and turns cloudy. Instead, thread a micro-spacer bead (1.5mm sterling silver or copper) on either side of the focal bead. If the aesthetic requires no spacers, apply a microscopic drop of two-part jeweler's epoxy (like G-S Hypo Cement alternative) to the wire before sliding the bead on, allowing it to cure for 24 hours.
Wire Snapping During the Wrap
If your wire snaps on the second or third coil, you are experiencing work-hardening fatigue. This occurs when using dead-soft wire that has been over-manipulated, or when using full-hard wire for tight radii. Switch to half-hard wire and ensure you are bending the wire in a single, fluid motion rather than wiggling it back and forth with the pliers, which introduces micro-fractures.
Loop Unspooling Under Weight
If the top loop pulls open, the initial 90-degree bend was likely curved rather than sharp, or the wrap coils were not compressed. Ensure your first wrap coil sits perfectly flush against the shoulder of the bend, acting as a mechanical stop that prevents the loop from elongating under the downward pull of gravity.


