How to Make Leather Earrings: Budget & Value Assessment
Learn how to make leather earrings on a budget. We break down leather grades, hardware costs, and exact DIY savings versus retail.

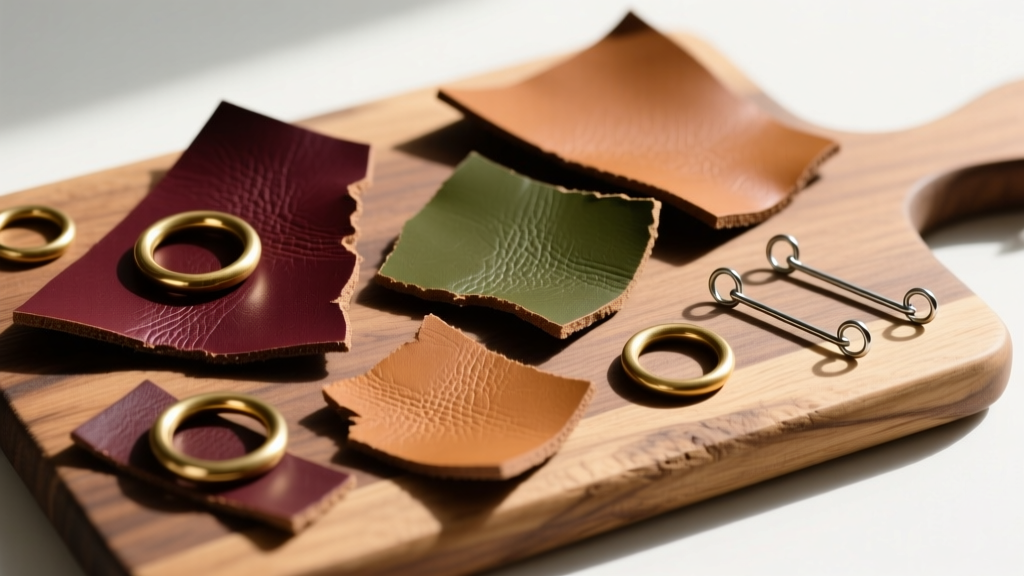
The True Cost of DIY: How to Make Leather Earrings on a Budget
When exploring how to make leather earrings, the conversation often revolves around aesthetics and craftsmanship. However, from a budget and value assessment perspective, the real question is whether the DIY route offers a genuine financial advantage over buying retail, or if the hidden costs of tools and premium materials eat into your margins. Leather earrings have surged in popularity due to their lightweight nature, bold textural appeal, and hypoallergenic properties when paired with the right metals. Retail prices for boutique-quality leather dangles and studs typically range from $28 to $65 per pair. By contrast, the per-unit material cost for DIY leather earrings can drop as low as $0.45 to $1.20, provided you approach your material sourcing and tool investments strategically.
To accurately assess the value, we must break down the initial capital expenditure (tools) against the recurring variable costs (leather hides, dyes, edge finishes, and metal findings). This guide provides a comprehensive financial and qualitative analysis to help you determine the true ROI of crafting your own leather earwear.
Material Grades and Pricing: What to Buy and What to Avoid
The foundation of any high-value leather earring is the hide itself. Not all leather is created equal, and choosing the wrong grade will result in a product that looks cheap, tears easily, and fails to hold its shape. According to industry standards outlined by Tandy Leather, understanding leather weight and tanning processes is critical for both durability and cost-efficiency.
Full-Grain vs. Genuine Leather: The Value Divide
For earrings, you need a material that is rigid enough to hold a shape (like a teardrop or geometric polygon) but light enough not to stretch the earlobe. Vegetable-tanned full-grain leather in a 3 oz to 4 oz weight (approximately 1.2mm to 1.6mm thick) is the gold standard. It costs roughly $7.00 to $11.00 per square foot. A single square foot yields approximately 40 to 60 pairs of standard 2-inch dangle earrings, bringing the raw leather cost to just $0.15 per pair.
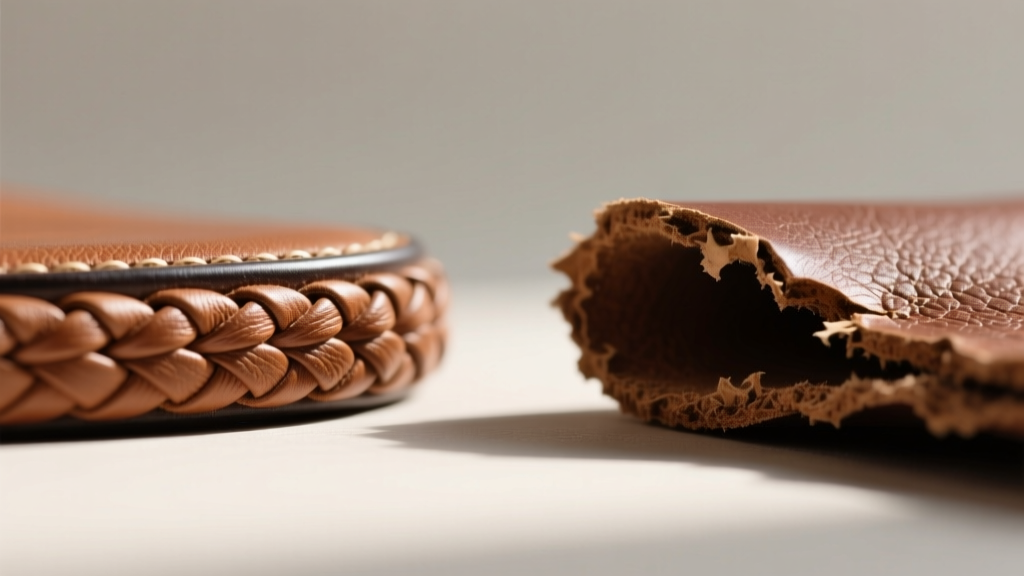
Conversely, 'Genuine leather' (which is actually a low-grade split leather heavily coated in polyurethane) costs around $3.00 per square foot but offers terrible long-term value. It cannot be edge-burnished, it flakes when cut, and it lacks the structural integrity required for jewelry. Avoid it entirely if you want your earrings to look professional.
Hardware Value Assessment: Findings That Won't Tarnish or Break
The fastest way to devalue a beautiful piece of handcrafted leather jewelry is to hang it on cheap, reactive metal. Ear wires and jump rings must be evaluated on three metrics: biocompatibility (hypoallergenic properties), structural strength, and cost per unit. Jewelry supply giants like Rio Grande offer bulk pricing that makes premium metals accessible to small-scale DIYers.
| Metal Type | Gauge / Size | Cost Per Pair | Value Assessment & Best Use |
|---|---|---|---|
| 316L Surgical Steel | 20-Gauge Ear Wire | $0.12 - $0.18 | Excellent baseline value. Highly durable, mostly hypoallergenic, and resists tarnish. Best for budget-friendly retail lines. |
| Niobium | 20-Gauge Ear Wire | $0.75 - $1.10 | Premium value. 100% hypoallergenic and can be anodized to vibrant colors. Essential for customers with severe metal sensitivities. |
| Raw Brass | 4mm Jump Rings | $0.05 - $0.08 | Low long-term value. Tarnishes quickly and can turn skin green. Must be sealed with a jewelry guard or replaced with gold-filled. |
| 14k Gold-Filled | 5mm Jump Rings | $0.30 - $0.45 | High perceived value. Offers the look of solid gold at a fraction of the cost, significantly increasing the retail price you can command. |
Pro-Tip on Gauge Sizes: Stick to 20-gauge (0.81mm) or 22-gauge (0.64mm) wire for ear hooks. Anything thicker (like 18-gauge) will cause discomfort for the wearer, while anything thinner (24-gauge) will easily bend out of shape under the subtle weight of the leather.
Step-by-Step Assembly and Tool Investment ROI
Learning how to make leather earrings requires a specific, albeit minimal, toolkit. The initial investment can seem daunting, but the break-even point is reached remarkably fast when compared to retail purchasing.
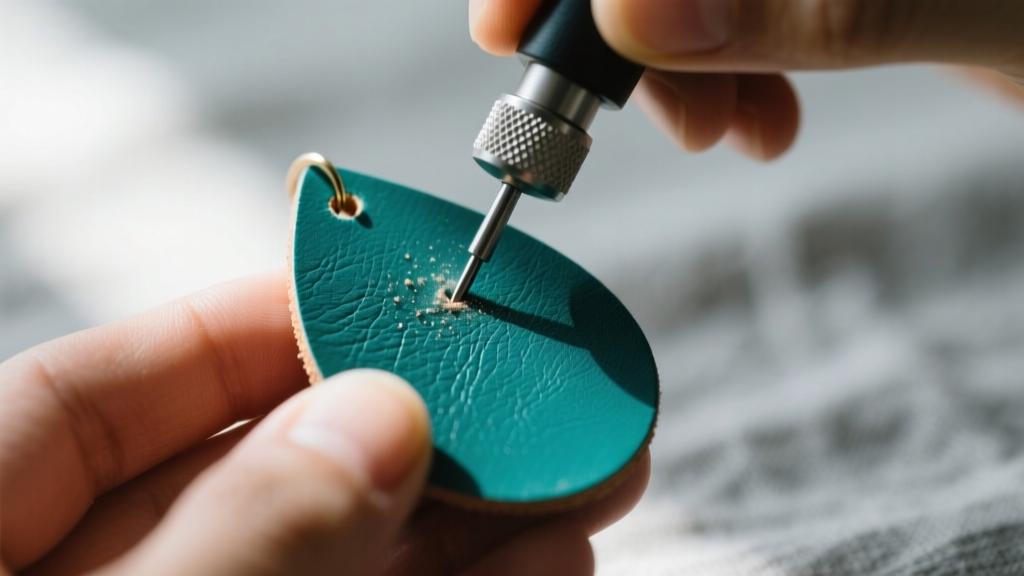
- Rotary Leather Punch or Drive Punch Set ($18 - $25): Essential for creating clean 1.5mm or 2mm holes for jump rings. Scissors or awls will warp the leather and cause tearing.
- Self-Healing Cutting Mat & Steel Ruler ($15): Ensures perfectly straight cuts for geometric designs.
- Edge Finishing Supplies ($12): Tokonole burnishing gum and a wooden slicker. This is the secret to boutique-quality edges. Sealing the raw edges prevents moisture absorption and fraying, instantly elevating the perceived value of the earring.
- Two Pairs of Nylon-Jaw Pliers ($14): Crucial for opening and closing jump rings without scratching your premium metal findings.
Total initial tool investment: ~$60.00. If you factor in a $15.00 scrap leather bundle and $10.00 in basic steel findings, your total startup cost is roughly $85.00. Given that this setup will easily produce your first 50 pairs of earrings, your loaded cost per pair for the first batch is just $1.70. Subsequent batches drop the cost to under $0.80 per pair.
Retail vs. DIY: The Final Value Verdict
Is the time and effort worth the financial savings? Let us look at the market reality. Mass-produced leather earrings found in fast-fashion retailers often use PU (polyurethane) faux leather and nickel-laced base metals, selling for $12 to $18. They degrade within months. Handcrafted, full-grain leather earrings sold on platforms like Etsy or at local artisan markets command $35 to $65 because buyers are paying for premium materials, hypoallergenic hardware, and unique geometric designs.
'The true value in DIY leather jewelry is not just in the money saved on a single pair, but in the ability to control the supply chain. By sourcing vegetable-tanned offcuts and niobium wire, you create a luxury product at a fast-fashion price point.' — Independent Jewelry Fabricator
For the hobbyist, making 10 pairs of custom earrings saves you roughly $300 compared to buying them retail. For the aspiring entrepreneur, the profit margins on leather earrings are among the highest in the jewelry sector, often exceeding 85% gross margin once the initial tooling is paid off.
Troubleshooting Common DIY Leather Earring Failures
Even with the best budget strategies, structural failures can ruin your investment. Here is how to troubleshoot the most common issues:
1. The Tear-Out Effect: If your leather earring rips at the top where the jump ring sits, your hole is too close to the edge. Always punch your hole at least 3mm to 4mm down from the top edge of the leather blank. For softer chrome-tanned leathers, reinforce the back of the hole with a tiny dab of flexible jewelry adhesive or a micro-drop of cyanoacrylate (super glue) to stiffen the fibers.
2. Lobe Sagging: While leather is light, large statement pieces (over 3 inches long) can cause earlobe fatigue. To add value and comfort, offer an alternative backing option. Instead of a standard fishhook wire, attach the leather to a 10mm or 12mm flat-back stud post using a strong epoxy. The wider surface area distributes the weight across the lobe much more effectively.
3. Curling and Warping: Vegetable-tanned leather is highly reactive to humidity. If your flat geometric earrings begin to curl into a tube shape, you skipped the sealing step. You must seal both the front and the back of the leather with a light coat of acrylic leather sealer or Resolene. This locks out ambient moisture and ensures the earring remains perfectly flat regardless of the climate.
Ultimately, mastering how to make leather earrings on a budget is an exercise in smart material science and strategic sourcing. By refusing to compromise on the leather grade and the metal biocompatibility, you ensure that every dollar spent translates directly into a durable, high-value accessory.


