How to Make Stud Earrings: Ultimate Supply Buying Guide
Learn how to make stud earrings with our expert buying guide. Discover what to look for in metals, posts, adhesives, and tools for durable DIY jewelry.

The Shift to DIY Fine Jewelry: Why Material Selection Matters
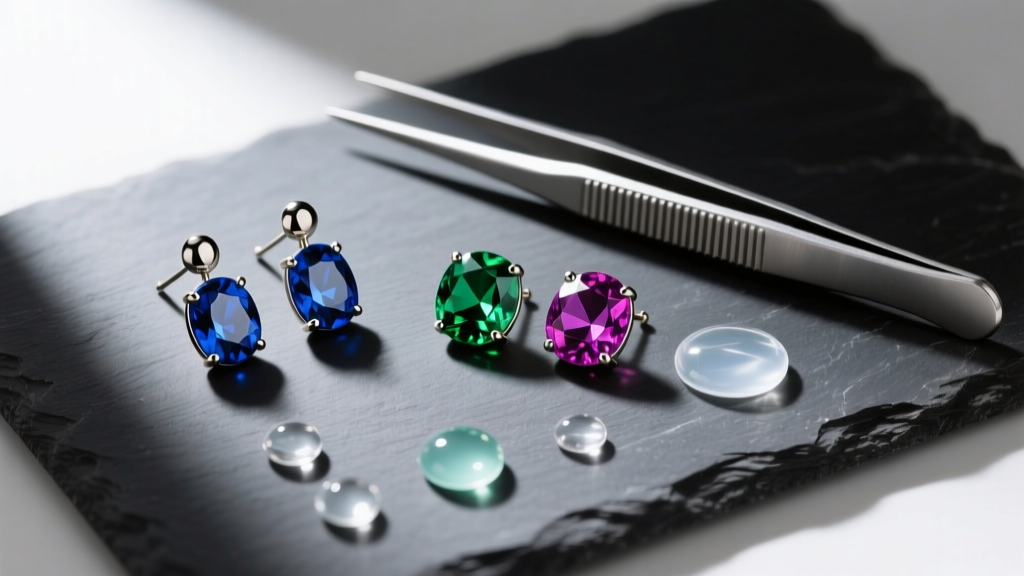
Learning how to make stud earrings is one of the most rewarding entry points into jewelry fabrication. However, the difference between a professional-looking, durable stud and a flimsy craft project lies entirely in the supplies you purchase. In 2026, the DIY jewelry market is flooded with cheap, unverified component kits from overseas marketplaces. While these kits are inexpensive, they often feature poorly plated brass posts that cause contact dermatitis, undersized setting pads that lead to gemstone loss, and low-grade adhesives that yellow within weeks.
This buying guide cuts through the noise. We will break down exactly what to look for when purchasing metals, earring posts, setting adhesives, and gemstones to ensure your handmade stud earrings are heirloom-quality, hypoallergenic, and structurally sound.
Essential Metals: What to Buy for Hypoallergenic Studs
The earring post and setting pad are in direct, prolonged contact with the skin. Buying the correct metal grade is non-negotiable to avoid allergic reactions and tarnishing. Avoid "surgical steel" unless it is explicitly certified as 316L, and even then, be aware that it contains trace amounts of nickel. For premium, hypoallergenic studs, you should be sourcing the following metals:
Implant-Grade Titanium (ASTM F136)
This is the gold standard for sensitive ears and fresh piercings. When shopping on supplier sites like Rio Grande, look specifically for ASTM F136 certification. This guarantees the titanium is biocompatible, entirely nickel-free, and highly resistant to corrosion from skin oils and cosmetics.
Solid Gold (14k and 18k)
If you are making luxury stud earrings, solid gold is the way to go. However, you must buy from reputable refiners who guarantee nickel-free white gold alloys (often alloyed with palladium instead). Yellow and rose gold are naturally nickel-free, but ensure you are buying solid wire or castings, not gold-filled or gold-plated components, which will eventually wear through on the friction points of the post.
Material Comparison Chart for Stud Earring Posts
| Metal Type | Grade / Standard | Nickel Content | Avg. Cost (per pair) | Best Application |
|---|---|---|---|---|
| Titanium | ASTM F136 (Implant) | None | $1.50 - $3.00 | Sensitive ears, everyday wear |
| Surgical Steel | 316L VM | Trace (8-10%) | $0.50 - $1.00 | Budget fashion jewelry |
| Yellow Gold | 14k / 18k Solid | None | $15.00 - $40.00 | Fine jewelry, heirloom gifts |
| Niobium | Commercially Pure | None | $1.00 - $2.50 | Anodized colorful studs |
Earring Posts and Backs: Sizing, Gauges, and Mechanics
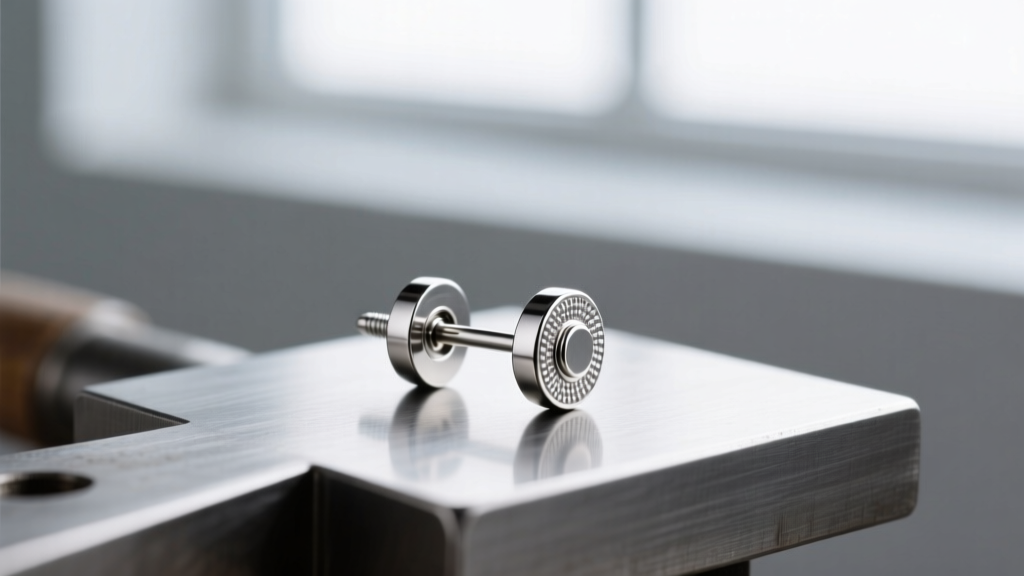
When buying earring posts, you must pay close attention to three dimensions: gauge (thickness), length, and pad diameter. Getting these wrong will result in earrings that droop, bend, or fail to secure properly.
Understanding Gauge and Length
- 20-Gauge (0.81mm): The industry standard for standard lobe piercings. It offers the perfect balance of strength and comfort. Always buy 20G for studs featuring gemstones larger than 4mm.
- 22-Gauge (0.64mm): Thinner and more delicate. Only use 22G for extremely lightweight, tiny studs (under 3mm) or for secondary upper-lobe piercings. It will bend under the weight of heavy stones.
- Post Length: Standard posts are 10mm to 11mm long. If you are designing for thicker earlobes or planning to use heavy, wide friction backs, purchase 12mm posts to ensure the backing has enough surface area to grip securely.
Choosing the Right Setting Pad
The pad is the flat metal surface where the gemstone is glued or set. Rule of thumb: The pad should be at least 1mm smaller than the diameter of your gemstone. For a 6mm cabochon, buy a post with a 4mm or 5mm pad. If the pad is too large, the adhesive will squeeze out and be visible; if it is too small, the stone will lack structural support and pop off under minor pressure.
Adhesives and Setting Tools: Avoiding Common Failure Modes
The most common failure mode in DIY stud earrings is the gemstone detaching from the post. This is rarely the fault of the stone and almost always the fault of the adhesive or improper surface preparation.
Two-Part Epoxy vs. UV Resin vs. E6000
"Never use standard super glue (cyanoacrylate) for jewelry making. It cures brittle, shrinks, and will shatter when the earring is dropped on a hard surface."
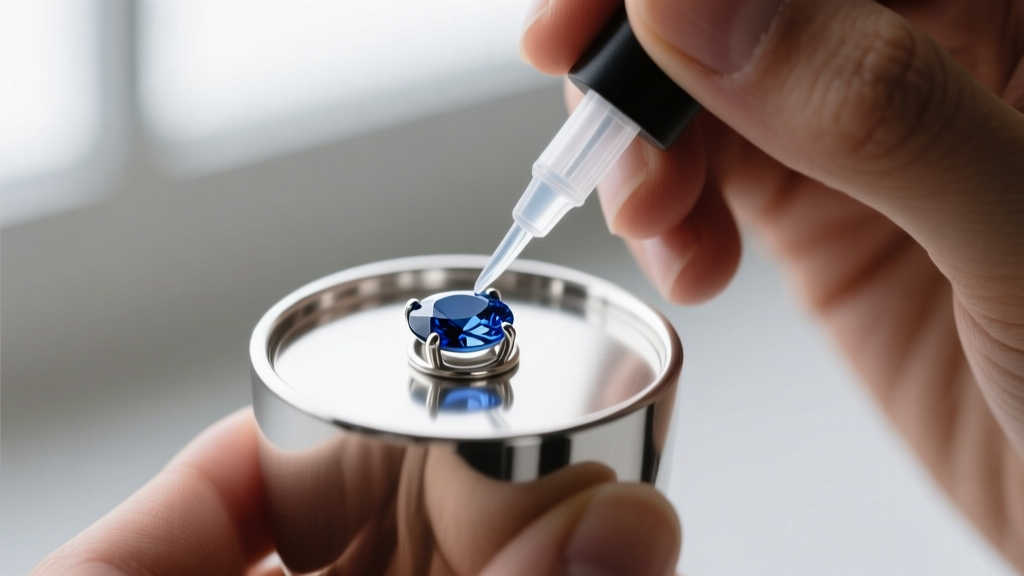
For flat-pad glue-in studs, Devcon 5-Minute Clear Epoxy is the professional choice. It fills microscopic gaps, cures rock-hard, and resists the oils and lotions that degrade other glues. UV Resin is excellent for bezel-cup settings where you want a domed, glass-like finish over the stone, but it can yellow over time if exposed to direct sunlight. Avoid E6000 for fine studs; while flexible, it remains slightly rubbery and can attract dust and lint around the edges of the stone.
Crucial Surface Prep Supplies
Adhesive is only as strong as the surface it bonds to. When buying your supplies, add the following to your cart:
- 400-Grit Sandpaper: Lightly scuff the flat pad of the earring post to create micro-abrasions for the epoxy to grip.
- 99% Isopropyl Alcohol: Wipe down both the post pad and the flat back of the gemstone to remove manufacturing oils and finger prints before gluing.
- Orange Wood Sticks or Fine-Tip Applicators: For applying microscopic, precise drops of epoxy without flooding the setting.
Gemstone Selection: Calibrating for Stud Earrings
When sourcing gemstones for studs, consistency is key. If you are making multiple pairs or planning to sell your creations, you must buy calibrated gemstones. Calibrated stones are cut to exact millimeter sizes (e.g., exactly 4.0mm, 5.0mm, 6.0mm) to fit standard commercial bezel cups and setting pads.
According to the Gemological Institute of America (GIA), calibrated gemstones ensure uniformity in jewelry manufacturing, which is essential when buying pre-made metal settings. For flat-pad glue-ins, purchase cabochons (stones with a flat back and domed top). For bezel-cup studs, ensure the stone's diameter matches the inside diameter of the cup, not the outside.
Where to Source Quality Components
Skip the craft store aisles. To buy professional-grade stud earring supplies, utilize dedicated jewelry wholesalers. Fire Mountain Gems is an excellent resource for bulk calibrated cabochons and varied earring post metals. For precious metal findings and high-end setting tools, Rio Grande remains the industry standard for serious fabricators.
Finalizing Your Shopping Cart
Mastering how to make stud earrings requires a shift in mindset from casual crafting to precision micro-fabrication. By investing in ASTM F136 titanium posts, 20-gauge thicknesses, calibrated cabochons, and professional two-part epoxies, you guarantee that your finished earrings will not only look stunning but will withstand years of daily wear. Build your supply kit with intention, and your DIY jewelry will rival commercial fine jewelry brands in both quality and longevity.


