How to Put Earrings In Safely: Cleaning & Care Guide
Learn how to put earrings in safely with our expert cleaning and care guide. Discover sanitization protocols, taper usage, and infection prevention.

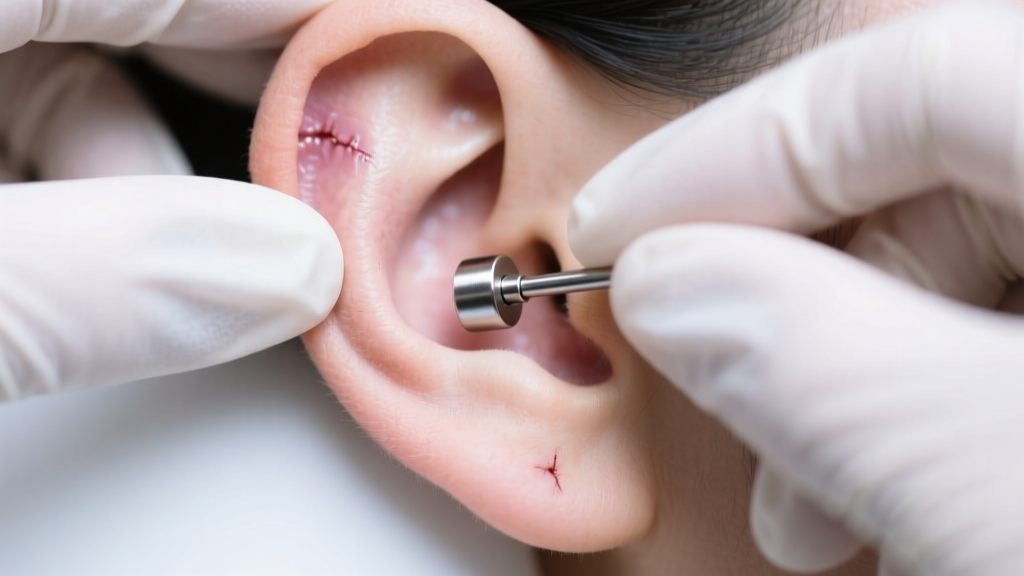
The Biomechanics of Piercing Trauma and Insertion Hygiene
Learning exactly how to put earrings in without causing trauma to the fistula (the piercing channel) is a critical skill that bridges the gap between styling and medical-grade aftercare. Every time you insert jewelry, you are introducing a foreign object into a delicate mucosal or dermal tunnel. If done improperly, the sharp edges of external threading or the microscopic debris trapped on unwashed posts can cause micro-tears, leading to hypertrophic scarring, contact dermatitis, or localized infections. According to the Association of Professional Piercers (APP), the majority of delayed healing issues in mature piercings stem from poor insertion hygiene and the use of improperly sanitized jewelry. This guide outlines the precise protocols for sanitizing, lubricating, and inserting earrings to maintain optimal tissue health.
Pre-Insertion Jewelry Sanitization Protocols
Before you even consider how to put earrings into your piercing, the jewelry itself must be properly sanitized. Washing your hands with antibacterial soap is only the first step; the jewelry requires targeted cleaning based on its material and gemstone composition.
Ultrasonic Cleaning vs. Chemical Soaks
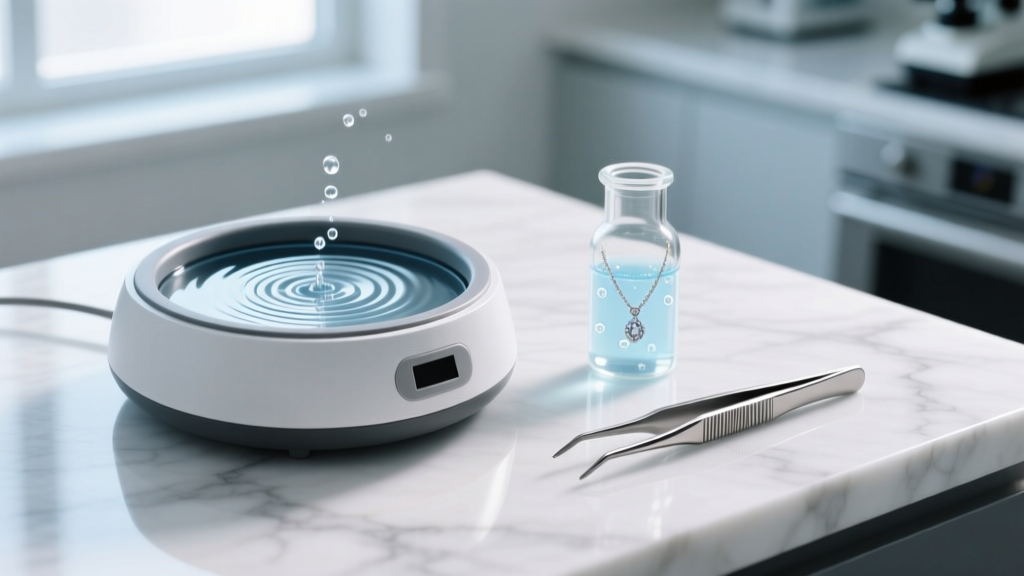
For solid metals like implant-grade titanium (ASTM F-136), niobium, and solid 14k/18k gold, an ultrasonic jewelry cleaner filled with warm water and a drop of mild, fragrance-free dish soap is highly effective. The cavitation bubbles dislodge sebum, dead skin cells, and biofilm that cling to the threads and gem settings. However, if your earrings feature porous gemstones like turquoise, opals, or pearls, avoid ultrasonic cleaners and harsh chemicals like rubbing alcohol, which can strip the stone's natural moisture and cause cracking. Instead, wipe these pieces gently with a saline-soaked cotton swab.
Step-by-Step: How to Put Earrings In Healing vs. Healed Piercings
The technique for inserting earrings varies drastically depending on whether the piercing is still in the initial healing phase or fully mature.
Healing Piercings (0-9 Months)
If you are dealing with a fresh piercing, the general rule is to not remove the jewelry at all until fully healed. If a jewelry change is medically necessary or performed by a professional, the insertion must be done using sterile, single-use nitrile gloves and a sterilized glass or steel taper. The fistula is highly vascular and prone to collapsing. Never force jewelry through a healing hole; instead, use a sterile 0.9% sodium chloride wound wash to lubricate the channel and the jewelry post before gently guiding it through.
Mature, Healed Piercings
For healed lobes and cartilage, the fistula is lined with stable epithelial tissue. However, inserting dry jewelry can still cause friction. The American Academy of Dermatology recommends keeping the piercing site clean and moisturized. Before insertion, lightly mist the ear with sterile saline and apply a microscopic drop of pure jojoba oil to the earring post. Jojoba oil closely mimics human sebum, providing a biocompatible slip that prevents the metal from dragging against the delicate inner tissue.
Navigating Tight, Closing, or Irritated Piercings
One of the most common challenges when figuring out how to put earrings back into a neglected or tight piercing is the risk of creating a false passage or blowing out the back of the fistula. Standard earlobe piercings are typically 18-gauge (1.0mm) or 16-gauge (1.2mm), while cartilage piercings like the helix or tragus are usually 16-gauge or 14-gauge (1.6mm). If your piercing feels tight, never force the earring.
Instead, utilize an insertion taper. Tapers are conical tools that gradually stretch the tissue back to its original gauge. For safe insertion, coat a steel or glass taper in pure emu oil or vitamin E oil, gently pass it through the fistula until the base of the taper aligns with the exit hole, and then press the earring post directly against the flat back of the taper, pushing them through together in one fluid motion.
| Agent | Best Use Case | Material Compatibility | Warning / Contraindication |
|---|---|---|---|
| Pure Jojoba Oil | Lubricating posts for healed piercings | All metals, safe for most gems | Do not use on fresh, open wounds |
| 0.9% Sterile Saline | Flushing fistulas, moistening tight holes | Universal | Must be preservative-free (no benzalkonium chloride) |
| 70% Isopropyl Alcohol | Sanitizing metal jewelry posts pre-insertion | Titanium, Steel, Niobium | Destroys porous gems, pearls, and acrylic |
| Emu Oil | Stretching tight holes, soothing irritated tissue | All metals | Animal-derived; avoid if vegan |
The Role of Jewelry Threading and Material Grades
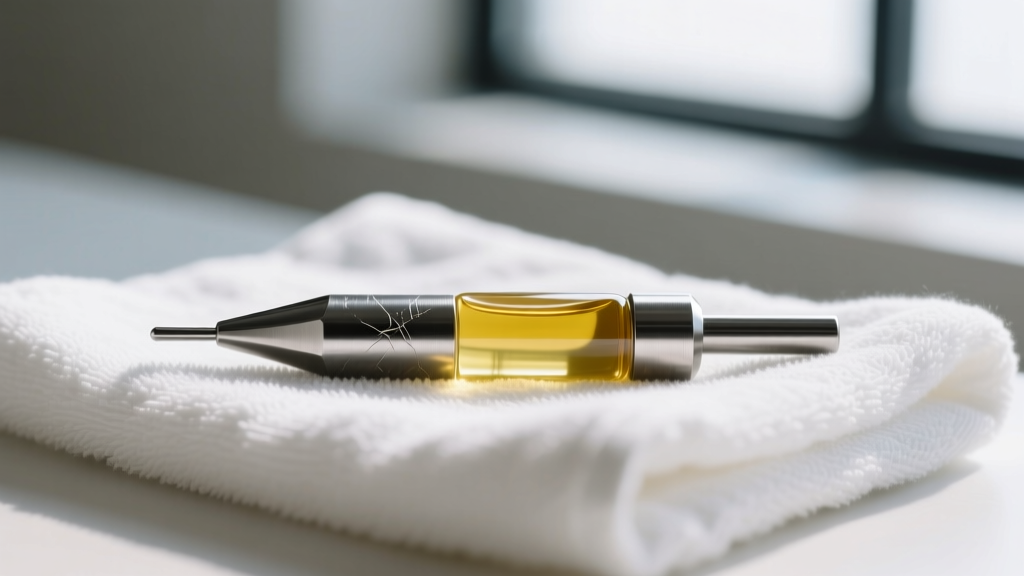
How your earring is manufactured dictates how safely it can be inserted. The three main types of jewelry ends are externally threaded, internally threaded, and threadless (push-pin).
- Externally Threaded: The screw threads are on the post that passes through your ear. This is the most dangerous type for insertion, as the sharp threads act like a file, scraping the fistula wall and harboring bacteria. Avoid these entirely for cartilage and tight lobes.
- Internally Threaded: The threads are inside the decorative end, and the post is completely smooth. This allows the post to glide through the piercing without causing micro-trauma.
- Threadless (Push-Pin): Uses tension to hold the end onto a smooth, hollow post. These are widely considered the gold standard for both insertion safety and security, as there are no threads to cross-flood or trap debris.
Furthermore, always ensure your jewelry is crafted from implant-grade titanium (ASTM F-136). Unlike commercial "surgical steel" (316L), which contains up to 10% nickel and can cause severe allergic reactions upon re-insertion into sensitive tissue, ASTM F-136 titanium is biocompatible, non-magnetic, and virtually free of nickel impurities.
Post-Insertion Maintenance and Troubleshooting
Once the earrings are successfully inserted, immediate post-care is vital. Wipe away any excess lubricant with a clean, lint-free gauze pad. If you experience persistent throbbing, heat radiating from the piercing site, or a bump forming directly behind the earlobe (a common sign of a blowout or hypertrophic scar), remove the jewelry immediately, clean the area with sterile saline, and downsize to a smaller gauge or lighter-weight earring. If the tissue is swollen and trapping the earring back (embedding), do not attempt to dig it out with tweezers; seek assistance from a certified professional piercer or a dermatologist to prevent permanent tissue necrosis.


