How to Put in Flat Back Earrings: Cleaning & Care Guide
Learn exactly how to put in flat back earrings safely. Discover expert cleaning protocols, insertion taper techniques, and daily maintenance routines.

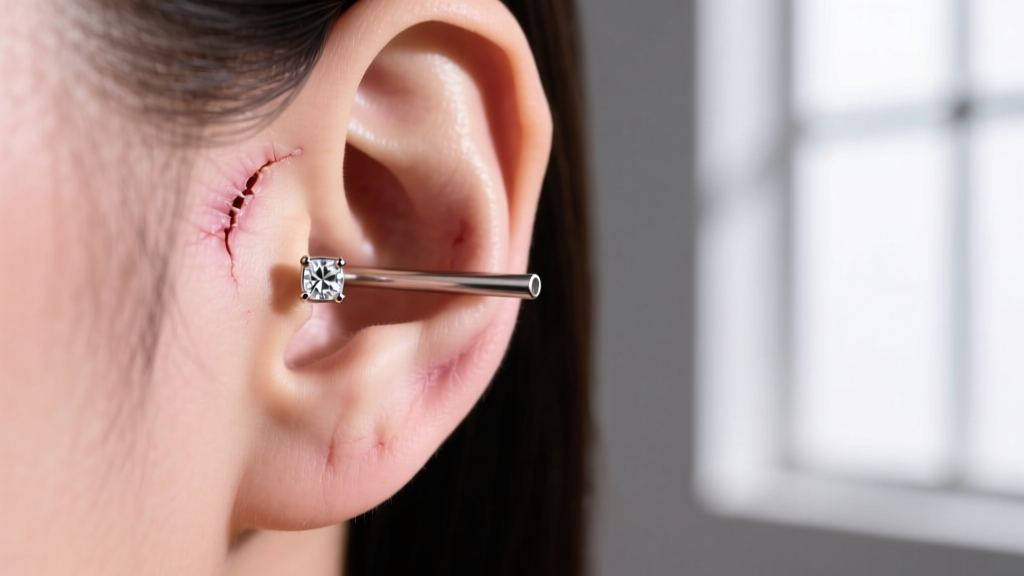
Flat back earrings, often referred to as labret studs, have revolutionized the way we approach both fresh piercings and long-term jewelry wear. Unlike traditional butterfly-back studs that harbor bacteria and poke the skin during sleep, flat backs offer a flush, comfortable fit that minimizes snagging and irritation. However, because the closure mechanism sits behind the ear or inside the cartilage, many people struggle with the mechanics of insertion and the specific cleaning protocols required to keep the piercing channel healthy.
If you are wondering how to put in flat back earrings without causing micro-tears or introducing bacteria into the fistula (the piercing channel), this comprehensive care and maintenance guide will walk you through the exact techniques used by professional piercers.
The Anatomy of a Flat Back Earring
Before attempting insertion, it is critical to understand the hardware you are working with. High-end flat back earrings typically come in two distinct mechanical styles:
- Internally Threaded: The screw mechanism is on the decorative end, and the post has a smooth, threaded hole. This ensures the post glides through the piercing without sharp threads scraping the tissue.
- Threadless (Push-Fit): Pioneered by brands like NeoMetal, these feature a smooth post and a decorative end with a slightly bent metal pin. The tension of the bent pin against the inside of the hollow post holds the jewelry securely in place.
Standard gauge sizes for flat backs are 18G (1.0mm) for standard lobe piercings, 16G (1.2mm) for most cartilage piercings (helix, conch, tragus), and 14G (1.6mm) for thicker cartilage or specific anatomical placements. Post lengths generally range from 5mm (for fully healed, thin lobes) to 12mm (for fresh piercings or thicker conchs).
Pre-Insertion: Sterilization and Cleaning Protocols
Never insert jewelry straight out of the shipping box or a bathroom drawer. Even if the jewelry looks clean, microscopic dust and manufacturing residues can cause severe contact dermatitis or infection.
How to Clean Flat Back Earrings Before Insertion
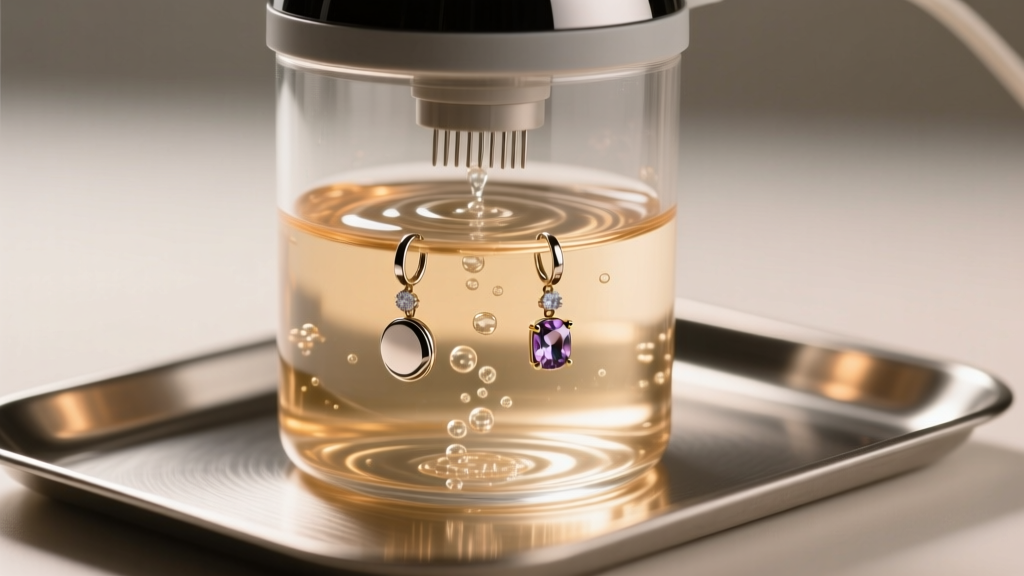
- Ultrasonic Cleaning: For solid metal pieces without delicate gemstones, an ultrasonic jewelry cleaner with warm water and a drop of mild, fragrance-free dish soap is highly effective at dislodging debris from the threading or tension pins.
- Boiling (Metal Only): If you are using solid implant-grade titanium or niobium pieces without glued-in gems or acrylic o-rings, you can boil the jewelry in distilled water for 5 to 10 minutes to achieve a baseline level of sanitization.
- Chemical Sterilization: For pieces with delicate gemstones (like opals or pearls) that cannot withstand heat or ultrasonic waves, soak the jewelry in a 70% isopropyl alcohol solution for 5 minutes, then rinse thoroughly with sterile saline.
Pro Tip: Always lay out a clean paper towel over your sink drain before handling small flat back components. Losing a 2mm threaded end down the drain is a rite of passage you want to avoid.
Step-by-Step: How to Put in Flat Back Earrings Safely
Forcing jewelry through a piercing channel can cause 'cheese-cutter' micro-tears, leading to hypertrophic scarring or irritation bumps. Follow this exact sequence for a painless insertion.
1. Prepare the Environment and Hands
Wash your hands thoroughly with antibacterial soap for at least 20 seconds. Work in a well-lit area with a mirror. If you are working on a cartilage piercing, tie your hair back to prevent snagging.
2. Utilize an Insertion Taper
This is the most crucial step that amateurs miss. An insertion taper is a smooth, medical-grade steel or acrylic tool that gradually increases in thickness.
Lubricate the taper with a tiny drop of sterile saline or water-based lubricant. Slide the taper through the front of your piercing until it exits the back.
Next, align the post of your flat back earring with the end of the taper, and gently push the jewelry through, following the taper's path. This prevents the blunt edge of the post from catching on the delicate fistula tissue.
3. Secure the Closure
- For Threadless Jewelry: Insert the pin of the decorative end about one-third of the way into the hollow post. Gently bend the pin slightly (about a 5 to 10-degree angle) using your fingers or nylon-jaw pliers. Push the end all the way in until it clicks flush against the post. The tension will lock it in place.
- For Internally Threaded Jewelry: Hold the flat back disc securely behind the ear. Align the threaded decorative end with the post and turn it counter-clockwise (lefty-loosey, righty-tighty rule applies inversely here due to the angle, but generally, screw it in clockwise from the front perspective) until snug. Do not over-tighten, as this can strip the threads.
Troubleshooting Common Insertion Issues
| Issue | Root Cause | Actionable Solution |
|---|---|---|
| Piercing hole appears shrunken or closed. | Fistula contraction due to time without jewelry or dry tissue. | Apply a warm saline compress for 3 minutes to soften the tissue, then use a lubricated insertion taper. Never force the post. |
| Threadless end keeps popping out. | Insufficient pin tension or bent pin worn flat. | Remove the end and bend the pin at a slightly sharper angle (up to 15 degrees). Ensure the pin is completely dry before reinserting. |
| Flat back disc feels like it's sinking into the skin. | Post length is too short for the tissue thickness or swelling. | Remove immediately and swap to a longer post (e.g., move from 6mm to 8mm). The disc should rest flush, not compress the skin. |
| Internally threaded end won't catch the thread. | Cross-threading or debris in the post hole. | Clean the post hole with a soft brush and alcohol. Align the end perfectly straight before turning. Do not force it at an angle. |
In-Situ Cleaning: Caring for Flat Backs Without Removal
Once your flat back earrings are securely in place, daily maintenance is vital, especially for cartilage piercings which are prone to trapping dead skin cells and sebum behind the flat disc.
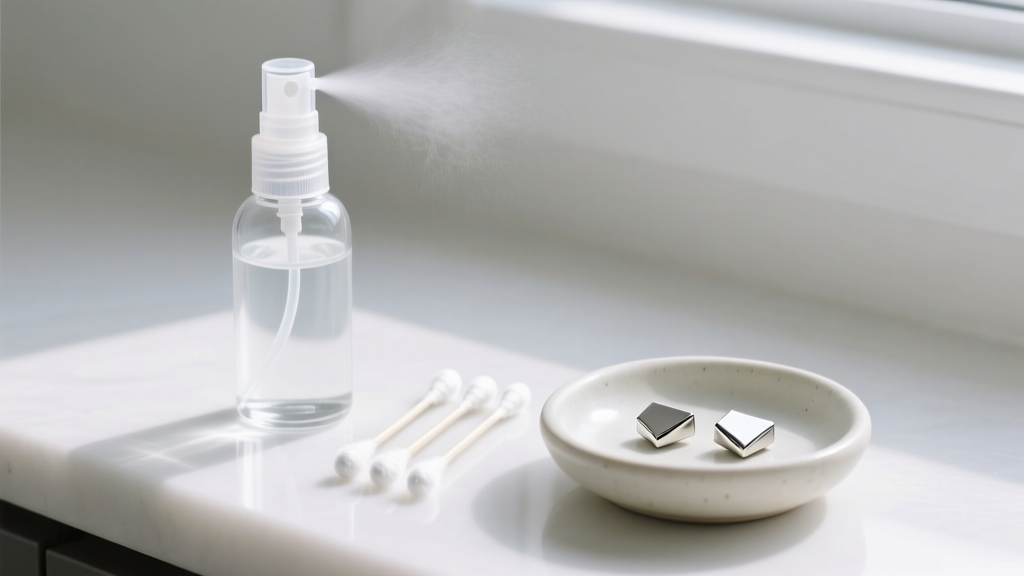
According to the Association of Professional Piercers (APP), the gold standard for daily piercing care is a sterile, 0.9% sodium chloride wound wash. Avoid harsh chemicals like hydrogen peroxide, rubbing alcohol, or tea tree oil, which destroy the delicate cellular matrix of the healing fistula and dry out the surrounding skin.
The 'Flossing' Technique for Flat Backs
To clean behind the flat back disc without removing the jewelry:
1. Spray sterile saline directly onto the front and back of the earring.
2. Take a piece of clean, non-woven gauze or a specialized piercing cleaning swab.
3. Gently slide the edge of the gauze behind the flat back disc and 'floss' it back and forth to dislodge trapped sebum and lymph fluid.
4. Rinse the area in the shower with warm water to ensure no saline residue is left behind, which can crystallize and cause itching.
Material Matters: Preventing Allergic Reactions
The maintenance of your piercing is deeply tied to the material of your flat back jewelry. Many commercial jewelry brands sell 'surgical steel,' which is an unregulated marketing term that often contains high levels of nickel—a primary allergen that causes contact dermatitis, weeping piercings, and delayed healing.
For both initial insertions and long-term wear, you must insist on ASTM F136 compliant implant-grade titanium. As detailed by the APP's jewelry guidelines, this specific grade of titanium is entirely nickel-free, highly polished to a mirror finish (preventing bacterial adhesion), and biocompatible with human tissue. Alternatives like solid 14k or 18k gold (provided it is nickel-free and not white gold) and pure niobium are also excellent choices for sensitive ears.
When to Seek Professional Piercer Assistance
While learning how to put in flat back earrings is a valuable skill for any jewelry enthusiast, there are specific failure modes that require a professional's touch. If you experience a 'blowout' (where the tissue stretches unevenly and pushes the jewelry outward), if the jewelry becomes embedded due to severe swelling, or if you develop a persistent, painful irritation bump that does not respond to sterile saline compresses, stop attempting DIY adjustments. Visit an APP-certified piercer who can assess the angle of the piercing channel, downsize the post length appropriately, and recommend targeted aftercare protocols.
By mastering the use of insertion tapers, committing to proper sterilization routines, and investing in implant-grade titanium, your flat back earrings will remain secure, comfortable, and brilliantly clean for years to come.


