How to Remove Flat Back Earring Safely: Expert Guide
Learn exactly how to remove flat back earring styles, including threadless and internally threaded cartilage studs, without damaging your piercing.

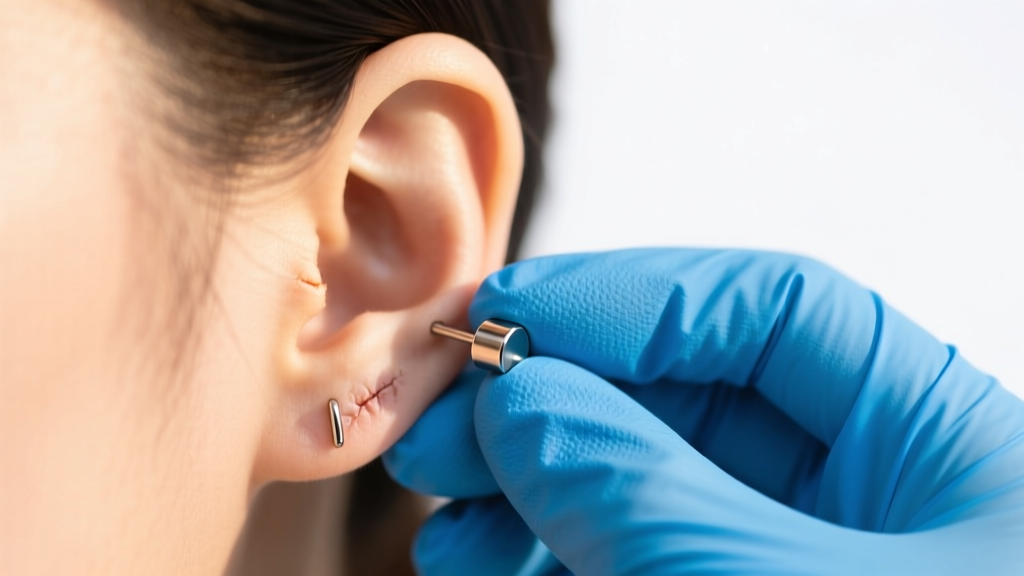
Flat back earrings, commonly known as labret studs, are the gold standard for cartilage piercings like the helix, tragus, conch, and forward helix. Their flat disc base sits flush against the skin, preventing the painful pressure points and hair snagging associated with traditional butterfly backs. However, their secure, low-profile design can make them notoriously difficult to take out, especially when dealing with tight spaces, healed fistulas, or slippery jewelry components. If you have been searching for exactly how to remove flat back earring jewelry without causing trauma to your piercing channel, this comprehensive 2026 guide will walk you through the mechanics, tools, and step-by-step techniques used by professional piercers.
Understanding Your Flat Back Earring Mechanism
Before attempting removal, you must identify which type of flat back earring you are wearing. Forcing the wrong removal method can result in cross-threading, torn tissue, or permanently damaged jewelry. According to the Association of Professional Piercers (APP), high-end body jewelry generally falls into two safe categories for cartilage: threadless (push-pin) and internally threaded. Externally threaded jewelry, where the screw is on the post itself, is largely obsolete in professional studios due to the tissue damage caused during insertion and removal.
| Mechanism Type | How It Works | Removal Motion |
|---|---|---|
| Threadless (Push-Pin) | The gem pin is slightly bent and pushed into the hollow post, creating tension. | Push and pull apart (no twisting). |
| Internally Threaded | The post has a smooth tip; the screw is inside the gem or the back disc. | Twist counter-clockwise (lefty-loosey). |
| Externally Threaded | The screw is on the post, passing through the fistula. | Twist counter-clockwise (highly discouraged). |
Essential Tools for Stubborn Cartilage Studs
When learning how to remove flat back earring styles from hard-to-reach areas like the flat or rook, your fingers are rarely enough. Skin oils, lotions, and natural moisture eliminate the friction needed to grip tiny titanium components. Gathering the right tools is critical before you begin.
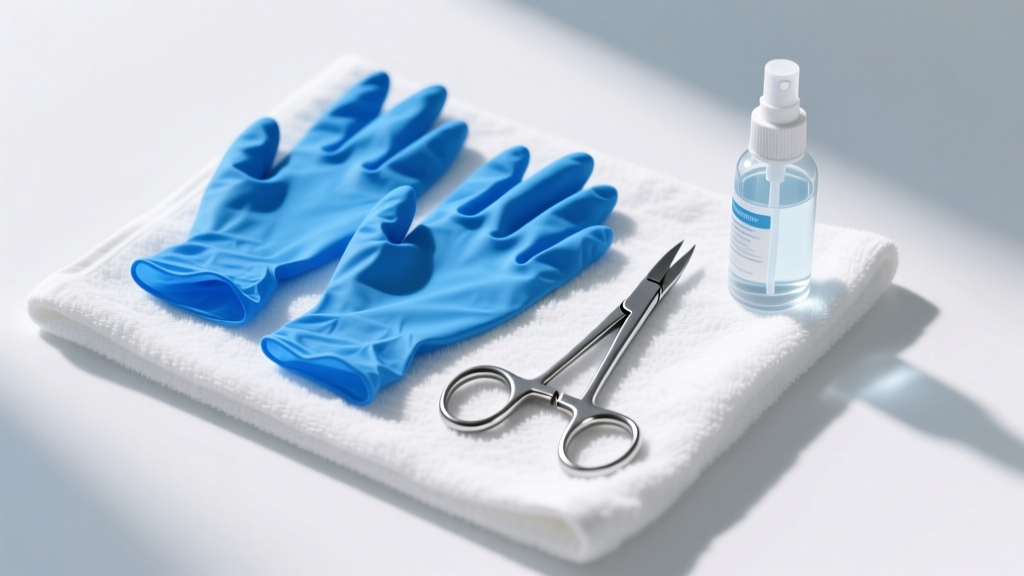
- Nitrile Gloves: Latex-free nitrile gloves provide the exact amount of tactile grip needed to hold a 3mm gemstone without slipping. This is the single most important tool for removal.
- Sterile Saline Solution: To soften any dried lymph fluid or crusties that may be acting as a biological glue around the post.
- Stainless Steel Hemostats: Locking pliers used by piercers to grip the flat back disc securely without scratching the implant-grade titanium.
- Piercing Tapers (Optional): Useful if you plan to immediately reinsert the jewelry and want to avoid losing the piercing channel.
Step-by-Step: How to Remove Flat Back Earring (Threadless)
Threadless jewelry, popularized by brands like NeoMetal and BVLA, relies on the tension of a bent pin inside a hollow tube. The most common failure mode when removing threadless jewelry is simply pulling without breaking the tension seal, or twisting (which does nothing but frustrate you).
- Clean the Area: Spray the front and back of the piercing with sterile saline. Gently wipe away any softened crusties with a non-woven gauze pad.
- Glove Up: Put on a pair of dry nitrile gloves. Ensure your hands are completely dry; water compromises the grip.
- Position Your Hands: Reach behind your ear and pinch the flat disc firmly between your thumb and index finger. With your other hand, pinch the front gemstone.
- The Push-Pull Motion: Do not twist. Instead, push the front gem slightly inward toward the disc, then rapidly pull the gem and the disc away from each other in a snapping motion. Think of it as breaking a seal.
- Adjust for Next Time: If the jewelry was incredibly difficult to remove, the pin inside the gem was likely bent at too sharp an angle (over 20 degrees). For 16-gauge jewelry, a slight 10-to-15-degree bend is optimal for secure retention without requiring pliers for removal.
Step-by-Step: How to Remove Flat Back Earring (Internally Threaded)
Internally threaded jewelry features a smooth post that screws directly into the gemstone or the back disc. The golden rule of body jewelry is that the gem always unscrews counter-clockwise, while the back disc remains stationary.
- Secure the Backing: Using your non-dominant hand, pinch the flat back disc firmly against the back of your ear. If the disc is spinning, you will never get the gem off.
- Grip the Gem: With your gloved dominant hand, pinch the front gemstone. If the gem is a tiny 2mm or 3mm bezel-set diamond, use the pads of your fingers rather than your nails to maximize surface contact.
- Apply Torque: Twist the gem counter-clockwise. If it refuses to budge, do not force it, as you risk stripping the internal threads.
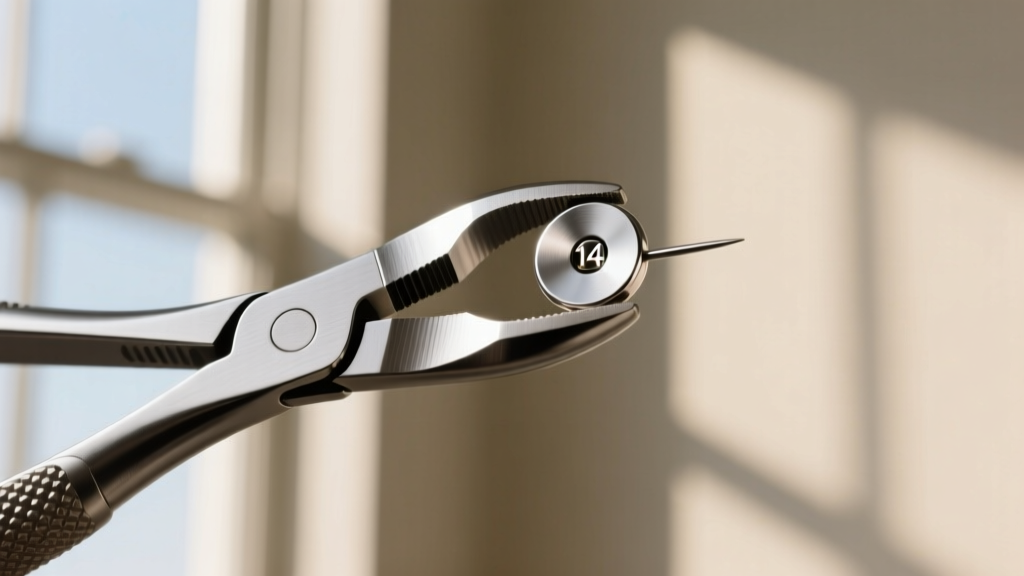
- The Hemostat Trick: If your fingers are slipping, take your stainless steel hemostats, lock them gently onto the flat back disc (pad the jaws with a bit of gauze to prevent scratching the metal), and use the hemostat to hold the back perfectly still while you twist the gem with your gloved hand.
Troubleshooting: What to Do When the Earring is Stuck
Even with the right technique, flat back earrings can become stuck. Understanding the failure mode will dictate your next move.
1. The Earring is Embedded Due to Swelling
If your piercing is relatively new or recently irritated, the tissue may have swollen over the flat disc. This is common if you are wearing a post that is too short (e.g., a 1/4-inch or 6mm post in a swelling helix). Do not attempt to dig the disc out with tweezers. Apply a clean ice pack wrapped in a paper towel to the ear for 10 minutes to reduce vasoconstriction and swelling. If the disc remains embedded, you must visit a professional piercer who can safely use specialized insertion tapers to relieve the tissue.
2. Dried Lymph and Sebum Buildup
Over months of wear, natural body oils and dead skin cells can calcify around the seam where the gem meets the post. Soak a cotton swab in warm water and hold it against the front and back of the jewelry for five minutes. This will dissolve the biological debris acting as an adhesive.
3. Cross-Threaded Components
If an internally threaded gem feels stuck halfway off, it is likely cross-threaded. Forcing it will permanently strip the titanium threads. Apply a drop of sterile saline to the seam to lubricate it, then gently twist the gem clockwise just a fraction of a millimeter to re-seat the threads before attempting to unscrew it counter-clockwise again.
"Implant-grade titanium (ASTM F136) is highly resistant to corrosion and bodily fluids, but the microscopic threads can still trap sebum. Regular cleaning during your shower routine prevents the jewelry from essentially cementing itself into the fistula." — Guidelines adapted from professional body modification safety standards.
Material Grades and Preventing Future Swelling
The material of your flat back earring directly impacts how easily it can be removed. Low-quality surgical steel contains nickel, which can trigger contact dermatitis in the piercing channel. This micro-swelling tightens the fistula around the post, making removal painful and difficult. Always ensure your jewelry is crafted from ASTM F136 implant-grade titanium or solid 14k/18k gold. Brands like BVLA, Maria Tash, and Anatometal machine their threads to exacting tolerances, ensuring that internal threading never binds or strips under normal hand pressure.
Furthermore, ensuring your post length is correct is vital. A fully healed helix piercing typically requires a 5/16-inch (8mm) or 1/4-inch (6mm) post. If the post is too long, it will catch on hair and clothing, leading to irritation bumps that complicate future jewelry changes. If it is too short, it will embed. When in doubt, or if you are dealing with a stubborn, painful removal, booking a 10-minute jewelry change appointment with an APP-certified piercer is always the safest investment in your piercing's longevity.


