Step-by-Step Guide to Replacing Clasps for Earrings
Learn how to measure, upgrade, and replace secure clasps for earrings. A step-by-step guide to screw backs, La Pousette clutches, and leverbacks.

Losing a high-value earring is a devastating experience, yet it happens far too often due to a single point of failure: the clasp. While collectors and enthusiasts spend thousands on flawless diamonds and premium platinum settings, the standard friction push-back remains the weakest link in fine jewelry. Upgrading and replacing clasps for earrings is not just a matter of convenience; it is a critical investment in the security of your most cherished pieces.
This comprehensive, step-by-step guide will teach you how to identify your current post gauges, understand the mechanics of high-security earring backs, and safely upgrade your jewelry to prevent catastrophic losses.
The Hidden Vulnerability of Standard Friction Backs
The traditional "butterfly" or push-back clutch relies entirely on metal tension and friction. Over time, the microscopic grooves on the earring post wear down the inner metal loops of the clutch. Furthermore, everyday activities—such as brushing your hair, removing sweaters, or even sleeping—apply lateral torque that gradually loosens the grip. According to the Gemological Institute of America (GIA), regular inspection of earring backs is a fundamental part of jewelry maintenance, yet most consumers only check the prongs holding their gemstones, ignoring the clasp entirely.
Anatomy of High-Security Clasps for Earrings
Before replacing your hardware, you must understand the mechanical advantages of premium alternatives. The market offers three primary high-security options for fine jewelry:
1. Screw Backs
Screw backs feature a threaded post and a matching threaded nut. Instead of relying on friction, the clasp is mechanically locked via rotation. They are exceptionally secure but require precise alignment. If cross-threaded, they can strip the delicate post threads, rendering the earring unwearable without professional re-soldering.
2. La Pousette (Locking Clutches)
Originally developed in France, the La Pousette mechanism operates like a miniature bear trap. It features dual spring-loaded triggers that retract an internal locking pin, allowing the clutch to slide onto a specially grooved post. When released, the pin snaps into the groove, creating a physical barrier against accidental removal. This is the gold standard for high-carat diamond studs and heavy platinum settings.
3. Hinged Leverbacks with Snap Closures
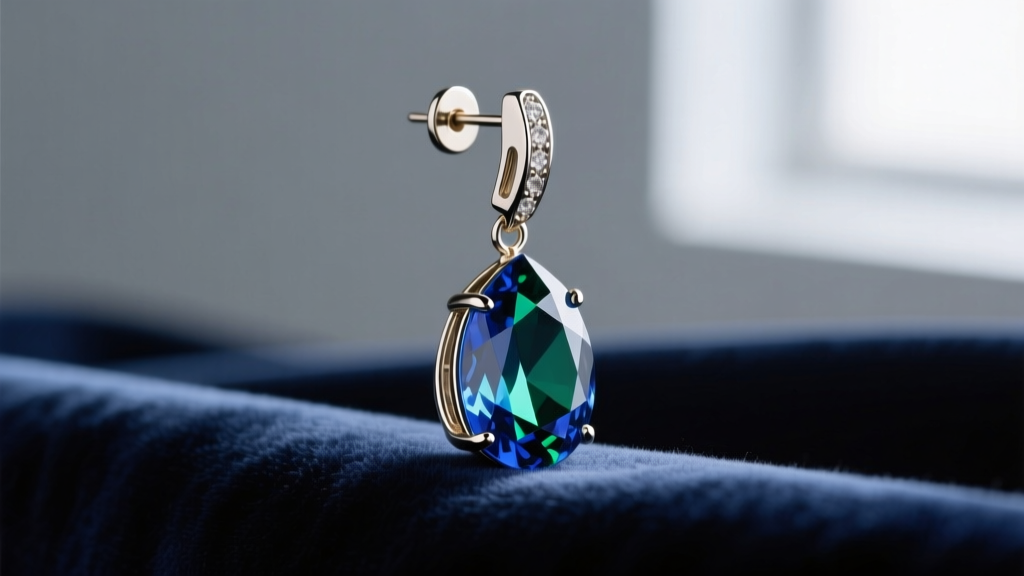
For dangle and drop earrings, the standard French wire (fishhook) is notoriously insecure. A hinged leverback features a solid wire that snaps into a catch at the front of the earring. High-end versions include a secondary tension click or a tiny screw-lock at the catch point to prevent the wire from popping open if the earring catches on fabric.
Step-by-Step: Measuring and Upgrading Your Posts
You cannot simply buy a new clasp and attach it to an existing earring. The post's gauge (thickness) and length must perfectly match the new clasp's internal diameter. Follow these steps to prepare for an upgrade.
Tools Required
- Digital millimeter caliper
- Jeweler's loupe (10x magnification)
- Mild dish soap and a soft microfiber cloth
- Silicone earring safety O-rings (for temporary stabilization)
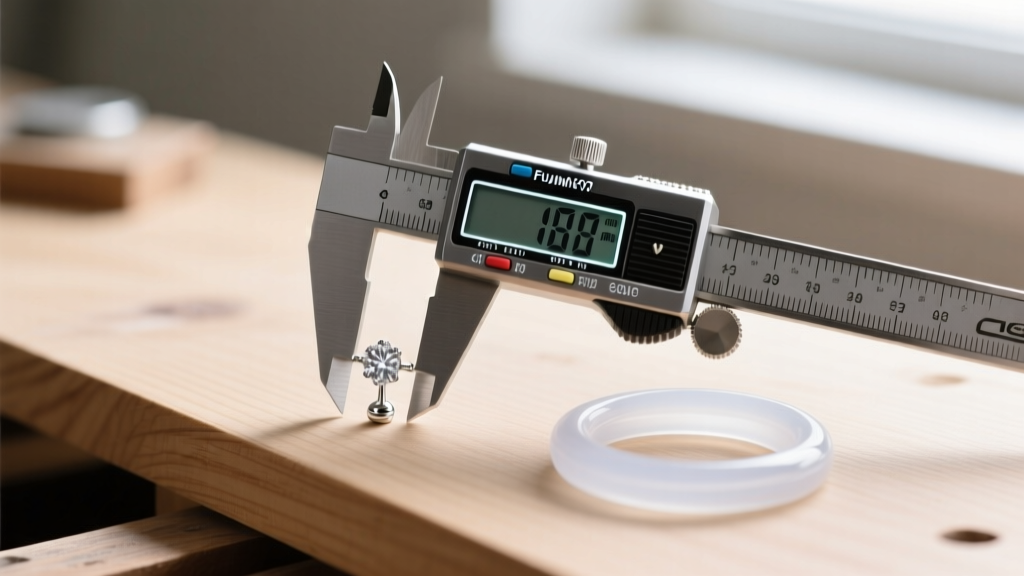
Step 1: Measure the Post Gauge
Turn on your digital caliper and zero it out. Gently clamp the jaws around the bare metal of the earring post (avoid measuring the threaded area if it already has a screw back, as threads add false thickness). Standard fine jewelry gauges include:
- 20 Gauge: 0.81 mm (Common for lightweight diamond studs)
- 18 Gauge: 1.02 mm (Standard for most premium gold and platinum studs)
- 16 Gauge: 1.29 mm (Used for heavy gemstone drops and cartilage pieces)
Step 2: Measure the Post Length
Measure from the base of the earring cup to the very tip of the post. A standard post is 10mm to 11mm. La Pousette clutches require slightly longer posts (usually 12mm) to accommodate the internal locking mechanism. If your post is too short, a jeweler must laser-weld an extension.
Step 3: Clean the Existing Hardware
Before handling new clasps, clean the earring post with warm water and mild dish soap. Skin oils and cosmetic buildup can cause new mechanical clasps to jam or feel overly stiff during the initial threading process.
Security and Cost Comparison Chart
When selecting replacement clasps for earrings, balance your budget with the replacement value of the earring itself. Below is a comparative breakdown of the most common secure mechanisms.
| Clasp Type | Security Level | Post Requirement | Avg. Cost (18k Gold Pair) | Best Application |
|---|---|---|---|---|
| Friction Push Back | Low | Smooth, notched post | $25 - $45 | Lightweight, everyday studs |
| Silicone O-Rings | Medium | Any standard post | $5 - $10 | Temporary stop-gap for travel |
| Screw Backs | High | Threaded post (exact pitch) | $80 - $150 | Medium-weight studs, active lifestyles |
| La Pousette Clutch | Very High | Grooved post (18g or 16g) | $180 - $350 | High-value diamonds, heirloom pieces |
| Snap Leverback | High | Integrated hinge mechanism | $120 - $250 | Heavy dangles and chandelier drops |
Troubleshooting Common Clasp Failures
Even the most expensive clasps for earrings require maintenance. If you experience issues with your upgraded hardware, use these expert troubleshooting techniques before visiting a bench jeweler.
Expert Insight: Never use metal tools like tweezers or pliers to force a stuck La Pousette clutch. The internal beryllium-copper springs are highly sensitive to lateral pressure and will snap, permanently destroying the $200 clasp. Always use warm soapy water to dissolve seized cosmetic debris.
Jammed Screw Backs
If a screw back will not turn, it is likely cross-threaded or clogged with dead skin cells and lotion. Do not apply brute force. Soak the earring and clasp in a small ultrasonic cleaner for three minutes. If you do not own an ultrasonic unit, simmer the piece in distilled water and a drop of dish soap for five minutes. Dry thoroughly, apply a microscopic drop of sewing machine oil to the threads, and gently reverse the rotation.
Loose Leverback Closures
Over time, the tiny catch on a leverback earring can bend outward, preventing a satisfying "click" and leaving the wire prone to opening. Using a pair of nylon-jaw pliers (never steel, which will mar the gold), gently squeeze the front catch inward by a fraction of a millimeter until the snap closure regains its tension.
When to Seek Professional Jewelry Repair
While swapping out push-backs for silicone guards or screw-on nuts is a DIY-friendly task, structural modifications require a certified bench jeweler. You must consult a professional if:
- Your posts are too thin for secure clasps: Attempting to force an 18-gauge La Pousette clutch onto a fragile 20-gauge post will bend the post, potentially cracking the diamond or gemstone set directly above it.
- You need post replacement: Converting a standard friction post to a threaded screw-back post requires cutting off the old post and laser-welding a new one. Laser welding is mandatory for platinum, as traditional soldering can cause thermal shock to nearby gemstones.
- The earring sits flush against the earlobe: If your earlobes are particularly thick, a standard 10mm post will not leave enough clearance for a bulky locking clasp, leading to tissue necrosis or infection. A jeweler can custom-draw a longer, heavy-duty wire to accommodate both your anatomy and the new security clasp.
By taking a proactive approach to the hardware on your fine jewelry, you ensure that your investments remain safely in your possession. For further guidance on maintaining your fine jewelry collections, always refer to the care standards established by Jewelers of America and consult with certified gemologists when altering high-value pieces.


