How to Sterilise Earrings at Home: Safe Methods by Material
Learn how to sterilise earrings safely at home. Discover material-specific methods for titanium, gold, and silver to prevent infections and damage.

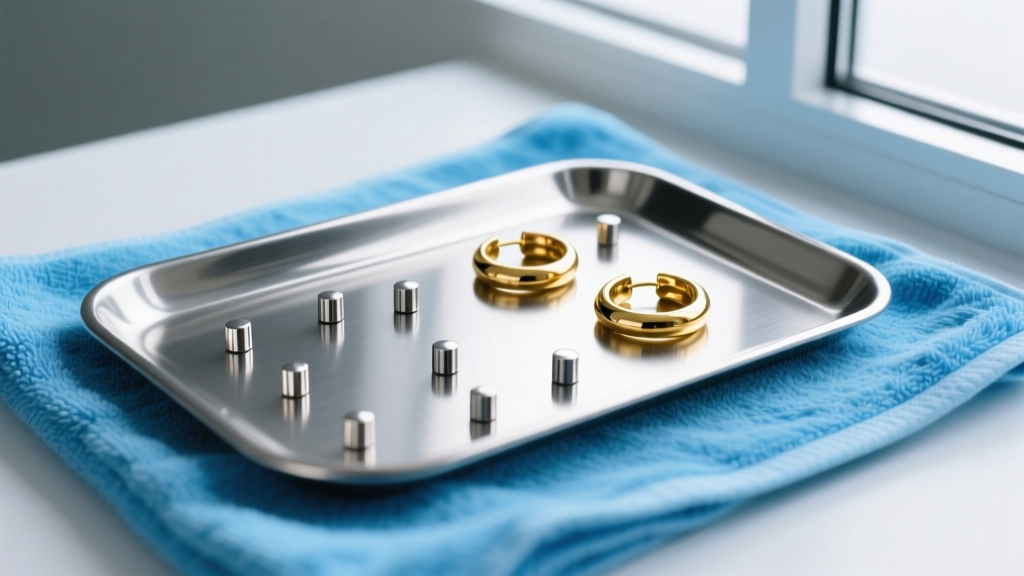
Whether you are preparing to insert a cherished vintage heirloom, swapping out your daily wear for a fresh look, or simply maintaining your jewelry collection, understanding how to sterilise earrings is a fundamental skill for ear health. The human ear, particularly the cartilage-rich upper regions, is highly susceptible to bacterial and fungal infections. Introducing unsterilised metal into a piercing tract can introduce pathogens like Staphylococcus aureus or Pseudomonas aeruginosa, leading to painful complications such as perichondritis or localized abscesses.
However, not all earrings are created equal. The metallurgical composition of your jewelry dictates exactly which sterilisation methods are safe and which will permanently ruin the piece. In this comprehensive guide, we break down the science of jewelry hygiene, providing actionable, material-specific protocols to keep your ears safe and your earrings pristine.
The Crucial Difference: Cleaning vs. Sterilising
Before diving into the methods, we must clarify a common misconception. Cleaning is the physical removal of visible debris, sebum, dead skin cells, and dust. Sterilisation (or high-level disinfection in a home setting) is the chemical or thermal destruction of all microbial life, including bacteria, spores, and viruses.
True medical sterilisation requires an autoclave, which uses pressurised steam at 121°C (250°F) to penetrate microscopic crevices. While you likely do not have an autoclave in your kitchen, you can achieve high-level disinfection at home. However, you must always clean your earrings with soap and water before attempting to sterilise them. Organic matter like skin oils creates a biofilm that shields bacteria from heat and chemical disinfectants.
How to Sterilise Earrings Based on Material
The biggest mistake beginners make is applying a one-size-fits-all approach to jewelry care. Boiling a delicate gold-plated brass hoop will strip its finish, while soaking porous wood in alcohol will cause it to crack. Here is how to handle specific materials.
Implant-Grade Titanium (ASTM F136) & Niobium
Implant-grade titanium is the gold standard for body jewelry. It is non-porous, highly corrosion-resistant, and entirely nickel-free. Because of its structural integrity, titanium can withstand extreme heat, making the boiling water method the most effective home sterilisation technique. Niobium shares these heat-safe properties and can be treated identically.
Solid Gold (14k, 18k) & Platinum
Solid gold and platinum are excellent, inert metals suitable for long-term wear. They can be safely boiled, but you must avoid thermal shock. Never drop cold gold jewelry directly into violently boiling water, as rapid temperature expansion can fracture embedded gemstones or weaken delicate prong settings. Always bring the water to a boil, remove it from the heat source, let it settle for 60 seconds, and then submerge the gold.
Sterling Silver & Gold-Plated Base Metals
Sterling silver (925) is prone to oxidation and tarnishing when exposed to high heat and moisture. Gold-plated, vermeil, or gold-filled earrings consist of a thin layer of precious metal over a reactive base metal like brass or copper. Never boil these materials. Heat will accelerate tarnishing on silver and cause the plating on base metals to peel, flake, or blister. These must be disinfected chemically using isopropyl alcohol.
Acrylic, Silicone, Wood, and Bone
Organic and synthetic non-metal materials are highly sensitive. Heat will melt acrylic and warp silicone. Alcohol will dehydrate wood, bone, and horn, leading to micro-fractures and a rough surface texture that harbors bacteria. These materials can only be cleaned with warm water and a mild, fragrance-free antibacterial soap. They are not suitable for unhealed piercings.
The Boiling Water Protocol (For Heat-Safe Metals)
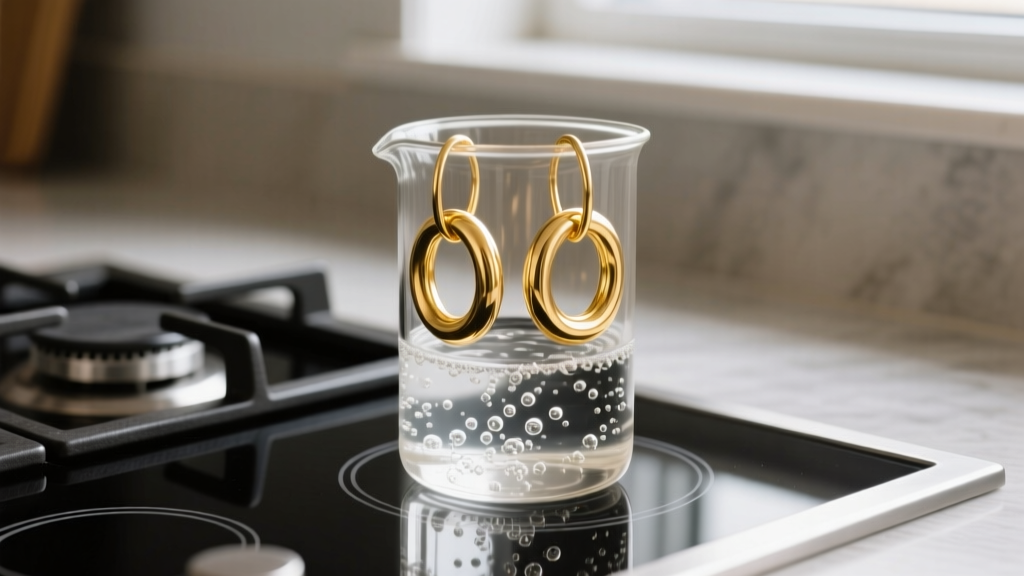
For implant-grade titanium, surgical steel (ASTM F138), and solid gold/platinum without heat-sensitive gemstones, the boiling water bath is the most reliable home method for high-level disinfection.
- Pre-Clean: Wash the earrings with warm water and a few drops of mild liquid castile soap. Use a soft-bristled baby toothbrush to gently scrub the threading and crevices where sebum accumulates.
- Use Distilled Water: Fill a clean saucepan with distilled water. Tap water contains calcium and magnesium minerals that will leave microscopic hard water deposits on the metal, creating a rough surface that attracts future bacterial biofilms.
- The Boil: Bring the water to a rolling boil. Carefully drop the pre-cleaned earrings into the water using sterilised tweezers.
- Timing: Let them boil for exactly 10 to 15 minutes. This sustained high temperature is sufficient to destroy most common vegetative bacteria and fungi.
- Drying: Remove the earrings and place them on a piece of sterile, non-woven gauze to air dry. Avoid using paper towels or cotton pads, as they leave microscopic lint fibers on the jewelry posts.
The 70% Alcohol Disinfection Method
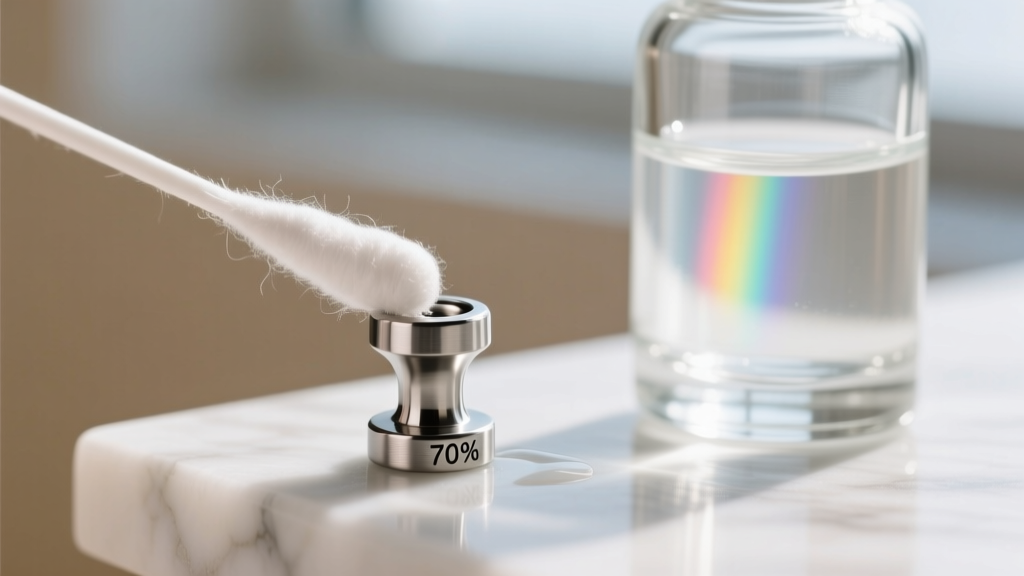
For materials that cannot withstand heat, or for quick disinfection of daily-wear studs, 70% isopropyl alcohol (IPA) is the chemical agent of choice.
Why 70% and not 91% or 99%? According to the Centers for Disease Control and Prevention (CDC), a 70% alcohol solution is significantly more effective at killing bacteria than higher concentrations. The 30% water content is crucial; it slows evaporation, allowing the alcohol enough contact time to penetrate the bacterial cell wall and denature the proteins inside. 99% alcohol evaporates almost instantly and coagulates the outer cell membrane, creating a protective shell that allows the bacteria to survive.
The Soaking Protocol
- Place the pre-cleaned earrings in a small glass shot glass or beaker.
- Pour enough 70% isopropyl alcohol to completely submerge the jewelry.
- Let them soak for 10 to 15 minutes.
- Remove with clean tweezers and allow to air dry completely on sterile gauze. Inserting alcohol-soaked jewelry directly into a piercing will cause severe tissue stinging and chemical irritation.
Material Safety Matrix: What to Use and What to Avoid
Use this quick-reference table to ensure you never accidentally destroy your favorite pair of earrings or compromise your ear health.
| Material | Boiling Water | 70% Isopropyl Alcohol | Soap & Warm Water | Autoclave (Professional) |
|---|---|---|---|---|
| Implant-Grade Titanium | Safe (Recommended) | Safe | Safe | Safe |
| Solid Gold / Platinum | Safe (No Gemstones) | Safe | Safe | Safe |
| Sterling Silver (925) | Unsafe (Tarnishes) | Safe | Safe | Unsafe |
| Gold-Plated / Vermeil | Unsafe (Peeling) | Safe (Short Soak) | Safe | Unsafe |
| Acrylic / Silicone | Unsafe (Melts) | Unsafe (Degrades) | Safe (Recommended) | Unsafe |
| Wood / Bone / Horn | Unsafe (Cracks) | Unsafe (Dries out) | Safe (Recommended) | Unsafe |
Dangerous Beginner Mistakes to Avoid
When learning how to sterilise earrings, well-meaning beginners often turn to harsh household chemicals. Avoid these common pitfalls:
- Bleach (Sodium Hypochlorite): Never use bleach. It is highly toxic to human tissue, will permanently corrode and pit surgical steel and silver, and leaves dangerous chemical residues in the threading of the earring post.
- Hydrogen Peroxide: While commonly found in medicine cabinets, hydrogen peroxide is an oxidizing agent that can degrade certain metal alloys over time and damage the delicate granulation tissue of a healing piercing if not rinsed perfectly.
- Microwave Ovens: Attempting to sterilise metal earrings in a microwave will cause arcing (sparks), potentially starting a fire and instantly ruining both the jewelry and the appliance.
- UV Light Sanitisers: While UV-C light is effective for flat, non-porous surfaces, it relies on direct line-of-sight. It cannot penetrate the microscopic grooves of an externally threaded earring post or the inside of a hollow hoop, leaving pathogens intact.
When to Seek Professional Autoclave Services
Home disinfection is excellent for maintaining jewelry for healed piercings. However, if you are preparing jewelry for a fresh, unhealed piercing, or if you have a compromised immune system, high-level home disinfection is not sufficient. The Association of Professional Piercers (APP) strongly recommends that all jewelry inserted into a fresh wound be sterilised in a medical-grade autoclave and packaged in single-use, spore-tested pouches.
Most reputable, professional piercing studios offer autoclave sterilisation services for a nominal fee (typically $5 to $15). Simply bring your high-quality titanium or solid gold jewelry to the studio, and they will run it through a validated steam cycle, ensuring absolute sterility before it touches your skin.
Final Thoughts on Ear Hygiene
Mastering how to sterilise earrings at home is about respecting both the metallurgy of your jewelry and the biology of your body. By matching the disinfection method to the specific material—utilising boiling distilled water for robust titanium and gold, and 70% isopropyl alcohol for delicate silver and plated pieces—you ensure your earrings remain beautiful and your ears remain perfectly healthy. Always prioritise implant-grade materials for the safest, most hygienic wearing experience.


