How to Style and Stack Earrings Small Hoops for Every Piercing
Master the art of the curated ear. Learn how to measure, style, and maintain earrings small hoops for lobe and cartilage piercings.

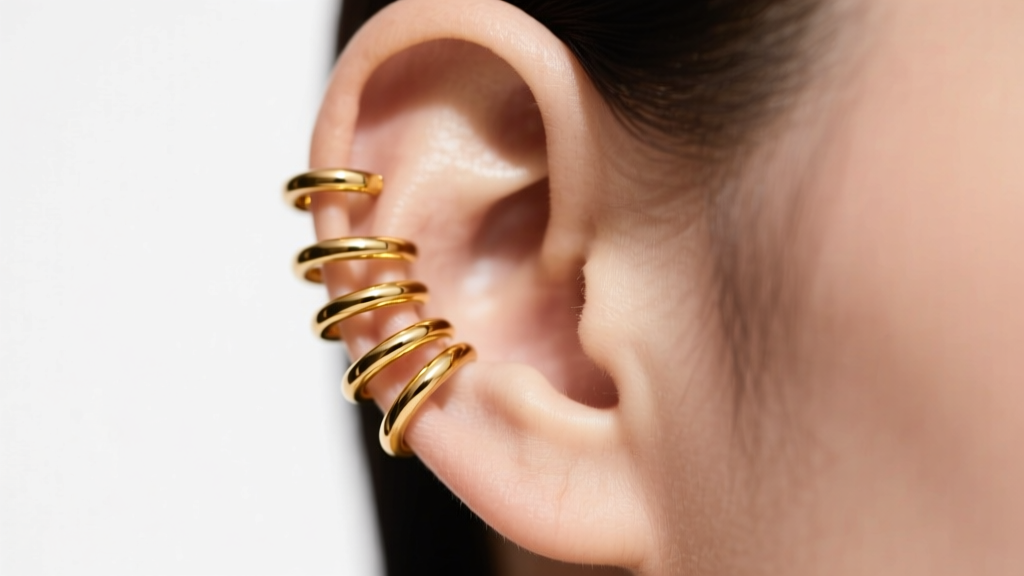
The transition from statement-making oversized jewelry to meticulously curated micro-stacks has defined the ear styling landscape of 2026. At the center of this movement are earrings small hoops—versatile, lightweight, and perfect for bridging the gap between standard lobe piercings and complex cartilage arrangements. However, building a cohesive ear stack requires more than just buying a handful of tiny rings. It demands a precise understanding of gauge thickness, inner diameter (ID), closure mechanics, and biocompatible materials. This comprehensive, step-by-step guide will teach you how to select, style, and maintain small hoops for every unique piercing on your ear.
The Anatomy of Earrings Small Hoops: Sizing and Gauges
The most common failure point when purchasing small hoops online is misunderstanding sizing. Unlike studs, which are measured primarily by the post length and gemstone face size, hoops are governed by two critical metrics: wire thickness (gauge) and inner diameter (ID).
If you attempt to force a 20-gauge (0.8mm) hoop into a 16-gauge (1.2mm) helix piercing, you risk the 'cheese-cutter effect,' where the thin wire slowly migrates through the tissue. Conversely, inserting a 16-gauge hoop into a delicate 20-gauge upper lobe piercing can cause tearing and blowout. Below is a precise sizing matrix to ensure your earrings small hoops fit safely and comfortably.
| Piercing Location | Standard Gauge | Ideal Hoop Inner Diameter (ID) | Recommended Closure Type |
|---|---|---|---|
| Standard Lobe | 20g (0.8mm) or 18g (1.0mm) | 10mm - 12mm | Hinge & Snap / Continuous |
| Upper Lobe | 18g (1.0mm) | 8mm - 10mm | Clicker / Segment Ring |
| Helix | 16g (1.2mm) or 18g (1.0mm) | 8mm - 10mm | Hinged Clicker |
| Tragus | 16g (1.2mm) | 6mm - 8mm | Segment Ring / Mini Clicker |
| Daith | 16g (1.2mm) | 10mm - 12mm | Hinged Clicker |
| Conch | 14g (1.6mm) or 16g (1.2mm) | 12mm - 16mm | Segment Ring |
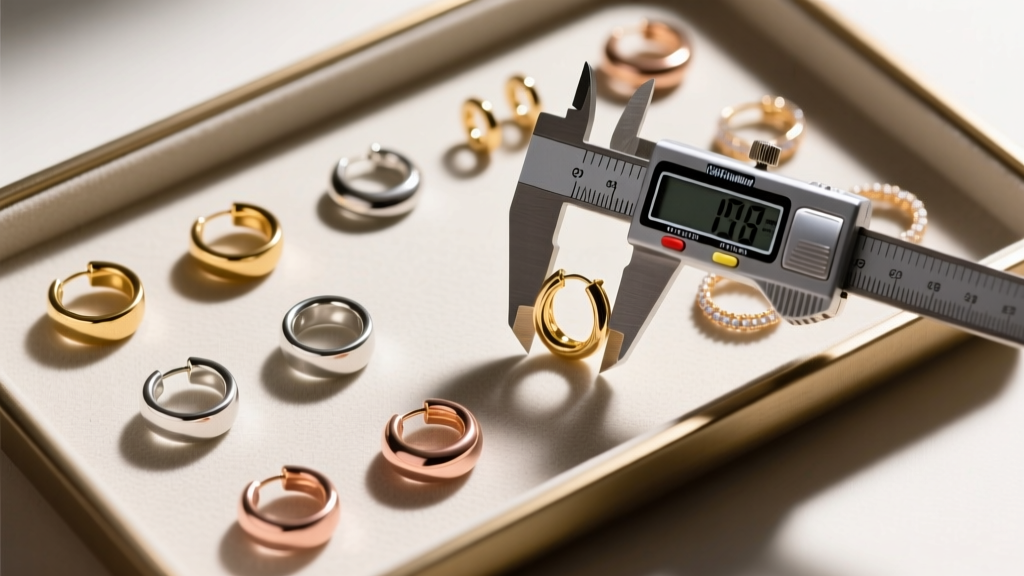
Always measure your existing, well-fitting jewelry with a digital caliper before ordering new pieces. Relying on visual estimates often results in hoops that either pinch the cartilage or hang too low, catching on hair and clothing.
Step-by-Step Guide to Building a Curated Ear Stack
A successful ear stack balances visual weight, texture, and negative space. When utilizing earrings small hoops as your primary design element, follow this structural framework to achieve a professional, curated look.
Step 1: Anchor with the Lobe
Your standard lobe piercing is the foundation of the stack. Because the lobe tissue is soft and can support heavier weights, this is the ideal placement for a slightly thicker, textured small hoop. Opt for a 12mm ID rope-twist or pavé diamond hoop in 18-gauge solid gold. This provides a glamorous anchor without overwhelming the rest of the ear.
Step 2: Bridge the Cartilage with Huggies
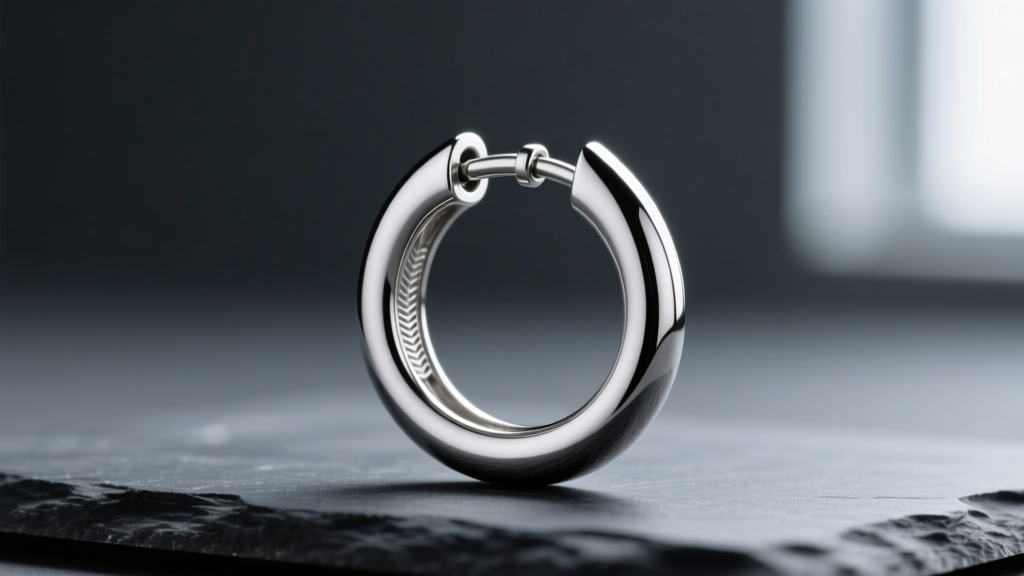
Move up to the upper lobe or lower helix. Here, you want to transition to a tighter fit. Huggies—small hoops with an ID of 8mm to 10mm that literally 'hug' the ear cartilage—are perfect. Choose a sleek, high-polish implant-grade titanium or 14k white gold huggie. The contrast between the textured lobe hoop and the minimalist cartilage huggie creates sophisticated visual depth.
Step 3: Accentuate the Tragus or Daith
For the inner ear (tragus or daith), the jewelry must be highly secure and low-profile to avoid interfering with headphones or phone calls. A 16-gauge, 8mm continuous hoop or a seamless segment ring is the gold standard here. Avoid dangling charms on inner-ear small hoops, as they can trap moisture and bacteria against the ear canal.
Step 4: Balance the Negative Space
Do not fill every available piercing with a hoop. If you have three hoops on the outer ridge of your ear, break up the pattern by inserting a flat-back labret stud or a simple bezel-set gemstone in an adjacent piercing. This negative space allows the eye to rest and highlights the curvature of your earrings small hoops.
Material Selection for Sensitive and Healing Piercings
When wearing small hoops, the metal is in constant, 360-degree contact with the fistula (the piercing channel). This continuous friction makes material biocompatibility non-negotiable. According to the Association of Professional Piercers (APP), only specific materials should be worn in the body long-term.
- Implant-Grade Titanium (ASTM F136): The absolute best choice for sensitive ears, allergies, or healing piercings. It contains zero nickel and is highly resistant to corrosion from bodily fluids and saline solutions.
- 14k or 18k Solid Gold: Must be nickel-free and alloyed for biocompatibility. Avoid gold-plated or gold-filled hoops, as the friction of a hoop rotating through the piercing will quickly wear away the microscopic gold layer, exposing the reactive base metal underneath.
- Niobium: A highly reactive metal that is safely anodized to create vibrant colors without the use of toxic dyes or plating. Excellent for those seeking colorful small hoops without the risk of contact dermatitis.
- Avoid 'Surgical Steel': This is an unregulated marketing term. Many cheap 'surgical steel' hoops contain high levels of nickel, which can cause severe contact dermatitis, swelling, and rejection in cartilage piercings.
How to Safely Insert and Remove Clicker vs. Continuous Hoops
The mechanical closure of your earrings small hoops dictates how they are inserted, removed, and maintained. Using the wrong technique is the fastest way to warp your jewelry or damage your piercing.
The Hinged Clicker Mechanism
Clickers feature a hinged post that snaps into a hollow receiver tube.
To Open: Grip the decorative front of the hoop and the plain back with your thumb and forefinger. Gently twist laterally (side-to-side) to pop the hinge open. Never pull the ends straight apart, as this will bend the hinge pin.
To Insert: Thread the closed clicker through the piercing, then align the post with the receiver tube. Press firmly until you hear and feel a distinct 'click.'
To Remove: Twist laterally again. If it feels stuck, do not force it. Apply a drop of sterile saline to the hinge to lubricate it.
The Continuous (Endless) Hoop
Continuous hoops feature a thin wire that slides into a hollow tubing end.
To Open: Do not pull the ends apart like a C-shape. Instead, grip both sides of the break and twist them in opposite directions (one toward you, one away from you) in a spiral motion.
To Insert: Thread the wire through the piercing, align the wire with the hollow tube, and gently push it in while twisting it back into a perfect circle.
Pro Tip: If the wire becomes loose and falls out frequently, use a pair of nylon-jaw pliers to very gently squeeze the hollow tube end to tighten the grip.
Maintenance and Troubleshooting Common Hoop Failures
Small hoops require more mechanical maintenance than studs due to their moving parts and continuous movement through the fistula. Here is how to troubleshoot the most common issues encountered with earrings small hoops.
'The number one reason a clicker hoop stops snapping shut is the accumulation of dead skin cells, sebum, and soap residue inside the receiver tube. It acts like cement, blocking the post from seating fully.' — Senior Piercer, Industrial Strength Body Piercing
Troubleshooting a Stubborn Clicker
If your hinged clicker will not snap shut, do not squeeze it harder. Instead, soak the jewelry in a small cup of warm water and mild, fragrance-free liquid soap for 10 minutes. Use a soft-bristled baby toothbrush to gently scrub the seam. For stubborn debris inside the receiver tube, dip a sterile sewing needle in 99% isopropyl alcohol and carefully pick out the compacted sebum. Rinse thoroughly with distilled water before reinserting.
Preventing the 'Cheese-Cutter' Migration
If you notice your piercing hole becoming elongated or the hoop feels like it is slowly cutting through the bottom of your lobe, you are experiencing migration. This is usually caused by wearing a hoop that is too heavy for the gauge of the piercing, or by constantly sleeping on the jewelry. Switch to a lighter material (like hollow-tube gold or titanium) or size up to a thicker gauge (e.g., moving from 20g to 18g) to distribute the weight across a wider surface area of tissue.
Polishing and Storage
Because small hoops are constantly touching the skin, they accumulate oils that dull the finish. Wipe your solid gold and titanium hoops weekly with a microfiber polishing cloth. Store them in a dry, airtight jewelry box with anti-tarnish strips. Never store clicker hoops loosely in a bag where the hinged posts can become bent or snapped off by heavier jewelry pieces.
By mastering the precise sizing, material science, and mechanical care of your jewelry, you can elevate your curated ear from a simple collection of piercings to a masterclass in modern styling. Whether you prefer the minimalist edge of titanium huggies or the luxurious sparkle of 18k gold mini hoops, treating your earrings small hoops with technical precision ensures they remain beautiful, secure, and comfortable for years to come. For more detailed information on precious metal grading, consult the Gemological Institute of America (GIA) gold quality guides before making your next fine jewelry investment.


