How to Take an Earring Out: Beginner Guide to Stuck Backs
Learn how to take an earring out safely. Our beginner guide covers stuck butterfly backs, screw-backs, and hoops without hurting your piercing.

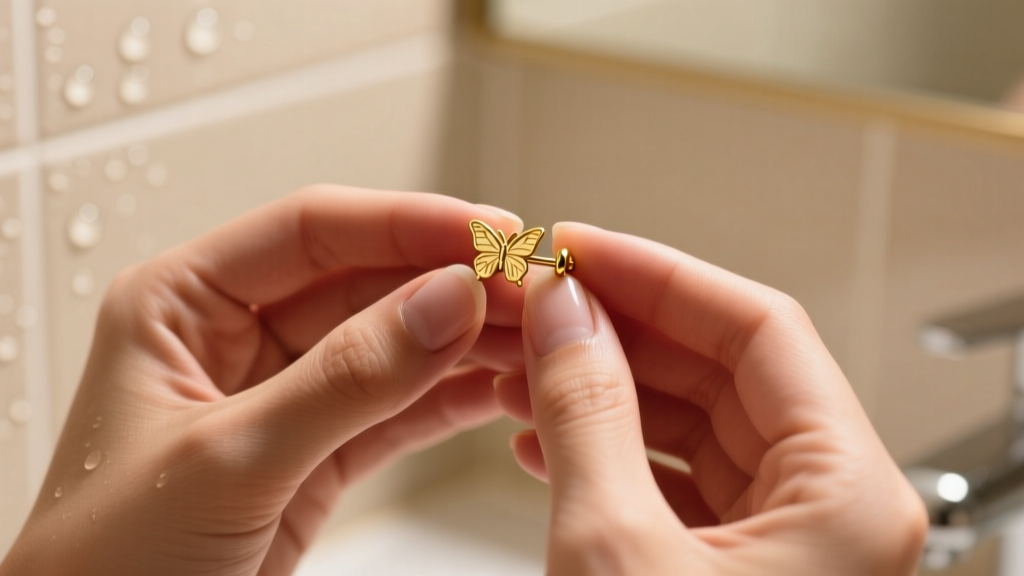
Why Do Earrings Get Stuck in the First Place?
Learning how to take an earring out is a rite of passage for anyone with pierced ears. Whether you are dealing with a fresh lobe piercing or a fully healed cartilage flat, removing jewelry should ideally be a smooth, painless process. However, beginners frequently encounter frustrating resistance. This panic-inducing stickiness usually stems from three distinct factors: dried lymphatic fluid (commonly known as crusties) acting as a biological glue, improper gauge sizing causing metal-on-skin friction, or mechanical failure within the earring's backing mechanism.
Before you attempt to yank, twist, or pull, it is critical to understand the hardware sitting in your ear. Forcing jewelry out can lead to micro-tears in the fistula (the piercing channel), introducing bacteria and causing immediate swelling. According to the Association of Professional Piercers (APP), gentle manipulation and proper lubrication are the cornerstones of safe jewelry removal.
The Anatomy of Earring Backs (And Why They Stick)
Different piercings require different types of jewelry. The mechanism that holds the earring in place dictates exactly how you must remove it. Below is a breakdown of the most common earring backs and their specific failure modes.
| Backing Type | Common Gauge | Primary Failure Mode |
|---|---|---|
| Butterfly / Friction | 20G - 18G | Lymph buildup gluing the metal clutch to the post notch. |
| Screw / Threaded | 16G - 14G | Cross-threading or overtightening with wet, slippery hands. |
| Silicone O-Ring | 16G - 12G | Silicone degrading, expanding, or gripping damp skin tightly. |
| Hinged Segment | 18G - 14G | Debris lodged in the clicker hinge preventing the latch from opening. |
Step-by-Step: How to Take an Earring Out by Back Type
The technique you use must match the hardware. Using the wrong method is the fastest way to damage your jewelry or your piercing.
1. Friction and Butterfly Backs (The Most Common Culprit)
Butterfly backs rely on a small metal clutch that slides onto a notched post. They are standard for 20G (0.81mm) and 18G (1.02mm) earlobe piercings. Over time, dead skin cells, soap residue, and dried lymph accumulate in the tiny crevices of the clutch, effectively cementing it to the post.
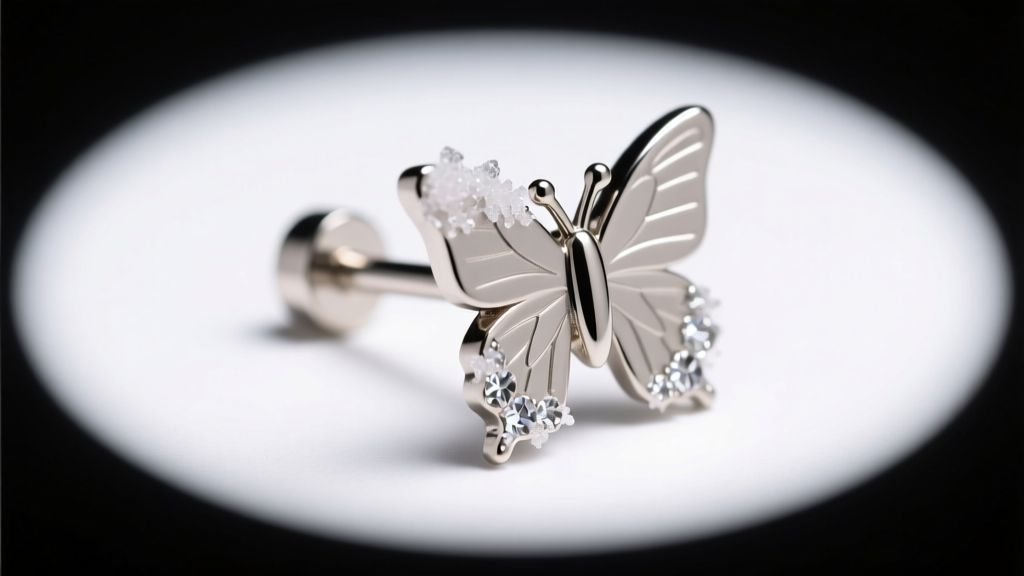
The Removal Technique:
- Soften the Debris: Spray the back of the ear generously with a sterile 0.9% sodium chloride wound wash (like NeilMed Piercing Aftercare). Let it sit for 3 to 5 minutes to dissolve the biological glue.
- The Grip: Dry your hands completely. Use a clean tissue or a pair of nitrile gloves to grip the front stud. This prevents your fingers from slipping.
- The Motion: Hold the front stud completely still. With your other hand, grip the butterfly back and pull straight back while wiggling it slightly side-to-side. Never twist a friction back, as this will only grind the dried debris deeper into the notch.
2. Threaded Screw-Backs (Flat Backs and Labrets)
Threaded jewelry is the gold standard for cartilage piercings (like the helix, conch, or tragus) and is typically crafted from ASTM F-136 implant-grade titanium. These usually feature internal threading, meaning the screw is on the post of the front gem, which threads into the hollow back disc. Standard thread sizes are 1.2mm for 16G jewelry and 1.6mm for 14G jewelry.
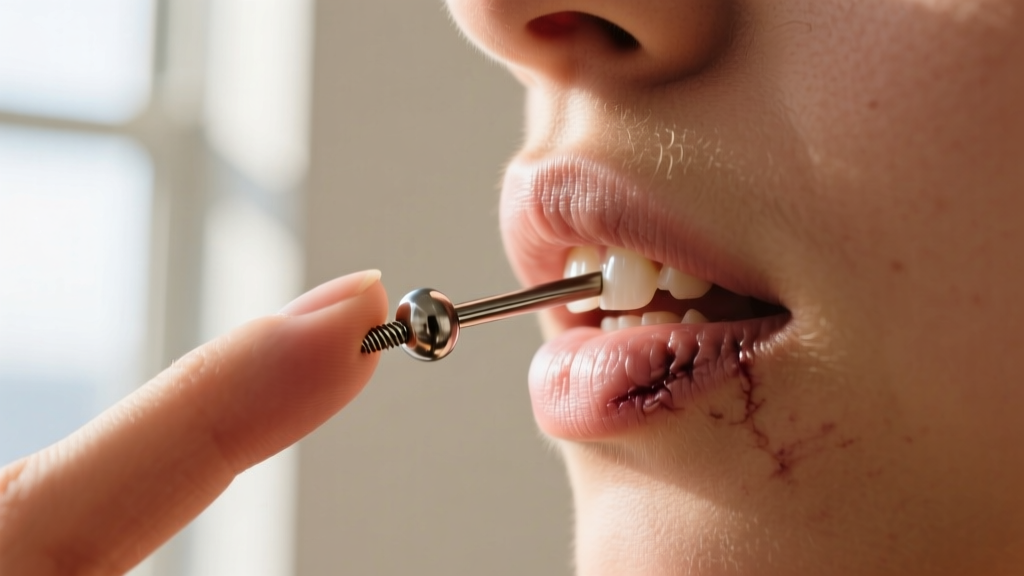
The Removal Technique:
- Direction of Twist: Remember the golden rule: "Lefty-loosey." You must turn the front gem counter-clockwise while holding the back disc completely stationary against your skin.
- Dealing with Cross-Threading: If the gem won't turn, it may be cross-threaded (where the screw is lodged at an angle). Do not force it. Gently turn it clockwise (tighten) just a fraction of a millimeter to re-align the threads, then try turning counter-clockwise again.
- Grip Hacks: If the gem is too small to grip, place a piece of latex or nitrile glove over the gem to create massive amounts of friction. This single trick solves 90% of stuck flat-backs.
3. Seamless and Hinged Hoops
Hoops present a unique challenge. Seamless rings (which have a tiny slit) must be removed by twisting the ends laterally, like opening a gate. Pulling the ends directly apart will warp the metal, making it impossible to close properly later. Hinged segment rings (clickers) simply require you to find the tiny seam opposite the hinge and pop it open with your thumbnail. If a clicker is stuck, soak it in warm water to loosen any trapped sebum in the hinge mechanism.
Emergency Troubleshooting: When It Absolutely Won't Budge
If you have tried the steps above and the earring remains stuck, do not resort to household tools. The Mayo Clinic's guide on piercing care heavily advises against using unsterilized objects near open or healing fistulas.
"Never use pliers, tweezers, or sharp metal tools to remove stuck jewelry from your ear. You risk crushing the delicate threading, slipping and tearing the fistula, or introducing a severe staph infection."
Safe Emergency Hacks:
- The Warm Compress: Soak a clean paper towel in warm (not hot) distilled water and hold it against the ear for 10 minutes. The heat increases blood flow, slightly relaxing the tissue, while the moisture dissolves stubborn crusties.
- Jojoba Oil (Healed Piercings Only): If your piercing is fully healed (at least 6-12 months old), apply a single drop of pure, unrefined jojoba oil to the post. Jojoba oil closely mimics human sebum and acts as an incredible, skin-safe lubricant to help slide friction backs off.
- Visit a Professional: If the metal is embedded or you are experiencing sharp pain, visit a reputable local piercer. They have specialized tools like hemostats and taper pins to remove stubborn jewelry safely in seconds, usually for a very small fee (typically $5 to $15).
Prevention: How to Keep Your Piercings Smooth and Removable
The secret to knowing how to take an earring out effortlessly is ensuring it never gets stuck in the first place. This requires proactive jewelry management.
The Importance of Downsizing
When you first get a lobe or cartilage piercing, the piercer will insert a longer post—usually 5/16" (8mm) or 3/8" (10mm)—to accommodate the initial swelling. If you leave this long post in after the swelling subsides, the excess metal becomes a magnet for hair, lint, and dried lymph. When you eventually try to remove the butterfly back, it has to drag across a long, debris-covered track, causing it to jam. Always return to your piercer 4 to 8 weeks after your initial piercing to "downsize" to a shorter post, such as 1/4" (6mm) or 7/32" (5.5mm).
Material Upgrades
If your earrings are constantly getting stuck due to micro-swelling or itching, you may be experiencing a mild nickel allergy from 316L surgical steel. Upgrading to ASTM F-136 implant-grade titanium eliminates nickel exposure, drastically reducing tissue inflammation and making jewelry removal significantly easier.
Final Thoughts on Piercing Maintenance
Learning how to take an earring out is entirely about patience, proper grip, and understanding your specific jewelry hardware. By keeping your piercings clean with sterile saline, downsizing your posts after healing, and utilizing grip aids like nitrile gloves, you will transform a frustrating bathroom struggle into a simple, painless routine. Always listen to your body, and when in doubt, let a professional piercer handle the heavy lifting.


