How to Tighten Earrings: Budget Fixes & Value Guide
Learn how to tighten earrings at home or by a pro. We compare DIY fixes, silicone vs. metal backs, and jeweler costs to maximize your jewelry's value.

The Financial Risk of Loose Earring Backs
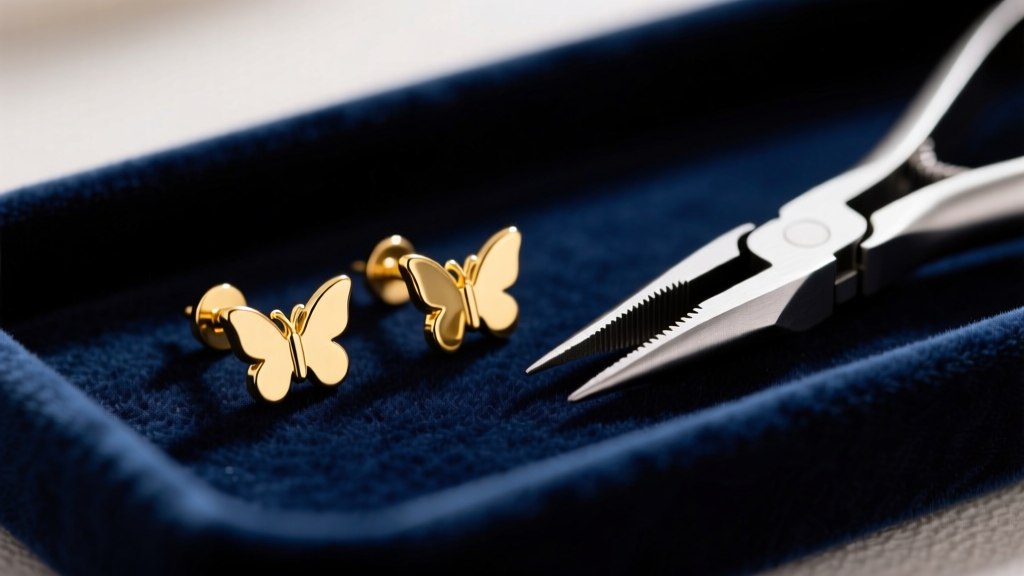
With 2026 precious metal markets seeing continued volatility, protecting your jewelry investments is more critical than ever. Losing a single diamond or gemstone stud because of a failed earring back is a catastrophic return on investment. A standard 14k gold post and butterfly back cost less than $15 to manufacture, yet they are often tasked with securing stones worth thousands. Understanding how to tighten earrings is not just a matter of comfort; it is a fundamental budget maintenance skill that prevents costly replacements.
Before you throw away a pair of loose earrings or pay a jeweler $50 for a basic repair, you need to assess the failure point. Is the post bent? Has the friction back lost its tension? Or is the threading stripped? By diagnosing the exact mechanical failure, you can apply targeted, budget-friendly fixes that restore security without compromising the metal's integrity.
How to Tighten Earrings with Butterfly and Friction Backs
The butterfly back (also known as a scroll or friction back) is the most common earring finding globally. It relies on two small loops of metal that press against the grooved or smooth post. Over time, the repeated friction of sliding the back on and off causes these loops to spread outward, resulting in a loose fit that easily slides off the ear.
The DIY Pliers Technique
You can easily restore the tension of a metal butterfly back at home for zero cost. You will need a pair of smooth-jawed chain-nose or flat-nose pliers to avoid scratching the metal.
- Step 1: Remove the earring back from the post and clean it with rubbing alcohol to remove skin oils and debris.
- Step 2: Hold the back securely with your non-dominant hand. Using the pliers, gently squeeze the two outer metal loops toward the center hole.
- Step 3: Apply pressure in short, controlled bursts. Test the fit on the post after every squeeze. Over-tightening can strip the post's grooves or bend the center tube.
- Step 4: If the center tube itself is warped, use two pairs of pliers to gently twist it back into a perfect cylinder.
Value Note: This DIY fix is highly cost-effective for fashion jewelry or sterling silver pieces. However, if you are securing heavy diamond solitaires, the Gemological Institute of America (GIA) strongly recommends upgrading your findings rather than relying on fatigued metal.
The Budget Hack: Silicone Stoppers and O-Rings
If your metal backs are hopelessly warped, or if you suffer from metal allergies that cause swelling and subsequent loosening, silicone stoppers are the ultimate budget hack. A pack of 100 medical-grade silicone earring backs typically costs between $4 and $8 online, bringing the cost per repair down to less than $0.10.
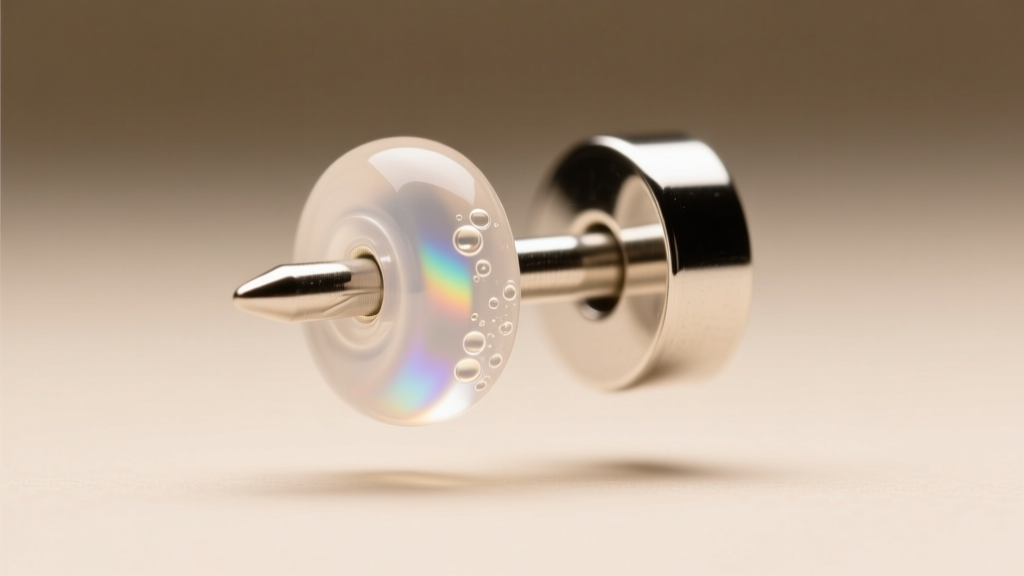
When purchasing silicone stoppers, gauge sizing is critical for a secure fit. Standard lobe piercings are usually 20-gauge (0.81mm) or 18-gauge (1.02mm). If you buy a 16-gauge silicone stopper for a 20-gauge post, it will slide off effortlessly. Conversely, forcing an 18-gauge post into a 20-gauge silicone hole will stretch and tear the silicone within a week. Always measure your post thickness with a digital caliper before bulk-ordering silicone stoppers to ensure maximum friction and value.
Upgrading to Screw Backs: Cost vs. Security Analysis
For high-value earrings, friction is simply not enough. Screw backs feature a threaded post and a backing that twists on, creating a mechanical lock that cannot be pulled off by accident. But is the investment worth it? Below is a cost-benefit analysis of retrofitting your earrings with screw backs versus replacing them entirely.
| Earring Back Type | Avg. Replacement Cost | Security Level | Best Use Case |
|---|---|---|---|
| Standard Butterfly (14k) | $12 - $18 / pair | Low-Medium | Lightweight fashion studs, daily wear under $200 |
| Silicone Stoppers | $0.05 - $0.10 / pair | Medium | Temporary fixes, sensitive ears, budget replacements |
| Screw Backs (14k) | $45 - $85 / pair | High | Diamond solitaires, heirloom pieces, heavy drops |
| Locking Lever Backs | $30 - $60 / pair | High | Hoop earrings, dangles, active lifestyles |
According to the Stuller earring findings catalog, a jeweler can laser-weld or solder new threaded screw-back posts onto your existing earring heads for roughly $45 to $85 per pair. When weighed against the potential loss of a $2,000 diamond, this upfront cost yields an undeniable long-term value.
Fixing Bent Posts: Metallurgy and DIY Straightening
A bent earring post not only causes discomfort but also alters the geometry of the friction back, making it feel loose. Before attempting to straighten a post, you must understand the metallurgy of your jewelry.
- Sterling Silver (925): Highly malleable but prone to work-hardening. If you bend it back and forth, it will snap.
- 14k Yellow Gold: Softer and more forgiving. Can be gently straightened with minimal risk of snapping.
- 14k White Gold & Platinum: Extremely rigid. Attempting to bend a thick 18-gauge white gold post at home will likely result in a fractured post.
To straighten a 20-gauge yellow gold post, place the earring head face down on a soft leather pad. Using nylon-jaw pliers (to prevent marring the metal), apply slow, steady pressure to roll the post back into alignment. Never use a back-and-forth wiggling motion.
When to Pay a Professional Jeweler
There is a distinct line between a budget DIY fix and a repair that requires professional bench expertise. Stripped threads on a screw back, a post that has snapped flush with the earring head, or a worn-out clutch tube are issues that home tools cannot resolve.
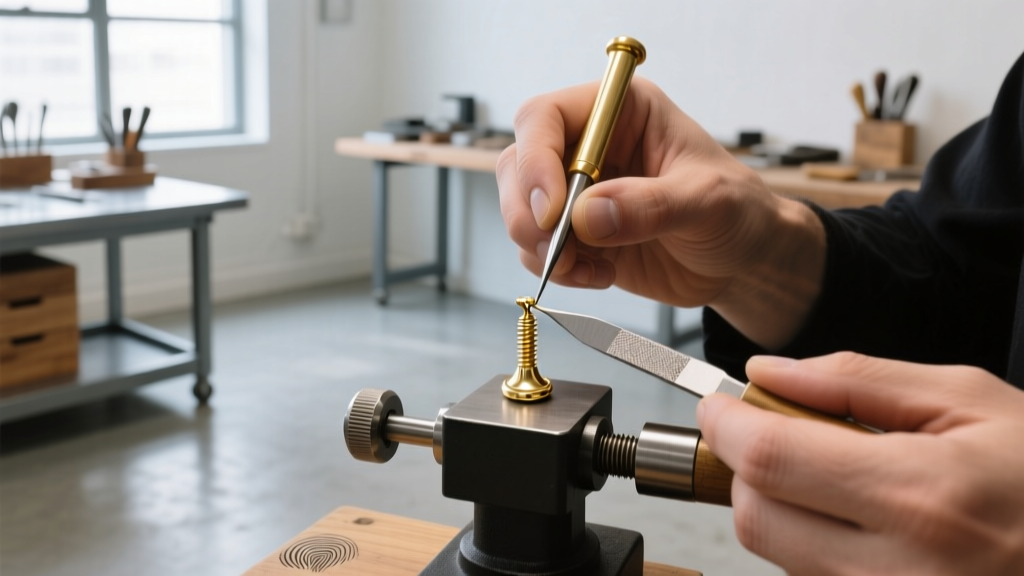
"Metal fatigue is the silent killer of fine jewelry. When a friction back loses its spring, or a post develops microscopic stress fractures from daily bending, the metal is screaming for retirement. Re-tipping or laser-welding a new post costs a fraction of replacing the entire earring head."
Expect to pay between $35 and $60 for a jeweler to laser-weld a new post onto a broken stud. Laser welding is highly recommended over traditional torch soldering for high-value pieces, as the concentrated heat prevents thermal damage to nearby diamonds or heat-sensitive gemstones like emeralds and opals.
Final Verdict: Maximizing Your Earring Investment
Knowing how to tighten earrings is an essential skill for any jewelry owner, but it must be paired with a pragmatic value assessment. For inexpensive fashion jewelry, a $5 pack of silicone stoppers or a quick squeeze with chain-nose pliers offers the best ROI. However, for fine jewelry and precious stones, relying on fatigued friction backs is a financial gamble. Investing $50 to upgrade to 14k gold screw backs ensures your most valuable pieces remain securely in your ears, not lost in the drain or on the subway floor. Evaluate your collection today, tighten what can be saved, and upgrade what cannot.


