How to Undo Earrings: A Beginner's Guide to Stuck Backs & Hoops
Learn how to undo earrings safely with our beginner guide. Discover step-by-step removal tips for stuck butterfly backs, hoops, and threadless studs.


The Panic of the Stuck Earring: Why It Happens
There are few minor beauty emergencies quite as frustrating as realizing you cannot remove your jewelry. Whether you are dealing with a fresh piercing that has swollen around the post, a friction back that was pushed on too tightly, or a seamless hoop that seems welded shut, knowing how to undo earrings safely is a fundamental skill for any jewelry wearer. Forcing jewelry out can lead to micro-tears in the fistula (the piercing channel), irritation bumps, or even allergic contact dermatitis if the skin barrier is compromised.
According to the Association of Professional Piercers (APP), improper jewelry handling and poor material choices are leading causes of piercing trauma. This beginner-friendly explainer will break down the exact mechanics of different earring backings and provide actionable, step-by-step troubleshooting methods to get your jewelry out without damaging your earlobes or cartilage.
The Anatomy of Earring Backings (And Why They Jam)
Before attempting removal, you must identify the locking mechanism of your earring. Different styles require entirely different approaches. Pulling on a threadless labret, for example, will only cause pain, while twisting a friction back might embed it deeper into swollen tissue.
| Backing Type | Mechanism | Common Failure Mode | Removal Difficulty |
|---|---|---|---|
| Friction (Butterfly) | Tension-based scroll grips the post notch | Pushed too tight against the lobe; trapped by swelling | Moderate |
| Screw-Back | Externally threaded post screws into backing | Cross-threading or dried sebum acting as glue | Low to Moderate |
| Threadless (Push-Pin) | Bent tension pin inserts into a hollow post | Pin bent too deeply; user pulls instead of wiggling | High (for beginners) |
| Hinged Segment | Click-shut hinge with a locking clasp | Debris lodged in the clasp groove; bent hinge pin | Low |
| Internally Threaded | Front gemstone screws into the hollow post | Overtightening; stripping the internal threads | Moderate |
Step-by-Step: How to Undo Earrings with Butterfly Backs
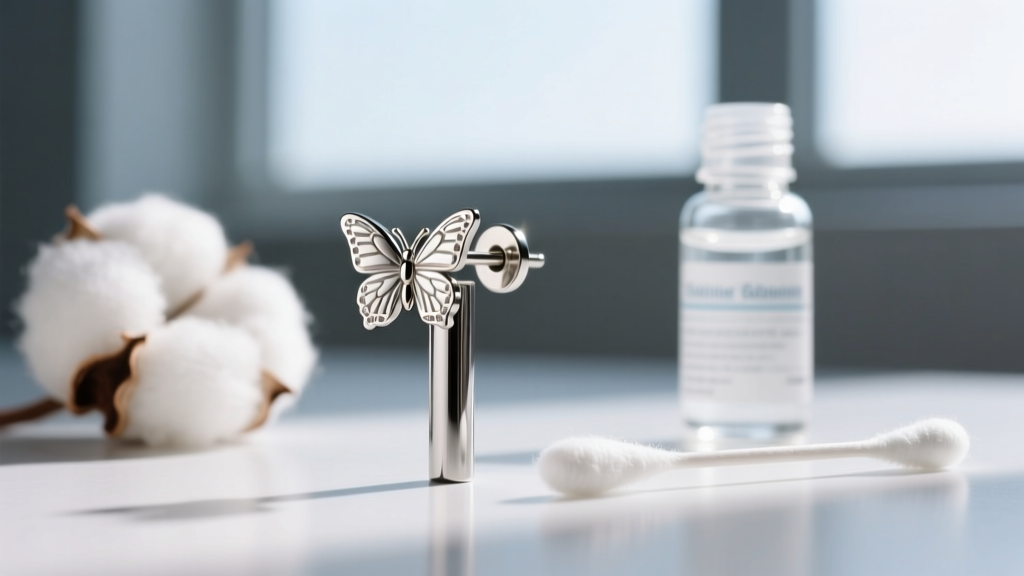
Butterfly backs (friction backs) are the most common style included with commercial stud earrings. They feature two small loops of metal that grip a notched post. The most common mistake beginners make is pushing the back flush against the earlobe. This cuts off circulation, causing the tissue to swell around the metal post, effectively trapping the backing.
The Rubber Glove Trick
If your fingers are slipping off the tiny metal backing, do not use pliers. Pliers can crush the delicate scrolls of the butterfly back, permanently locking it onto the post. Instead, use the rubber glove trick:
- Step 1: Wash your hands thoroughly and put on a pair of clean, powder-free nitrile or latex examination gloves. The rubber provides immense friction.
- Step 2: Pinch the front of the earring stud firmly with your non-dominant hand to prevent the post from rotating or pulling through the ear.
- Step 3: With your gloved dominant hand, grip the butterfly back. Do not just pull straight out; apply a gentle twisting and wiggling motion while pulling away from the earlobe.
- Step 4: If the tissue is swollen, apply a sterile saline soak for 5 minutes to soften any dried lymph fluid that may be gluing the metal to the skin.
Tackling Threadless and Internally Threaded Cartilage Jewelry
Upgrading to high-quality body jewelry often means transitioning to threadless or internally threaded labrets, especially for cartilage piercings like the helix, tragus, or conch. These are designed to stay secure, which makes them notoriously difficult for beginners to remove.
'Threadless jewelry relies on the tension of a slightly bent pin inside a hollow post. To remove it, you must pull the front and back apart in opposite directions with a slight wiggling motion. Never just yank, or you risk tearing the cartilage fistula.' — Professional Piercing Standard Guidelines
Removing Threadless (Push-Pin) Studs
Threadless jewelry features a pin on the decorative front that is bent at a slight angle before being pushed into the hollow shaft of the back post. To undo this earring:
- Grip the flat disc on the back of the ear securely.
- Grip the decorative front gem or bead.
- Push the two pieces slightly together first to release the tension lock.
- While maintaining a gentle push, twist the front piece slightly and pull the two halves apart in a snapping motion.
Removing Internally Threaded Studs
With internally threaded jewelry, the screw is on the decorative front, and the post is hollow and threaded on the inside. The golden rule is: the front unscrews, not the back. Hold the back disc completely still, grip the front gem with a rubber glove for traction, and turn the front counter-clockwise. If it is stuck, apply a warm compress to the ear for 3 minutes to expand the metal slightly and loosen any trapped sebum.
How to Undo Seamless and Hinged Hoop Earrings

Hoop earrings present an entirely different set of mechanical challenges. The method for removal depends entirely on whether you are wearing a continuous (seamless) ring or a hinged segment ring.
Hinged Segment Rings (Clickers)
Hinged rings are standard for 16-gauge and 14-gauge septum, helix, and daith piercings. They feature a tiny hinge on one side and a locking clasp on the other. To open a clicker:
- Locate the microscopic seam where the clasp meets the ring.
- Place your thumbnail directly over the clasp.
- Apply pressure away from the hinge. Do not bend the ring itself, as this will warp the circular shape and prevent the clasp from clicking shut in the future.
- If the clasp is stuck due to soap buildup, soak the ear in warm water and use a soft-bristled baby toothbrush to gently clean the seam before trying again.
Continuous (Seamless) Rings
Seamless rings do not have a hinge; they rely on the tension of the metal. One end of the wire is slightly thicker and plugs into the hollow end of the other. To undo these earrings, you must twist the ring laterally (like opening a jump ring), never pull it apart outward. Use two pairs of jewelry pliers with nylon jaws to gently twist the ends in opposite vertical directions, slide it out of the piercing, and twist it back to its original shape.
Emergency Troubleshooting: When an Earring Won't Budge
If you have tried the appropriate mechanical removal technique and the earring is still stuck, stop pulling. Continued friction will cause micro-trauma. According to the Mayo Clinic, compromised skin barriers in piercings can quickly lead to localized infections or severe allergic reactions if low-grade metals are left trapped against inflamed tissue.
The Emergency Protocol:
- Lubricate: Apply a drop of pure, unrefined jojoba oil or sterile saline to the front and back of the piercing. Avoid petroleum jelly, which can trap bacteria inside the fistula.
- Warm Compress: Soak a clean gauze pad in warm (not hot) water and hold it against the ear for 5 minutes. This reduces swelling and softens hardened lymph crusties.
- Seek Professional Help: If the skin is growing over the backing (embedding), or if the earring is hot to the touch and throbbing, visit a professional piercer or an urgent care clinic. Piercers have specialized taper tools and hemostats to safely extract embedded jewelry without surgical intervention.
Preventative Care to Keep Your Piercings Smooth
The easiest way to deal with stuck earrings is to prevent them from getting stuck in the first place. Material choice and post length play critical roles in piercing health.
- Upgrade to Implant-Grade Titanium: Commercial earrings often use 'surgical steel,' which contains nickel. Nickel allergies cause chronic, low-grade swelling that swallows butterfly backs. Switch to ASTM F-136 implant-grade titanium, which is completely biocompatible and hypoallergenic.
- Demand Proper Post Length: When getting a new piercing, the post should be 1/4 inch to 3/8 inch long to accommodate swelling. Once healed (usually 3-6 months for lobes, 12+ months for cartilage), downsize to a snug-fit post to prevent the earring from snagging on hair and clothing.
- Leave Room to Breathe: When putting on friction backs, always leave a 1-millimeter gap between the backing and the earlobe to allow for natural lymphatic drainage and airflow.
Mastering how to undo earrings is about understanding the mechanics of your jewelry and respecting the delicate tissue of your piercings. By using the right grip techniques, maintaining high-quality titanium jewelry, and knowing when to use lubrication over brute force, you can ensure your daily jewelry changes remain a painless and enjoyable part of your style routine.


