Infected Earring Piercing Treatment: A Step-by-Step Healing Guide
Learn the exact infected earring piercing treatment protocol. Step-by-step guide to saline soaks, material upgrades, and avoiding cartilage damage.

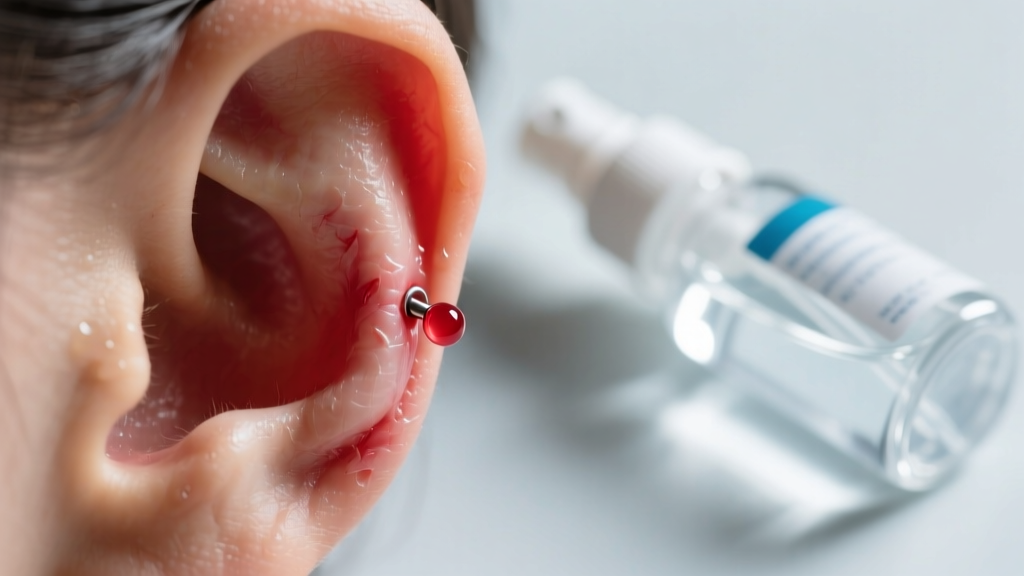
Waking up to a throbbing, swollen, and crusted ear piercing is a universal source of panic for jewelry lovers. Whether you are dealing with a standard 20-gauge lobe stud or a complex 16-gauge cartilage constellation, an infection can quickly escalate from a minor annoyance to a serious medical issue. However, before you reach for the rubbing alcohol or yank out your jewelry, it is crucial to understand the biology of piercing trauma. In 2026, the Association of Professional Piercers (APP) continues to emphasize that the vast majority of suspected infections are actually severe irritation reactions caused by poor jewelry angles, harsh chemicals, or nickel allergies.
When a true bacterial infection does occur, however, you need a precise, science-backed protocol. This guide provides a comprehensive infected earring piercing treatment strategy, detailing exact saline ratios, material grades, and the critical mistakes that lead to cartilage necrosis.
How to Identify a True Piercing Infection vs. Irritation
Applying the wrong treatment can worsen your symptoms. Irritation bumps (hypertrophic scarring) and contact dermatitis are frequently misdiagnosed as infections. Use the clinical comparison table below to evaluate your symptoms before beginning any treatment.
| Symptom / Sign | Irritation / Allergic Reaction | True Bacterial Infection |
|---|---|---|
| Exudate (Discharge) | Clear, white, or pale yellow lymph fluid; crusts easily. | Thick, opaque yellow, green, or brown pus; foul odor. |
| Localized Heat | Slightly warm immediately after cleaning or sleeping on it. | Radiating, intense heat that persists throughout the day. |
| Pain Profile | Tender to the touch; sharp pain if bumped or snagged. | Deep, throbbing ache that radiates beyond the immediate piercing site. |
| Skin Appearance | Pink or red bump strictly localized to the entry/exit hole. | Diffuse redness spreading outward; skin may look tight and shiny. |
Step-by-Step Infected Earring Piercing Treatment Protocol
If your symptoms align with a true bacterial infection, follow this clinical protocol to safely draw out the infection while preserving the piercing fistula (the tunnel of healed tissue).
Step 1: Do Not Remove the Jewelry (The Drainage Rule)
The most common and dangerous mistake in infected earring piercing treatment is removing the earring. The jewelry acts as a stent, keeping the fistula open to allow pus and exudate to drain. If you remove a 16-gauge flatback labret from an infected helix, the surface tissue will begin to close within hours. This traps the bacteria (commonly Staphylococcus aureus or Pseudomonas aeruginosa) inside, forming an abscess. In cartilage, this trapped pressure can cause perichondritis, leading to permanent tissue death and "cauliflower ear." Leave the jewelry in place unless instructed otherwise by a medical doctor.
Step 2: Prepare an Isotonic Saline Solution
Ditch the homemade sea salt recipes. The osmotic pressure of your wound wash must match your blood plasma (0.9% sodium chloride) to prevent cellular dehydration.
- The Gold Standard: Purchase a pre-mixed, sterile 0.9% sodium chloride wound wash (e.g., NeilMed Piercing Aftercare or H2Ocean). These are pressurized to deliver a gentle, sterile mist without touching the infected site.
- The Emergency DIY Ratio: If you must mix your own, dissolve exactly 1/4 teaspoon of non-iodized, fine-grain sea salt into 8 ounces of distilled, boiled water. Never use tap water, table salt (which contains iodine and anti-caking agents), or Epsom salts.
Step 3: The Warm Compress Technique
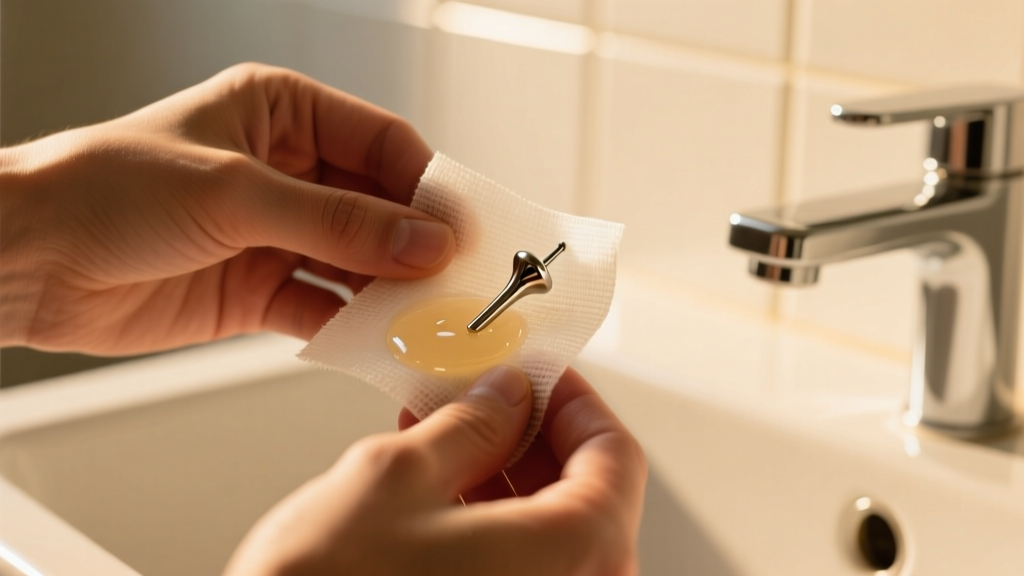
Cartilage is avascular, meaning it lacks a direct blood supply and relies on the surrounding perichondrium for immune cells. To boost the localized immune response, apply a warm saline compress. Spray your sterile saline onto a folded piece of non-woven sterile gauze until saturated. Hold it gently against the infected earring site for 5 to 10 minutes. The warmth induces vasodilation in the surrounding tissue, increasing leukocyte (white blood cell) delivery to the infection site.
Step 4: Avoid Cytotoxic Chemicals
According to the American Academy of Dermatology (AAD), you must avoid harsh antiseptics. Do not apply rubbing alcohol, hydrogen peroxide, tea tree oil, or triple-antibiotic ointments (like Neosporin). These substances are cytotoxic—they destroy the fragile fibroblast cells your body is using to rebuild the fistula wall. Furthermore, ointments create an occlusive barrier that traps moisture and bacteria, suffocating the wound and accelerating infection.
Best Jewelry Materials to Prevent Infection Escalation
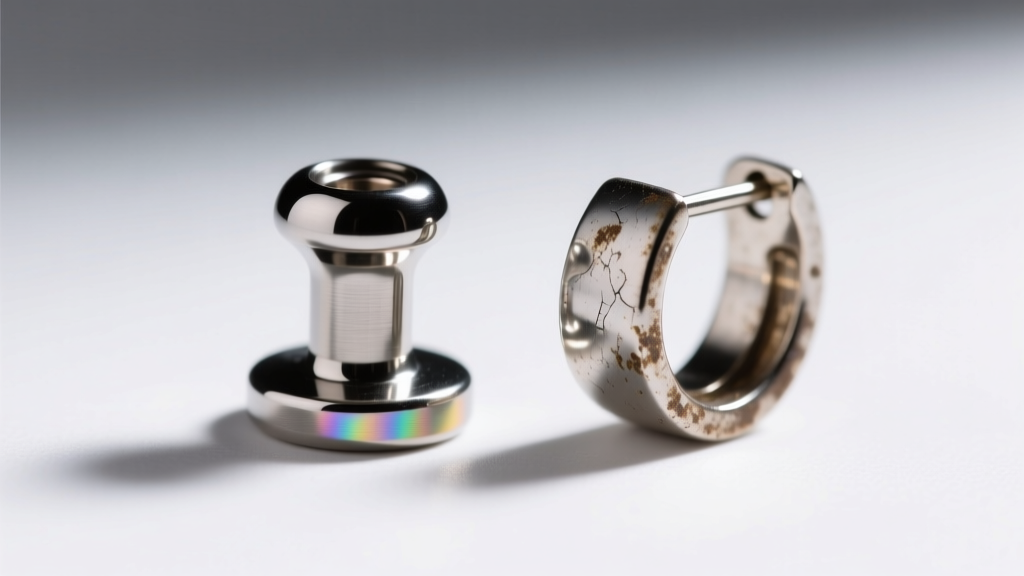
An infection is often triggered or exacerbated by the metal currently sitting in your ear. If your piercer used "surgical steel," you may be experiencing a severe nickel allergy mimicking an infection. Surgical steel (typically 316L) contains 10-14% nickel, which leaches into the skin when exposed to lymph fluid. To stabilize the piercing environment, you must upgrade to biocompatible materials.
- ASTM F136 Implant-Grade Titanium: The absolute best choice for an infected piercing. It is entirely nickel-free, non-magnetic, and polished to a mirror finish that prevents bacterial adhesion. Expect to pay $30–$60 for a high-quality titanium flatback labret from brands like BVLA or Industrial Strength.
- Niobium: Another highly biocompatible, nickel-free elemental metal that is safe for active infections, though slightly softer than titanium.
- 14k or 18k Solid Gold (Nickel-Free): Safe only if alloyed with palladium or silver instead of nickel. Avoid gold-plated or gold-filled jewelry, as the microscopic pores in the plating harbor bacteria and the base metal will leach into the open wound.
When to See a Doctor: Red Flag Symptoms
While localized infections can often be managed with strict saline hygiene and jewelry upgrades, cartilage infections can become systemic or cause permanent deformity within 48 hours. Seek immediate medical attention from a physician or urgent care clinic if you experience any of the following:
Medical Red Flags: A fever exceeding 100.4°F (38°C); red streaks radiating from the piercing site down your neck (lymphangitis); swelling that engulfs the entire ear structure; or severe nausea and chills. A doctor may need to prescribe oral antibiotics (such as Ciprofloxacin or Cephalexin) to target the specific bacterial strain.
Post-Infection Aftercare and Jewelry Reintroduction
Once the swelling subsides, the heat dissipates, and the discharge clears, your piercing is not immediately invincible. The fistula remains fragile for several weeks. Continue the twice-daily sterile saline spray for at least 14 days after symptoms resolve.
When you are finally ready to transition from your implant-grade titanium flatback back to your favorite decorative earrings, ensure the new jewelry is properly sanitized. Soak your decorative hoops, huggies, or dangles in a specialized jewelry cleaning solution or a mild, fragrance-free antibacterial soap for 10 minutes before insertion. Never force jewelry through a recently healed fistula; if you meet resistance, the tissue is still inflamed, and forcing a thicker gauge or a poorly polished post will immediately trigger a secondary irritation cycle.
By respecting the biology of the wound, utilizing isotonic saline, and demanding ASTM F136 titanium, you can successfully navigate an infected earring piercing treatment and preserve your curated ear aesthetic for years to come. For more data on safe jewelry metals, refer to the Mayo Clinic's guide on piercing complications.


