How to Safely Insert and Secure a Flat Back Earring Stud
Learn how to safely insert and secure a flat back earring stud. Step-by-step guide covering gauge sizes, implant-grade titanium, and lobe care.

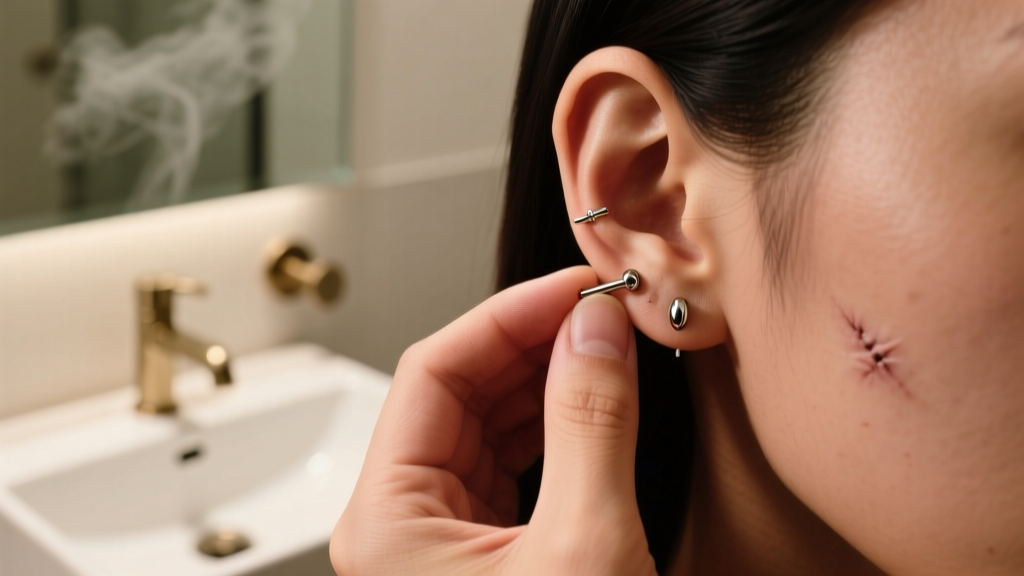
Upgrading your daily jewelry routine often begins with a single, fundamental swap: replacing traditional friction-back jewelry with a high-quality flat back earring stud. Whether you are managing a fresh piercing or seeking long-term comfort for healed lobes and cartilage, flat back studs (often called labret studs) offer unparalleled security, hygiene, and sleep-friendly ergonomics. However, inserting them—particularly threadless or internally threaded varieties—requires a specific technique that differs vastly from standard push-back earrings.
In this comprehensive guide, we will walk through the exact metallurgical standards, gauge requirements, and step-by-step insertion protocols needed to safely secure your earring stud without damaging your piercing channel or losing your investment.
Why Flat Back Earring Studs Outperform Traditional Butterfly Backs
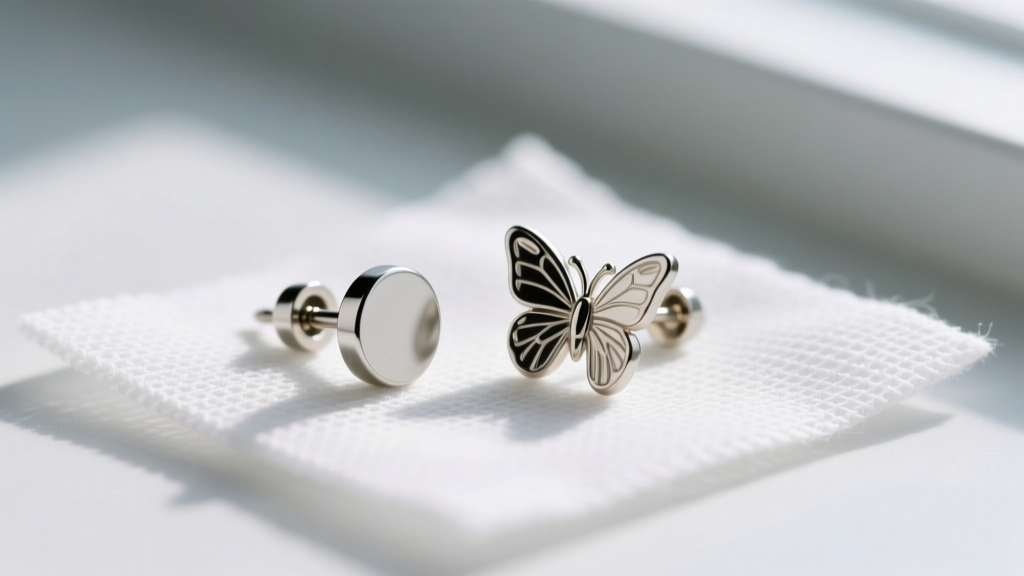
For decades, the standard "butterfly" or friction back has been the default for lobe piercings. However, professional piercers and dermatologists increasingly advise against them. The traditional earring stud with a push-back clasp traps dead skin cells, sebum, and bacteria in its small crevices, leading to localized contact dermatitis and persistent odors. Furthermore, the sharp posts often protrude behind the ear, causing discomfort during sleep and snagging on hair or clothing.
A flat back earring stud features a smooth, disc-shaped backing that sits flush against the tissue. This design eliminates pressure points, promotes optimal lymphatic drainage, and drastically reduces the risk of embedding.
| Feature | Friction (Butterfly) Back | Screw-Back Stud | Threadless Flat Back | Internally Threaded Flat Back |
|---|---|---|---|---|
| Security | Low (backs loosen over time) | Medium (threads can strip) | Very High (tension-fit) | High (screw-in post) |
| Comfort | Poor (prongs dig into skin) | Good (flat disc) | Excellent (flush fit) | Excellent (flush fit) |
| Hygiene | Poor (traps debris) | Good | Excellent | Excellent |
| Insertion Ease | Very Easy | Moderate | Moderate (requires pin bend) | Moderate (requires alignment) |
Step 1: Verify Your Exact Gauge and Post Length Requirements
Before attempting to insert a new earring stud, you must confirm that the jewelry dimensions match your specific piercing anatomy. Using the wrong gauge can cause tissue tearing, while an incorrect post length can lead to embedding or excessive movement.
Understanding Gauge Thickness
- 18-Gauge (1.0mm): The standard for most healed earlobe piercings. It is thick enough to prevent the "cheese-cutter effect" (where thin wire slowly migrates through the tissue) while being slim enough for delicate lobe anatomy.
- 16-Gauge (1.2mm): The gold standard for cartilage piercings (helix, tragus, conch) and increasingly preferred for lobes to provide maximum structural stability.
- 20-Gauge (0.8mm) or thinner: Generally discouraged by professionals for long-term wear due to migration risks, though sometimes found in cheap fashion jewelry.
Selecting the Correct Post Length
Post length is measured from the base of the decorative front to the flat back disc, excluding any threading or pins. For a fully healed, non-swollen earlobe, a 6mm (1/4 inch) post is typically ideal. If your piercing is fresh, irritated, or prone to swelling, you must start with an 8mm (5/16 inch) or 10mm (3/8 inch) post to accommodate tissue expansion. Once the swelling subsides, you must downsize the post to prevent the jewelry from snagging and tearing the fistula.
Step 2: The Sterilization and Preparation Protocol
Introducing bacteria into a piercing channel during a jewelry change is a primary cause of localized infections and granulomas. Never attempt to change your earring stud in a humid environment like a bathroom immediately after a shower, as airborne bacteria and aerosolized particles are prevalent.
"Always wash your hands with antibacterial soap for at least 20 seconds before handling body jewelry. Avoid using rubbing alcohol or hydrogen peroxide on the jewelry or the piercing, as these harsh chemicals destroy the delicate healing cells in the fistula." — Association of Professional Piercers (APP)
Preparation Checklist:
- Wash hands thoroughly and dry with a lint-free paper towel.
- Prepare a clean workspace lined with sterile gauze.
- Have a small dish of sterile saline solution (0.9% sodium chloride, no additives) ready to rinse the jewelry.
- Keep a pair of clean, latex-free nitrile gloves on hand. The grip provided by nitrile is essential for handling tiny threadless pins or internally threaded posts that easily slip when pinched with bare, slightly oily fingers.
Step 3: Mastering the Threadless Insertion Technique
The threadless earring stud (often referred to as press-fit or pin jewelry) relies on tension rather than screws. The decorative front features a small, bendable pin that inserts into the hollow post of the flat back. This design, pioneered by high-end brands like BVLA and Anatometal, is incredibly secure but confuses many first-time users.
Step-by-Step Threadless Insertion:
- Insert the Pin: Take the decorative front and insert its pin about one-third of the way into the hollow shaft of the flat back post.
- Create the Bend: Gently bend the pin to an angle of roughly 10 to 15 degrees. You do not need a sharp crease; a slight curve is all that is required. This bend creates the internal tension that locks the two pieces together.
- Test the Tension: Pull the pieces apart. If they separate too easily, remove the pin and bend it slightly more. If you cannot push the pin in all the way, the bend is too severe—straighten it slightly and try again.
- Insert the Post: Holding the flat back disc, gently guide the post through the back of your piercing channel. Do not force it; the post should glide through the fistula.
- Secure the Front: Once the post emerges from the front of the piercing, align the bent pin with the hollow opening and push firmly until you feel a distinct "snap" or click. The tension will hold the earring stud securely in place.
Troubleshooting Stubborn Earring Stud Insertions
Even with perfect technique, you may encounter mechanical or anatomical hurdles when changing your earring stud. Here is how to troubleshoot the most common issues without causing tissue trauma.
Issue: The Post Won't Pass Through the Piercing
If the flat back post catches or refuses to enter the exit hole, your piercing channel may have slightly closed or shifted angle. Do not force the metal through the tissue. Instead, apply a warm saline compress for five minutes to soften the tissue and gently massage the lobe. Use a taper (a specialized steel tool that gradually increases in thickness) coated in a water-based lubricant to gently reopen the channel before attempting to follow it with the jewelry post.
Issue: The Pin is Too Loose and Falls Out
If your threadless earring stud front keeps popping off, the pin has likely been straightened out over time from repeated removals. Remove the front, use a pair of clean nylon-jaw pliers to add a slightly sharper bend to the pin, and test the tension again. According to the Mayo Clinic, ensuring your jewelry fits snugly without compressing the tissue is vital to preventing irritation bumps and allergic reactions.
Issue: You Cannot Grip the Flat Back to Remove It
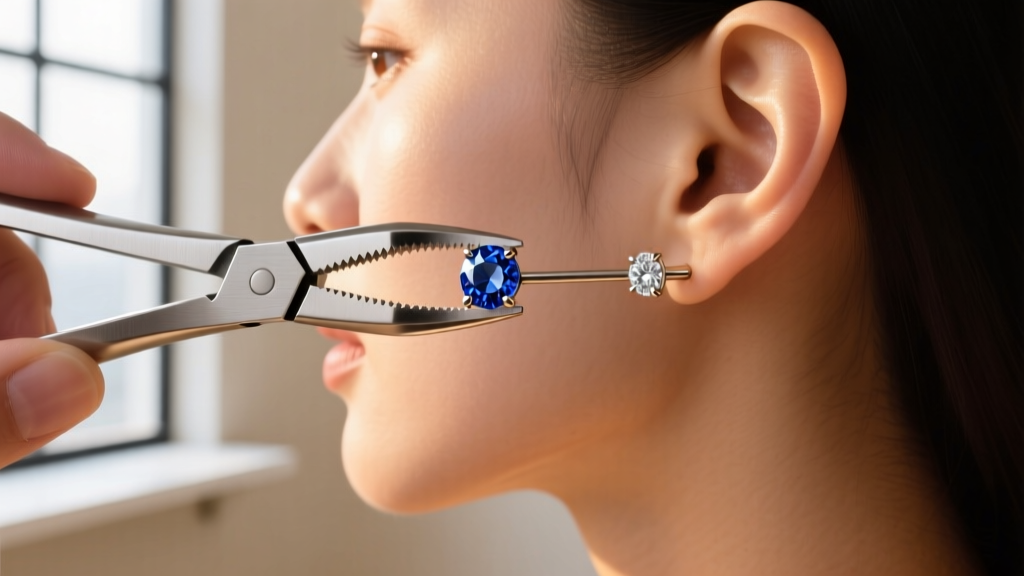
When it is time to take the jewelry out, the smooth flat back disc can be difficult to hold onto, especially if your hands are wet or you are working blindly behind your ear. Invest in a pair of jewelry hemostats or specialized insertion tapers. Clamp the hemostat gently onto the edge of the flat back disc to provide a stable anchor point while you pull the decorative front straight out with your other hand.
Material Grades: What Your Skin Actually Tolerates
The physical mechanics of your earring stud are only half the equation; the metallurgy dictates how your immune system will respond to the jewelry. Many commercial brands market their products as "surgical steel," but this is a vague, unregulated term that often encompasses alloys containing high levels of nickel—a primary trigger for contact dermatitis.
When investing in a flat back earring stud, strictly look for the following material certifications:
- ASTM F-136 Implant-Grade Titanium (Ti6Al4V): The absolute best choice for sensitive skin, fresh piercings, and long-term wear. It is completely nickel-free, lightweight, and highly resistant to corrosion.
- Niobium: A highly reactive metal that is anodized to create vibrant colors without the use of toxic paints or platings. It is hypoallergenic and an excellent alternative to titanium.
- Solid 14k or 18k Gold (Nickel-Free): Ensure the gold is alloyed specifically for body jewelry. Avoid gold-plated or gold-filled options, as the thin outer layer will eventually wear away, exposing the base metals underneath to your tissue.
Final Thoughts on Upgrading Your Daily Wear
Transitioning to a flat back earring stud is one of the most impactful upgrades you can make for your ear health and aesthetic presentation. By taking the time to verify your gauge, mastering the threadless tension bend, and insisting on implant-grade titanium, you eliminate the daily frustrations of lost backs, irritated lobes, and uncomfortable sleep. Treat your jewelry insertion process with the same care and precision as a professional piercer, and your piercings will reward you with a lifetime of comfort and effortless style.


