Left Ear Earring Meaning: A Step-by-Step Piercing & Style Guide
Discover the historical left ear earring meaning and follow our step-by-step guide to choosing, piercing, and styling your left ear safely.

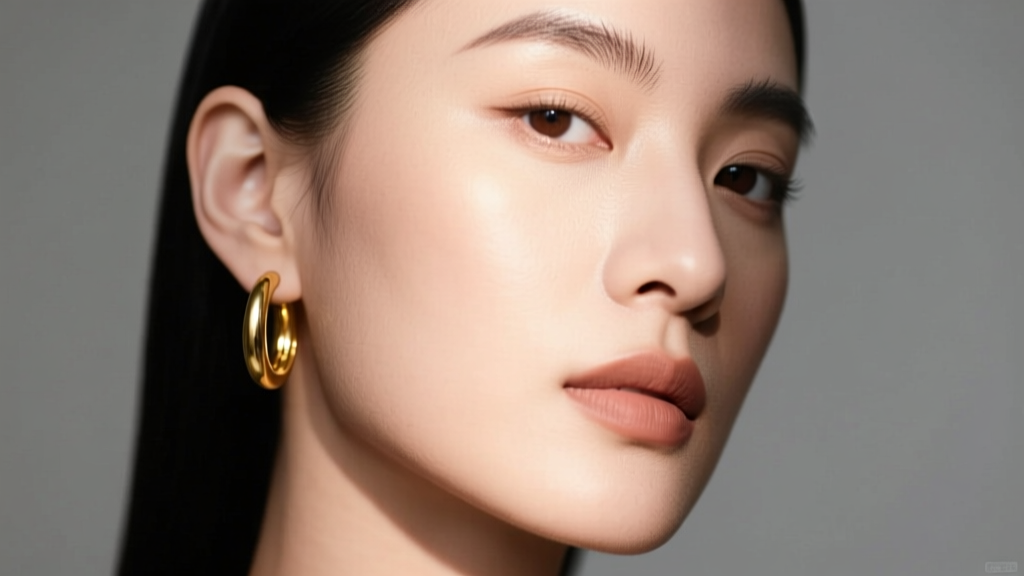
Decoding the Historical Left Ear Earring Meaning
The cultural significance of ear piercing placement has shifted dramatically over the centuries. Before we dive into the technical steps of piercing and styling, it is crucial to understand the historical left ear earring meaning. In ancient maritime lore, sailors pierced their left ears with gold to improve their eyesight and silver to improve their hearing. Furthermore, a gold earring served as a prepaid funeral expense, ensuring that if a sailor washed ashore, the finder could pay for a proper Christian burial. Fast forward to the 1970s and 1980s, and the left ear earring meaning took on a vastly different subcultural code. During an era when LGBTQ+ individuals faced severe discrimination, the 'left is right, right is wrong' hanky code crossover emerged. A single earring in the left ear became a subtle, covert signal of queer identity among men. Today, in 2026, these rigid historical and subcultural rules have largely dissolved into a landscape of radical self-expression, asymmetry, and curated ear aesthetics. However, understanding this rich history allows you to make an informed, intentional decision about your own body modification.
Step 1: Define Your Intent and Symbolic Alignment
Before booking an appointment, determine why you are choosing the left ear specifically. Are you honoring a piece of personal or cultural history? Are you leaning into modern asymmetrical styling? Or are you simply balancing a curated ear project on your right side? Defining your intent will dictate the jewelry style you select. If you are nodding to the vintage 1980s aesthetic, a simple, high-polish 14k gold huggie or a classic 5mm diamond stud is appropriate. If your goal is modern editorial asymmetry, you might opt for an elaborate ear cuff or a multi-gem constellation cluster that draws the eye immediately to the left side of your face. Write down your styling goals and bring visual references to your piercer to ensure the placement aligns with your anatomical structure and aesthetic vision.
Step 2: Select the Correct Gauge and Implant-Grade Material
The foundation of a successful piercing lies in the initial jewelry selection. Standard lobe piercings are typically performed at 18-gauge (1.02mm) or 16-gauge (1.29mm) to provide stability and prevent the 'cheese-cutter effect,' where thin jewelry migrates through the tissue. Cartilage placements, such as the helix or tragus, are almost exclusively pierced at 16-gauge or 14-gauge. Material selection is non-negotiable for fresh piercings. You must avoid commercial 'surgical steel,' which contains nickel and frequently causes contact dermatitis. According to the Association of Professional Piercers (APP), only specific implant-grade materials should be used in fresh wounds.
| Material | Grade / Standard | Best Use Case | Estimated Price Range (USD) |
|---|---|---|---|
| Titanium | ASTM F136 (Implant-Grade) | Initial piercings, highly sensitive skin, MRI-safe | $35 - $85 |
| Gold | 14k or 18k Solid (Nickel-Free) | Healed lobes, luxury styling, long-term wear | $150 - $600+ |
| Niobium | Commercially Pure (CP) | Budget-friendly hypoallergenic alternative, anodizable | $25 - $65 |
Brands like BVLA, Anatometal, and Maria Tada manufacture jewelry that meets these strict metallurgical standards, ensuring a smooth healing process without heavy metal leaching.
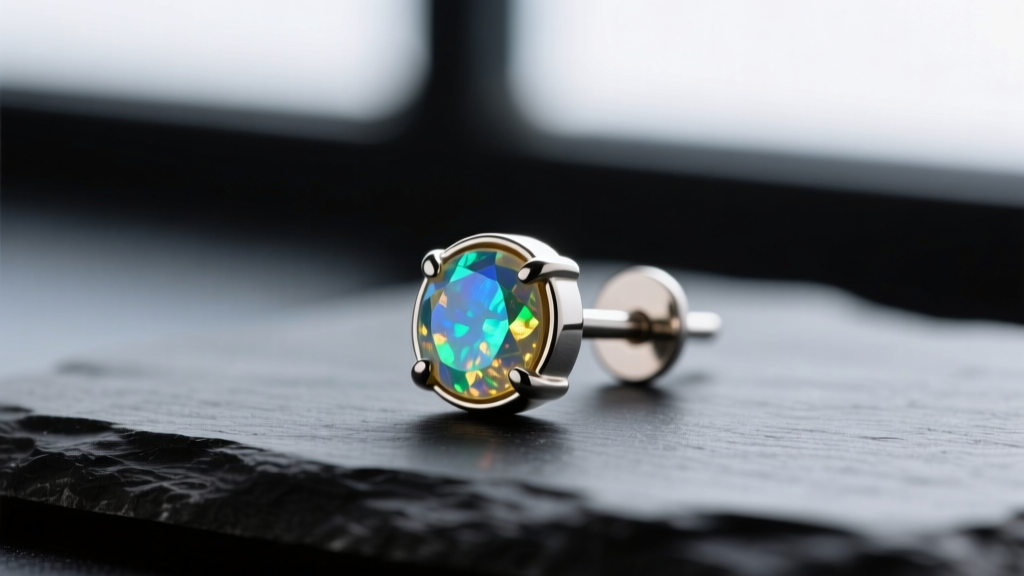
Step 3: Execute a Professional Needle Piercing
Never use a piercing gun for any ear placement. Piercing guns utilize blunt force trauma to shove a dull, butterfly-backed stud through the tissue, causing massive cellular damage, excessive scarring, and potential cartilage shattering. Furthermore, the plastic components of piercing guns cannot be sterilized in an autoclave, posing a severe cross-contamination risk. A professional piercer will use a single-use, sterilized hollow bevel needle. This needle slices a clean, crescent-shaped micro-incision, removing a tiny amount of tissue to make room for the jewelry. This method drastically reduces healing time, minimizes the formation of hypertrophic scars or piercing bumps, and allows for the insertion of high-quality, internally threaded or threadless flat-back labrets that will not press into your neck while you sleep.
Step 4: Implement the LITHA Aftercare Protocol
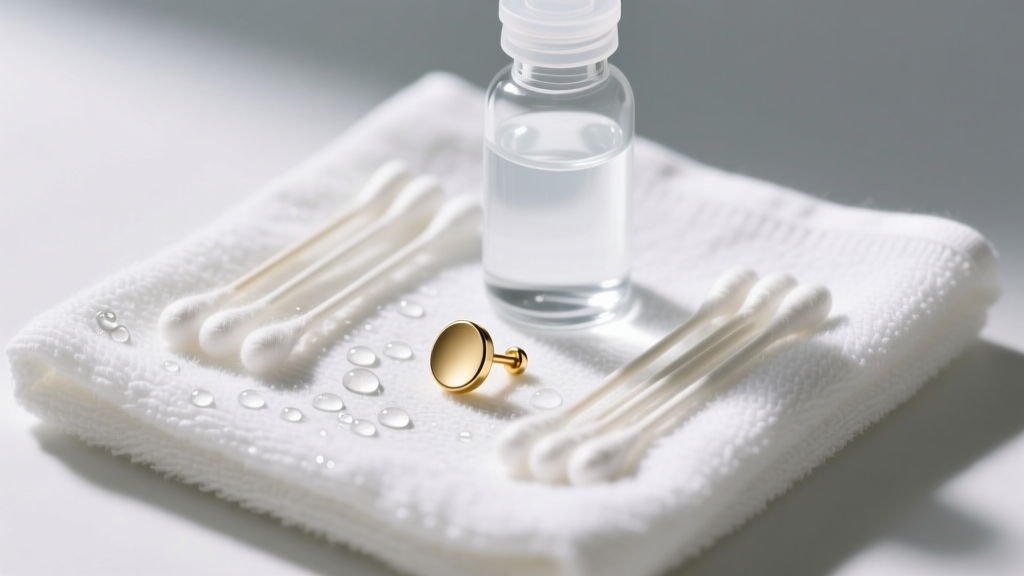
The most common cause of piercing failure is over-cleaning and physical irritation. The industry gold standard is the LITHA method: Leave It The Hell Alone. Your body's immune system knows how to heal a wound; your job is simply to keep the environment clean and stable. Follow the official APP aftercare guidelines by spraying the front and back of the piercing twice daily with a sterile 0.9% sodium chloride wound wash. Ensure the saline contains no additives, fragrances, or preservatives. After spraying, gently pat the area dry with a piece of non-woven gauze or use a hairdryer on the cool setting. Avoid cotton swabs, as they leave behind microscopic fibers that can become trapped in the healing fistula. Do not twist, turn, or sleep directly on the new left ear piercing; use a travel neck pillow to keep your ear suspended in the center hole while you sleep.
Step 5: Style the Left Ear for Modern Asymmetry
Once your piercing is fully healed (typically 8 to 12 weeks for lobes, and up to a year for cartilage), you can begin the process of curating your left ear. In 2026, the 'curated ear' trend has evolved from chaotic clustering to intentional, architectural spacing. If your left ear is your focal point, consider a balanced triad: a statement piece in the primary lobe (like a chunky gold hoop or a gemstone cluster), a delicate chain or cuff connecting to a mid-helix stud, and a subtle tragus stud to frame the inner ear. Mixing metals—such as pairing a yellow gold lobe hoop with a white gold helix stud—creates a dynamic, layered look that feels highly personalized.
Balancing Face Shapes with Left-Side Volume
When styling exclusively or heavily on the left side, you must consider your facial geometry. If you have a round face, opt for elongated drop earrings or vertical barbell stacks in the left ear to create the illusion of length. For heart-shaped faces, a heavier, wider huggie or a chandelier earring in the left lobe helps balance a narrower jawline. If you have an oval face, you have the versatility to pull off almost any structural ear cuff or geometric hoop. Always remember that the left ear earring meaning is ultimately defined by the wearer. By combining historical awareness with strict anatomical safety and modern styling techniques, your left ear piercing will serve as a flawless, meaningful extension of your personal aesthetic.


