How to Make Bead Earrings: Step-by-Step Wire Wrapping Guide
Learn how to make bead earrings with our step-by-step wire wrapping guide. Master gauge selection, hypoallergenic metals, and pro assembly techniques.

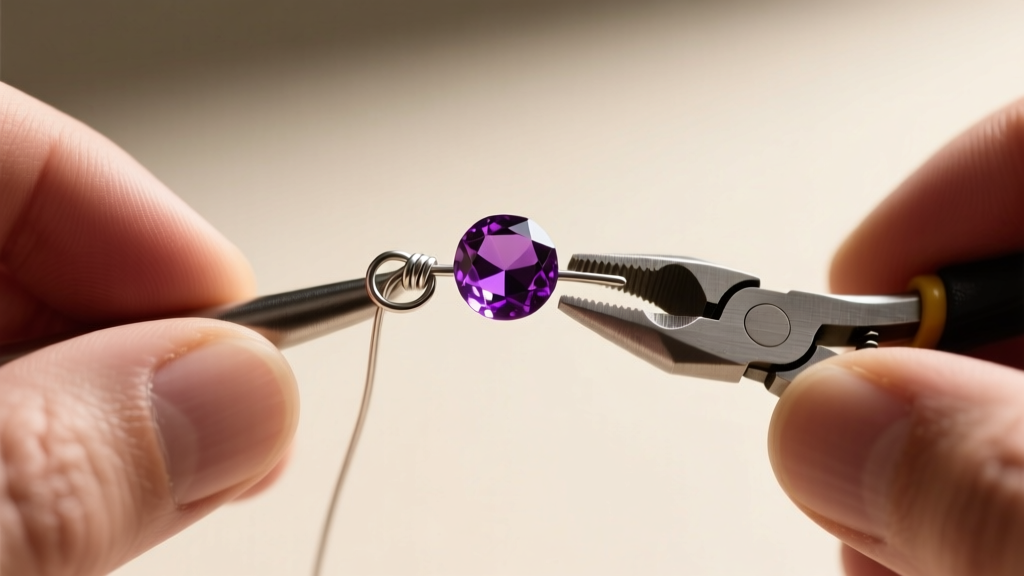
The Art and Engineering of Bead Earrings
Learning how to make bead earrings is a journey that bridges creative design with metallurgical precision. While stringing beads on a headpin might seem elementary, crafting durable, professional-grade dangle earrings requires a deep understanding of wire temper, gauge selection, and structural integrity. In 2026, the jewelry market heavily favors hypoallergenic, nickel-free materials, making it crucial for independent designers to master alloys like ASTM F136 titanium, niobium, and argentium silver.
Whether you are working with delicate freshwater pearls or high-Mohs faceted beryl, this comprehensive guide will walk you through the exact mechanics of wire wrapping and custom ear wire fabrication.
Essential Tools and Material Grades
Before bending any metal, you must select the correct wire temper and gauge. Wire is sold in various tempers—dead soft, half-hard, and full-hard. According to Fire Mountain Gems, dead soft wire is highly malleable and ideal for intricate wrapping, while half-hard wire offers the tensile strength necessary for ear wires and structural loops that resist pulling open under the weight of heavy gemstones.
Wire Gauge Selection Chart
| Gauge (AWG) | Diameter (mm) | Best Application | Recommended Temper |
|---|---|---|---|
| 20-Gauge | 0.81mm | Standard French ear wires, heavy bead dangles | Half-Hard |
| 22-Gauge | 0.64mm | Headpins for standard beads, wrapped loops | Dead Soft / Half-Hard |
| 24-Gauge | 0.51mm | Wire wrapping briolettes, delicate chain links | Dead Soft |
| 26-Gauge | 0.40mm | Micro-macrame, tiny seed bead weaving | Dead Soft |
When selecting metals, avoid cheap brass or copper alloys plated with unknown substances. For sensitive ears, stick to implant-grade titanium or 14k/18k solid gold. If using silver, opt for Argentium 935, which contains germanium to resist tarnish far better than traditional Sterling 925.
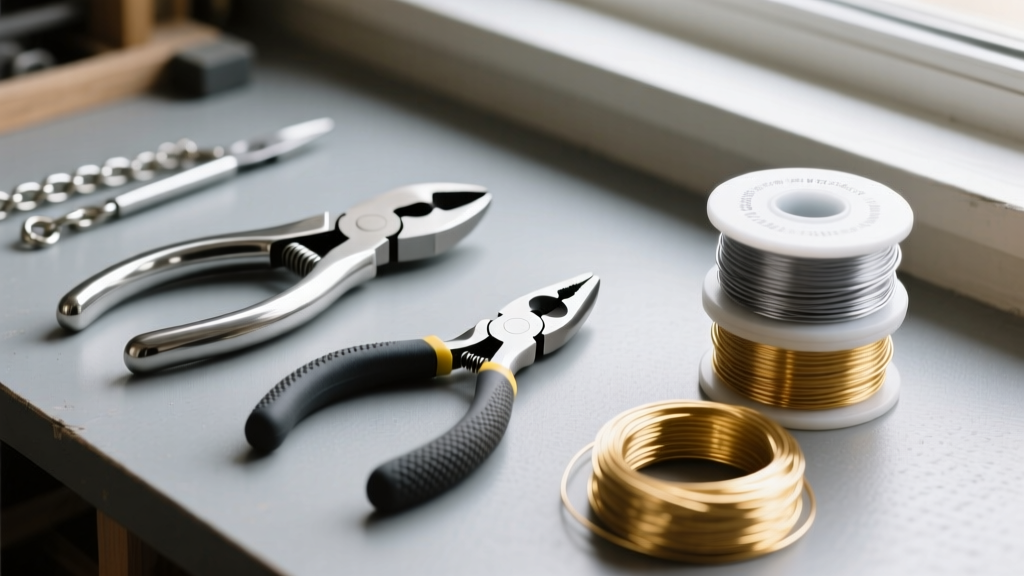
Selecting and Preparing Gemstone Beads
The physical properties of your beads dictate your assembly method. Gemstone beads typically feature drilled holes ranging from 0.5mm to 1.0mm in diameter. If you are using 22-gauge wire (0.64mm), it will not pass through a 0.5mm hole. Always measure your bead holes with a digital caliper before cutting your wire.
Furthermore, consider the Mohs hardness scale. Softer stones like turquoise (Mohs 5-6) or opal (Mohs 5.5-6.5) can chip if metal wire is pulled through them with excessive friction. According to the Gemological Institute of America (GIA), understanding gemstone durability is paramount in jewelry design. To protect softer beads, always use a smooth metal bead cap or a flexible rubber spacer between the wire wrap and the gemstone to distribute pressure evenly.
Step-by-Step: How to Make Bead Earrings with Headpins
The headpin method is the foundation of dangle and drop earrings. A headpin is a straight piece of wire with a flat or decorative stopper at one end. Here is the professional method for creating a secure wrapped loop.
Step 1: Sizing and Threading
Thread your chosen beads onto the headpin. Leave exactly 1.5 inches (38mm) of bare wire above the top bead. If you leave too little, your loop will be cramped; too much, and the wrap will look sloppy. Use flush cutters to snip the wire cleanly, ensuring the flat side of the blades faces the working end of the wire to avoid creating a sharp 'pinch' point.
Step 2: The 90-Degree Bend
Using chain-nose pliers, grip the wire flush against the top bead (or a bead cap). Bend the wire to a strict 90-degree angle. This sharp bend is critical—it locks the bead in place and prevents the wire from slipping through the loop when tension is applied.
Step 3: Forming the Wrapped Loop
Grip the very tip of the 90-degree bend with round-nose pliers. Roll the pliers toward the bead, wrapping the wire around the jaw to form a complete circle. Ensure the loop is centered directly above the bead. Remove the pliers, and you should have a 'P' shape.
Step 4: Wrapping and Tucking
Using your fingers or chain-nose pliers, wrap the tail of the wire tightly around the straight stem (the 'neck' between the loop and the bead). Make 2 to 3 neat, adjacent coils. Snip the excess tail with flush cutters, and use the tips of your chain-nose pliers to gently squeeze and 'tuck' the sharp wire end flush against the coil. This prevents the earring from snagging on hair or clothing.
Step-by-Step: Crafting Custom French Wire Hooks
Pre-made ear wires are convenient, but crafting your own allows for custom sizing and superior quality control. To make a standard French hook, cut a 3-inch piece of 20-gauge half-hard wire.
- Create the Bottom Loop: Use round-nose pliers to form a small, simple loop at one end. This is where your bead dangle will attach.
- Shape the Hook: Grip the wire about 1.5 inches from the bottom loop with a stepped mandrel or the thickest jaw of your round-nose pliers. Bend the wire around the jaw to create the primary curve of the ear hook.
- Form the Ear Swoop: Switch to a smaller mandrel step or use a specialized ear-wire jig to bend the opposite end into a tight, rounded 'U' shape that will rest behind the earlobe.
- Work Hardening: To ensure the hook doesn't bend out of shape when inserted into the ear, pass the entire wire through nylon jaw pliers 3 to 4 times. The compressive force work-hardens the metal, increasing its yield strength without marring the surface.
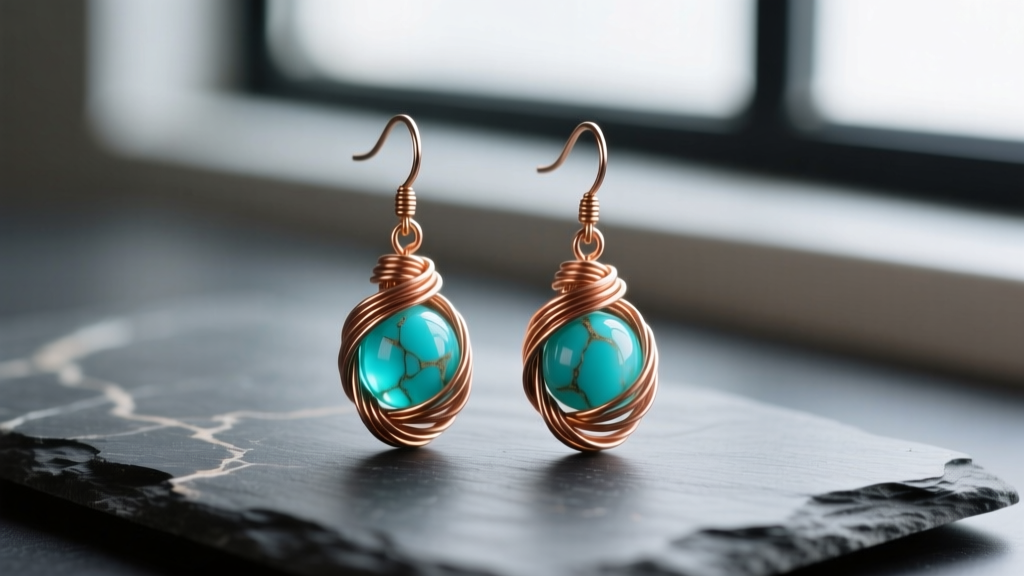
Troubleshooting Common Bead Earring Failures
Even experienced jewelers encounter structural failures. Here is how to diagnose and fix the most common issues when learning how to make bead earrings.
- Failure: The Loop Pulls Open. Cause: Using dead-soft wire for a simple loop, or failing to work-harden the metal. Fix: Always use half-hard wire for simple loops, or upgrade to a wrapped loop for heavy gemstones like quartz or topaz.
- Failure: The Bead Rattles or Spins. Cause: The bead hole is larger than the headpin gauge. Fix: Thread a 2mm metal bead cap or a tiny 11/0 seed bead onto the headpin before the main gemstone to act as a spacer and stabilizer.
- Failure: Wire Snaps During Wrapping. Cause: Over-manipulating dead-soft wire, leading to metal fatigue, or using a wire gauge that is too thin for the tension applied. Fix: Handle the wire minimally. If wrapping 24-gauge wire, use smooth-jawed pliers to avoid introducing micro-scratches that become fracture points.
- Failure: Allergic Reactions. Cause: Hidden nickel in 'surgical steel' or cheap silver alloys. Fix: Source certified ASTM F136 titanium or pure niobium wire for the ear wire component, as these are universally biocompatible.
Final Thoughts on Jewelry Assembly
Mastering how to make bead earrings is about respecting the materials. By understanding the tensile strength of your wire, the Mohs hardness of your beads, and the biomechanics of the human ear, you elevate your craft from simple hobbyist stringing to professional jewelry design. Invest in high-quality flush cutters, practice your wrapped loops on cheap copper wire before moving to 14k gold-filled stock, and always prioritize hypoallergenic integrity for your wearers.


