The 2026 Gift Guide: How Do You Make Beaded Earrings?
Learn how do you make beaded earrings for personalized 2026 gifts. Discover wire gauges, bead materials, and occasion-matching designs for loved ones.

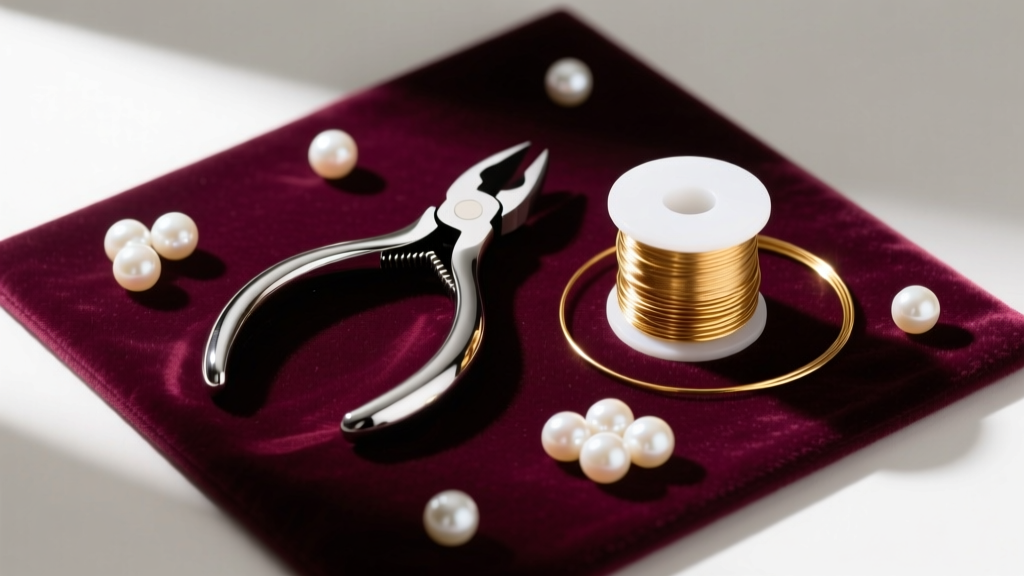
The Rise of Handcrafted Jewelry Gifting in 2026
In an era where mass-produced accessories dominate fast-fashion markets, the art of gifting handmade jewelry has experienced a massive renaissance. As we navigate the 2026 holiday and milestone seasons, recipients are increasingly valuing the intentionality, bespoke design, and artisanal quality of handcrafted pieces. But for the uninitiated jeweler, the transition from buying to creating can feel daunting. Many beginners ask, how do you make beaded earrings that look professional rather than amateur? The secret lies not just in aesthetic choices, but in a deep understanding of metallurgy, wire gauges, and structural mechanics.
This comprehensive guide bridges the gap between basic crafting and fine jewelry making, providing you with the exact material grades, assembly techniques, and occasion-matching frameworks needed to create heirloom-quality beaded earrings for your loved ones.
Material Science: Selecting the Right Metals and Gauges
The most common failure point in handmade earrings is material degradation. To ensure your gifts last a lifetime, you must understand the difference between plated, filled, and solid metals, as well as the precise wire gauges required for structural integrity.
Understanding Metal Grades
- 14/20 Gold-Filled (14k GF): According to Rio Grande, gold-filled wire consists of a brass core mechanically bonded to a 14k gold outer layer that makes up at least 5% of the total weight. It is highly tarnish-resistant and ideal for luxury gifting.
- Sterling Silver (925): Composed of 92.5% pure silver and 7.5% copper. It requires occasional polishing but offers a brilliant, classic luster perfect for bridal or elegant occasions.
- Gold-Plated: A microscopic layer of gold over a base metal. Avoid using this for fine jewelry gifts, as the plating will wear off quickly with daily use, exposing the skin to potential allergens like nickel or brass.
Wire Gauge Specifications
Wire thickness is measured in gauges (AWG); the higher the number, the thinner the wire. Using the wrong gauge is the fastest way to ruin an earring's drape or durability.
- 20-Gauge (0.81mm): The absolute standard for crafting ear wires (French hooks). It is thick enough to hold its shape under the weight of beads but thin enough to slide comfortably through a standard 20g or 18g lobe piercing.
- 24-Gauge (0.51mm): Ideal for wire-wrapping beads and creating wrapped loops. It is malleable enough to wrap tightly around a 20g core wire without snapping.
- 26-Gauge (0.40mm): Reserved for intricate weaving or stringing through tiny gemstone briolettes with micro-drilled holes.
Occasion Matching: A Strategic Gifting Framework
Knowing how do you make beaded earrings is only half the battle; knowing which earrings to make for specific life events elevates your gift from a simple craft to a deeply personal token. Below is a curated matrix for matching bead materials and metal tones to 2026's most common gifting occasions.
| Occasion | Recipient Profile | Recommended Bead Material & Size | Optimal Metal Pairing |
|---|---|---|---|
| Wedding / Bridal | Bride or Bridesmaids | 6mm AAA Freshwater Pearls or Clear Quartz | Sterling Silver or White Gold-Filled |
| Milestone Birthday | Best Friend / Sister | 8mm Faceted Amethyst or Rose Quartz Briolettes | 14k Yellow Gold-Filled |
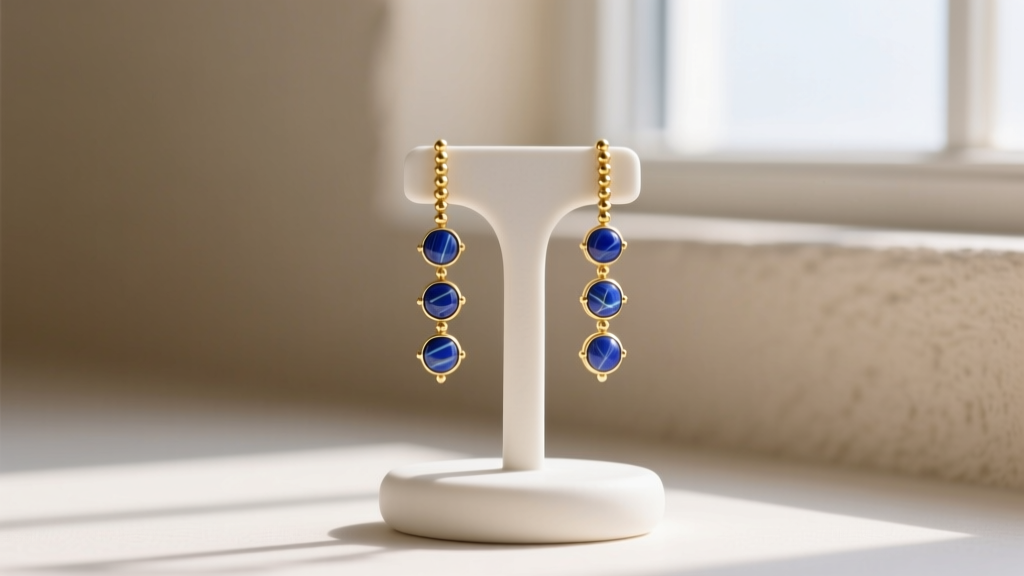
| Graduation / Career | Mentor or Colleague | 4mm Matte Onyx or Lapis Lazuli Rounds | Rose Gold-Filled or Oxidized Silver |
| Anniversary | Partner / Spouse | Preciosa Crystal Bicones (Swarovski alternatives) | 14k Yellow Gold-Filled with Vermeil accents |
Step-by-Step Assembly: The Wrapped Loop Drop Method
While simple loops (bending the wire into a circle) are easy, they inevitably pull open over time, causing the beads to fall off. For a professional, secure finish, you must master the wrapped loop. Data from Fire Mountain Gems consistently highlights the wrapped loop as the industry standard for secure drop earrings.
- Prepare the Headpin: Cut a 2.5-inch piece of 24-gauge gold-filled wire. Thread your chosen beads (e.g., a 4mm crystal, a 6mm pearl, and another 4mm crystal).
- Form the Initial Bend: Using chain-nose pliers, bend the wire at a 90-degree angle directly above the top bead.
- Create the Loop: Grip the very tip of the wire with round-nose pliers and roll it backward to form a complete circle.
- Wrap the Tail: Switch to chain-nose pliers to hold the loop steady. Use your fingers or a wrapping tool to tightly coil the remaining wire tail down the stem, wrapping it 3 to 4 times until it rests flush against the top bead.
- Trim and Tuck: Use flush cutters to snip the excess tail wire. Use the chain-nose pliers to gently squeeze and tuck the sharp wire end into the coil so it won't snag on clothing or hair.
- Attach the Ear Wire: Open the loop on a pre-made 20-gauge French ear wire by twisting it laterally (never pull it apart like a ring, which distorts the shape). Slide on your wrapped bead component and twist the ear wire loop closed.
Pro-Tip from the Bench: Always use flush cutters rather than standard diagonal pliers. Flush cutters leave a flat, smooth edge on the wire, eliminating sharp burrs that can scratch the recipient's skin or damage delicate fabrics.
Troubleshooting Common Beading Failures
Even experienced jewelers encounter structural issues. Here is how to diagnose and fix the most common problems when crafting beaded earrings:
1. Wire Snapping During Wrapping
The Cause: Work hardening. As you bend and manipulate metal, its crystalline structure compresses, making it brittle. If you bend the wire back and forth to adjust a mistake, it will snap.
The Fix: Commit to your bends. If using 24-gauge wire, ensure you are using dead-soft temper wire for wrapping, rather than half-hard, which is meant for structural ear wires.
2. Beads Spinning or Shifting
The Cause: The hole diameter of the bead is significantly larger than the wire gauge, leaving excess space.
The Fix: Use micro-bead spacers (1.5mm sterling silver rondelles) between the main beads to lock them in place, or apply a microscopic drop of flexible jewelry adhesive (like E6000) to the wire before threading the bead, allowing it to cure for 24 hours.
3. Ear Wires Losing Their Shape
The Cause: Using a wire gauge that is too thin (e.g., 22g or 24g) for the ear hook itself.
The Fix: Always use 20-gauge half-hard wire for ear hooks. After forming the hook shape, lightly burnish the wire with a nylon-jaw plier to work-harden it just enough to retain its curve when inserted into the ear lobe.
Packaging and Presentation for Handmade Gifts
The presentation of your handmade earrings is just as critical as the craftsmanship. In 2026, sustainable and archival-quality packaging is highly prized. Avoid cheap plastic baggies, which trap moisture and accelerate tarnishing. Instead, invest in recycled cotton-filled jewelry boxes lined with anti-tarnish tissue. Include a small, branded care card detailing the exact materials used (e.g., "14k Gold-Filled and Natural Freshwater Pearls") and instructions for cleaning them with a soft microfiber cloth. This level of transparency and care transforms a simple DIY project into a premium, boutique-quality gift that your loved ones will cherish for decades.


