How to Make Beaded Earrings: A Beginner’s Guide to Wire Wrapping
Learn how to make beaded earrings with our beginner-friendly wire wrapping guide. Master gauge sizes, hypoallergenic metals, and pro finishing techniques.

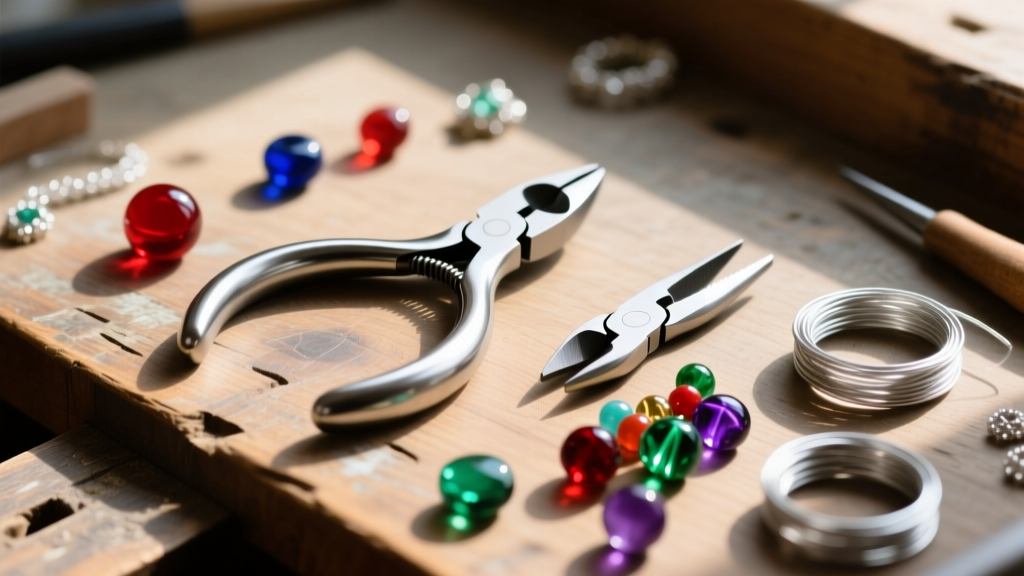
The Art and Science of Beaded Earrings
Learning how to make beaded earrings is one of the most rewarding entry points into the world of jewelry design. Unlike complex metalsmithing that requires torches, solder, and hazardous chemicals, wire wrapping and bead stringing allow you to create professional-grade, boutique-quality accessories right at your kitchen table. However, the difference between a homemade craft project and a high-end piece of jewelry lies entirely in your understanding of materials, proportions, and structural integrity. In this comprehensive guide, we will bypass the generic fluff and dive deep into the exact wire gauges, metallurgical properties, and mechanical techniques you need to craft durable, hypoallergenic beaded earrings that drape perfectly and last a lifetime.
The Anatomy of a Beaded Earring
Before picking up your pliers, you must understand the structural components that dictate how an earring moves and wears. A standard beaded dangle earring consists of three primary elements: the ear wire (the finding that pierces the ear), the connector (the wire work or jump ring linking the components), and the focal bead or bead stack. The ear wire is the most critical component for wearer comfort. French hooks (or shepherd's hooks) are the industry standard for lightweight to medium-weight beaded designs because they allow the earring to swing freely, catching the light. However, if you are designing heavy stone earrings, you must upgrade to leverback findings or kidney wires with a secure latch to prevent the earring from slipping out of the lobe during movement.
Choosing the Right Wire: Gauge, Temper, and Material
The most common mistake beginners make when they first make beaded earrings is buying a generic spool of 'craft wire' from a big-box store. Craft wire is typically made of copper with a thin, easily scratched metallic coating. For fine jewelry, you must select wire based on three metrics: gauge (thickness), temper (hardness), and base metal.
Wire Gauge and Bead Hole Compatibility
Wire gauge is measured in the American Wire Gauge (AWG) system, where a higher number means a thinner wire. Matching your wire gauge to your bead hole size is a non-negotiable rule of jewelry making. According to the technical resources at Rio Grande, a premier jewelry supply house, understanding these micro-measurements prevents structural failure.
| AWG Size | Metric (mm) | Best Use Case | Compatible Bead Types |
|---|---|---|---|
| 24-Gauge | 0.51mm | Delicate wrapping, small pearls | Freshwater pearls, small gemstone briolettes |
| 22-Gauge | 0.64mm | Standard bead stringing, light loops | Most glass beads, seed beads, smaller crystals |
| 20-Gauge | 0.81mm | Ear wires, sturdy wrapped loops, clasps | Large lampwork beads, heavy gemstones, wood |
| 18-Gauge | 1.02mm | Heavy-duty ear wires, structural frames | N/A (Too thick for most standard bead holes) |
Wire Temper: Dead Soft vs. Half-Hard
Temper refers to the metal's hardness, which is altered through work-hardening or annealing. Dead soft wire is incredibly pliable, making it ideal for weaving and wrapping around other wires, but it will bend out of shape if used for ear wires. Half-hard wire has been slightly stiffened; it holds its shape beautifully and is the absolute best choice for creating wrapped loops and ear wires. Full-hard wire is very stiff and springy, generally reserved for making clasps or jump rings.
Hypoallergenic Material Grades
When creating earrings for sensitive ears, material science is paramount. Avoid 'nickel silver' (which contains nickel, a common allergen) and cheap brass. Instead, opt for Niobium, which is highly biocompatible and can be anodized into vibrant colors. ASTM F136 Implant-Grade Titanium is the gold standard for hyper-sensitive piercings. For a luxurious finish, use 14/20 Gold-Filled wire, which contains 5% solid 14k gold mechanically bonded to a brass core—vastly superior to gold-plated wire, which will rub off over time.
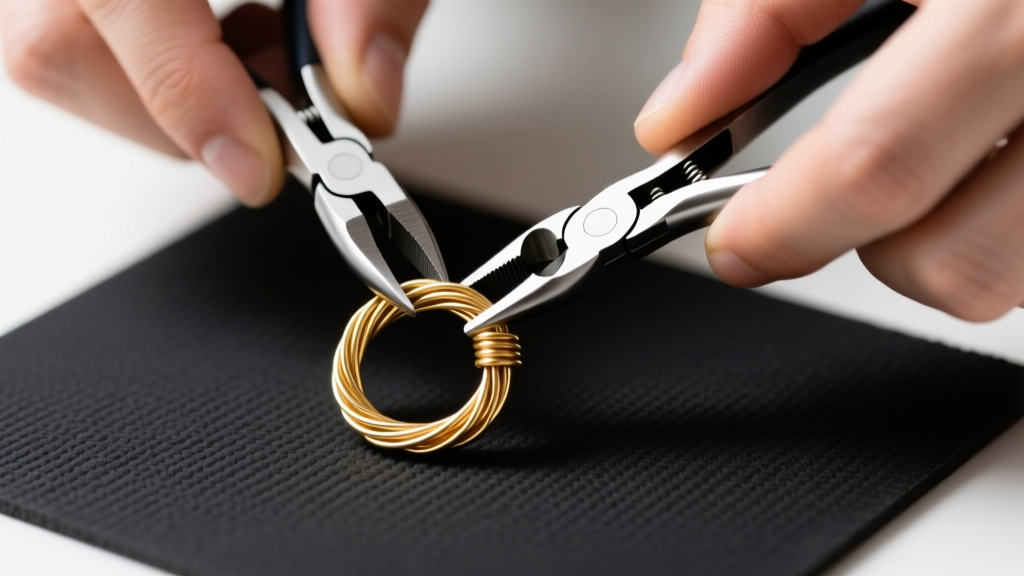
Essential Tools for Professional Finishing
You cannot achieve professional results with subpar tools. Cheap pliers often feature serrated 'teeth' on the jaws, which will permanently mar and scratch your soft precious metals. Invest in smooth-jawed tools from reputable brands like Wubbers, Beadsmith, or Lindstrom.
- Flush Cutters: Essential for snipping wire perfectly flat. The flat side of the blade must always face the part of the wire you intend to keep to ensure a flush, non-pinched cut.
- Chain-Nose Pliers: Features flat, smooth, tapered jaws. Used for gripping wire, closing jump rings, and tucking in sharp wire ends.
- Round-Nose Pliers: Features conical, smooth jaws. Used exclusively for forming perfectly round loops. The position of the wire on the cone dictates the diameter of your loop.
- Nylon-Jaw Pliers: Used to gently pull and straighten wire without scratching or work-hardening the metal.
Step-by-Step: The Master Wrapped Loop
The 'wrapped loop' is the hallmark of advanced beginner and professional beaded jewelry. Unlike a simple loop (which can easily pull open and drop the bead), a wrapped loop secures the wire by coiling it tightly around the stem, creating a permanent, unbreakable connection. Here is how to execute it flawlessly using 20-gauge half-hard wire.
Step 1: Form the Top Loop
Cut a 3-inch piece of 20-gauge half-hard wire. Using your round-nose pliers, grip the wire about one-third of the way down from the top. Bend the short end over the top jaw to create a 90-degree angle. Reposition the pliers inside the bend and continue wrapping the short end around the jaw until it meets the long end, forming a closed loop. Ensure the loop is centered and perfectly round.
Step 2: The Wrap and String
Take the short tail of the wire and wrap it tightly around the long stem directly beneath the loop. Make exactly three tight, adjacent coils. Snip the remaining tail flush with the stem using your flush cutters. Use chain-nose pliers to gently squeeze and tuck the tiny cut end into the coil so it won't snag on hair or clothing. Slide your focal bead up the wire until it rests snugly against the bottom of the wrapped loop.
Step 3: The Bottom Loop and Finish
Grip the wire directly above the bead with your round-nose pliers. Bend the wire at a strict 90-degree angle. Wrap the remaining tail around the plier jaw to form the second loop, ensuring it aligns perfectly with the top loop. Wrap the tail down the stem three times, snip flush, and tuck the end. You now have a bead securely captive between two unbreakable wrapped loops, ready to be linked to a French hook ear wire.
Pro-Tip from the Bench: Always make your wrapped loops slightly larger than you think necessary. A loop with an inner diameter of at least 2.5mm ensures the earring will hang with a natural, fluid dangle rather than stiffly jutting out from the ear wire.
Troubleshooting Common Beginner Mistakes
Even with the best instructions, muscle memory takes time to develop. As you practice how to make beaded earrings, you will likely encounter a few mechanical issues. Here is how to diagnose and fix them based on expert insights from Fire Mountain Gems.
Problem: The Wire Keeps Breaking During Wrapping
The Diagnosis: You are suffering from excessive 'work-hardening.' Every time you bend or manipulate metal, its crystalline structure compresses, making it harder and more brittle. If you use your pliers to repeatedly adjust a loop, or if you are using full-hard wire, it will snap.
The Fix: Use half-hard wire, commit to your bends (avoid wiggling the wire back and forth), and handle the wire with your fingers rather than pliers whenever possible to preserve its temper.
Problem: The Bead Slides Around or Won't Sit Straight
The Diagnosis: The bead hole is significantly wider than the wire gauge, or your wrapped loops are not sitting perfectly flush against the top and bottom of the bead.
The Fix: Introduce bead caps or small metal spacer beads. A 20-gauge wire might slide loosely inside a 2mm lampwork bead hole, but adding a sterling silver bead cap bridges the gap, centering the bead and providing a flush surface for your wire wrap to rest against.
Problem: Sharp Wire Ends Scratching the Skin
The Diagnosis: Improper use of flush cutters. Standard cutters leave a 'pinched' V-shape edge if used incorrectly.
The Fix: Remember the rule: 'Flat side to the keep side.' The flat side of the cutter blade must face the wire you are keeping. After cutting, always use the tip of your chain-nose pliers to gently burnish and tuck the microscopic end into the coil.
Sourcing Quality Beads and Findings
The final secret to making beaded earrings that look expensive is sourcing high-quality components. Avoid the opaque, uniformly dyed glass beads found in general craft aisles. Instead, seek out genuine gemstone rounds, high-quality Czech glass (like fire-polished or SuperDuo beads), and precision-cut crystal. When purchasing ear wires, look for brands that specify 'nickel-free' and offer options like surgical steel or 14k gold-filled. By combining premium materials with the structural integrity of the wrapped loop technique, you will transition from a beginner hobbyist to a capable jewelry designer ready to sell, gift, or proudly wear your own custom creations.


